Malifaux. Euripides Core Box. Wish Airbrush Kit.
So, as the eternal hobby butterfly I have changed projects on the fly.
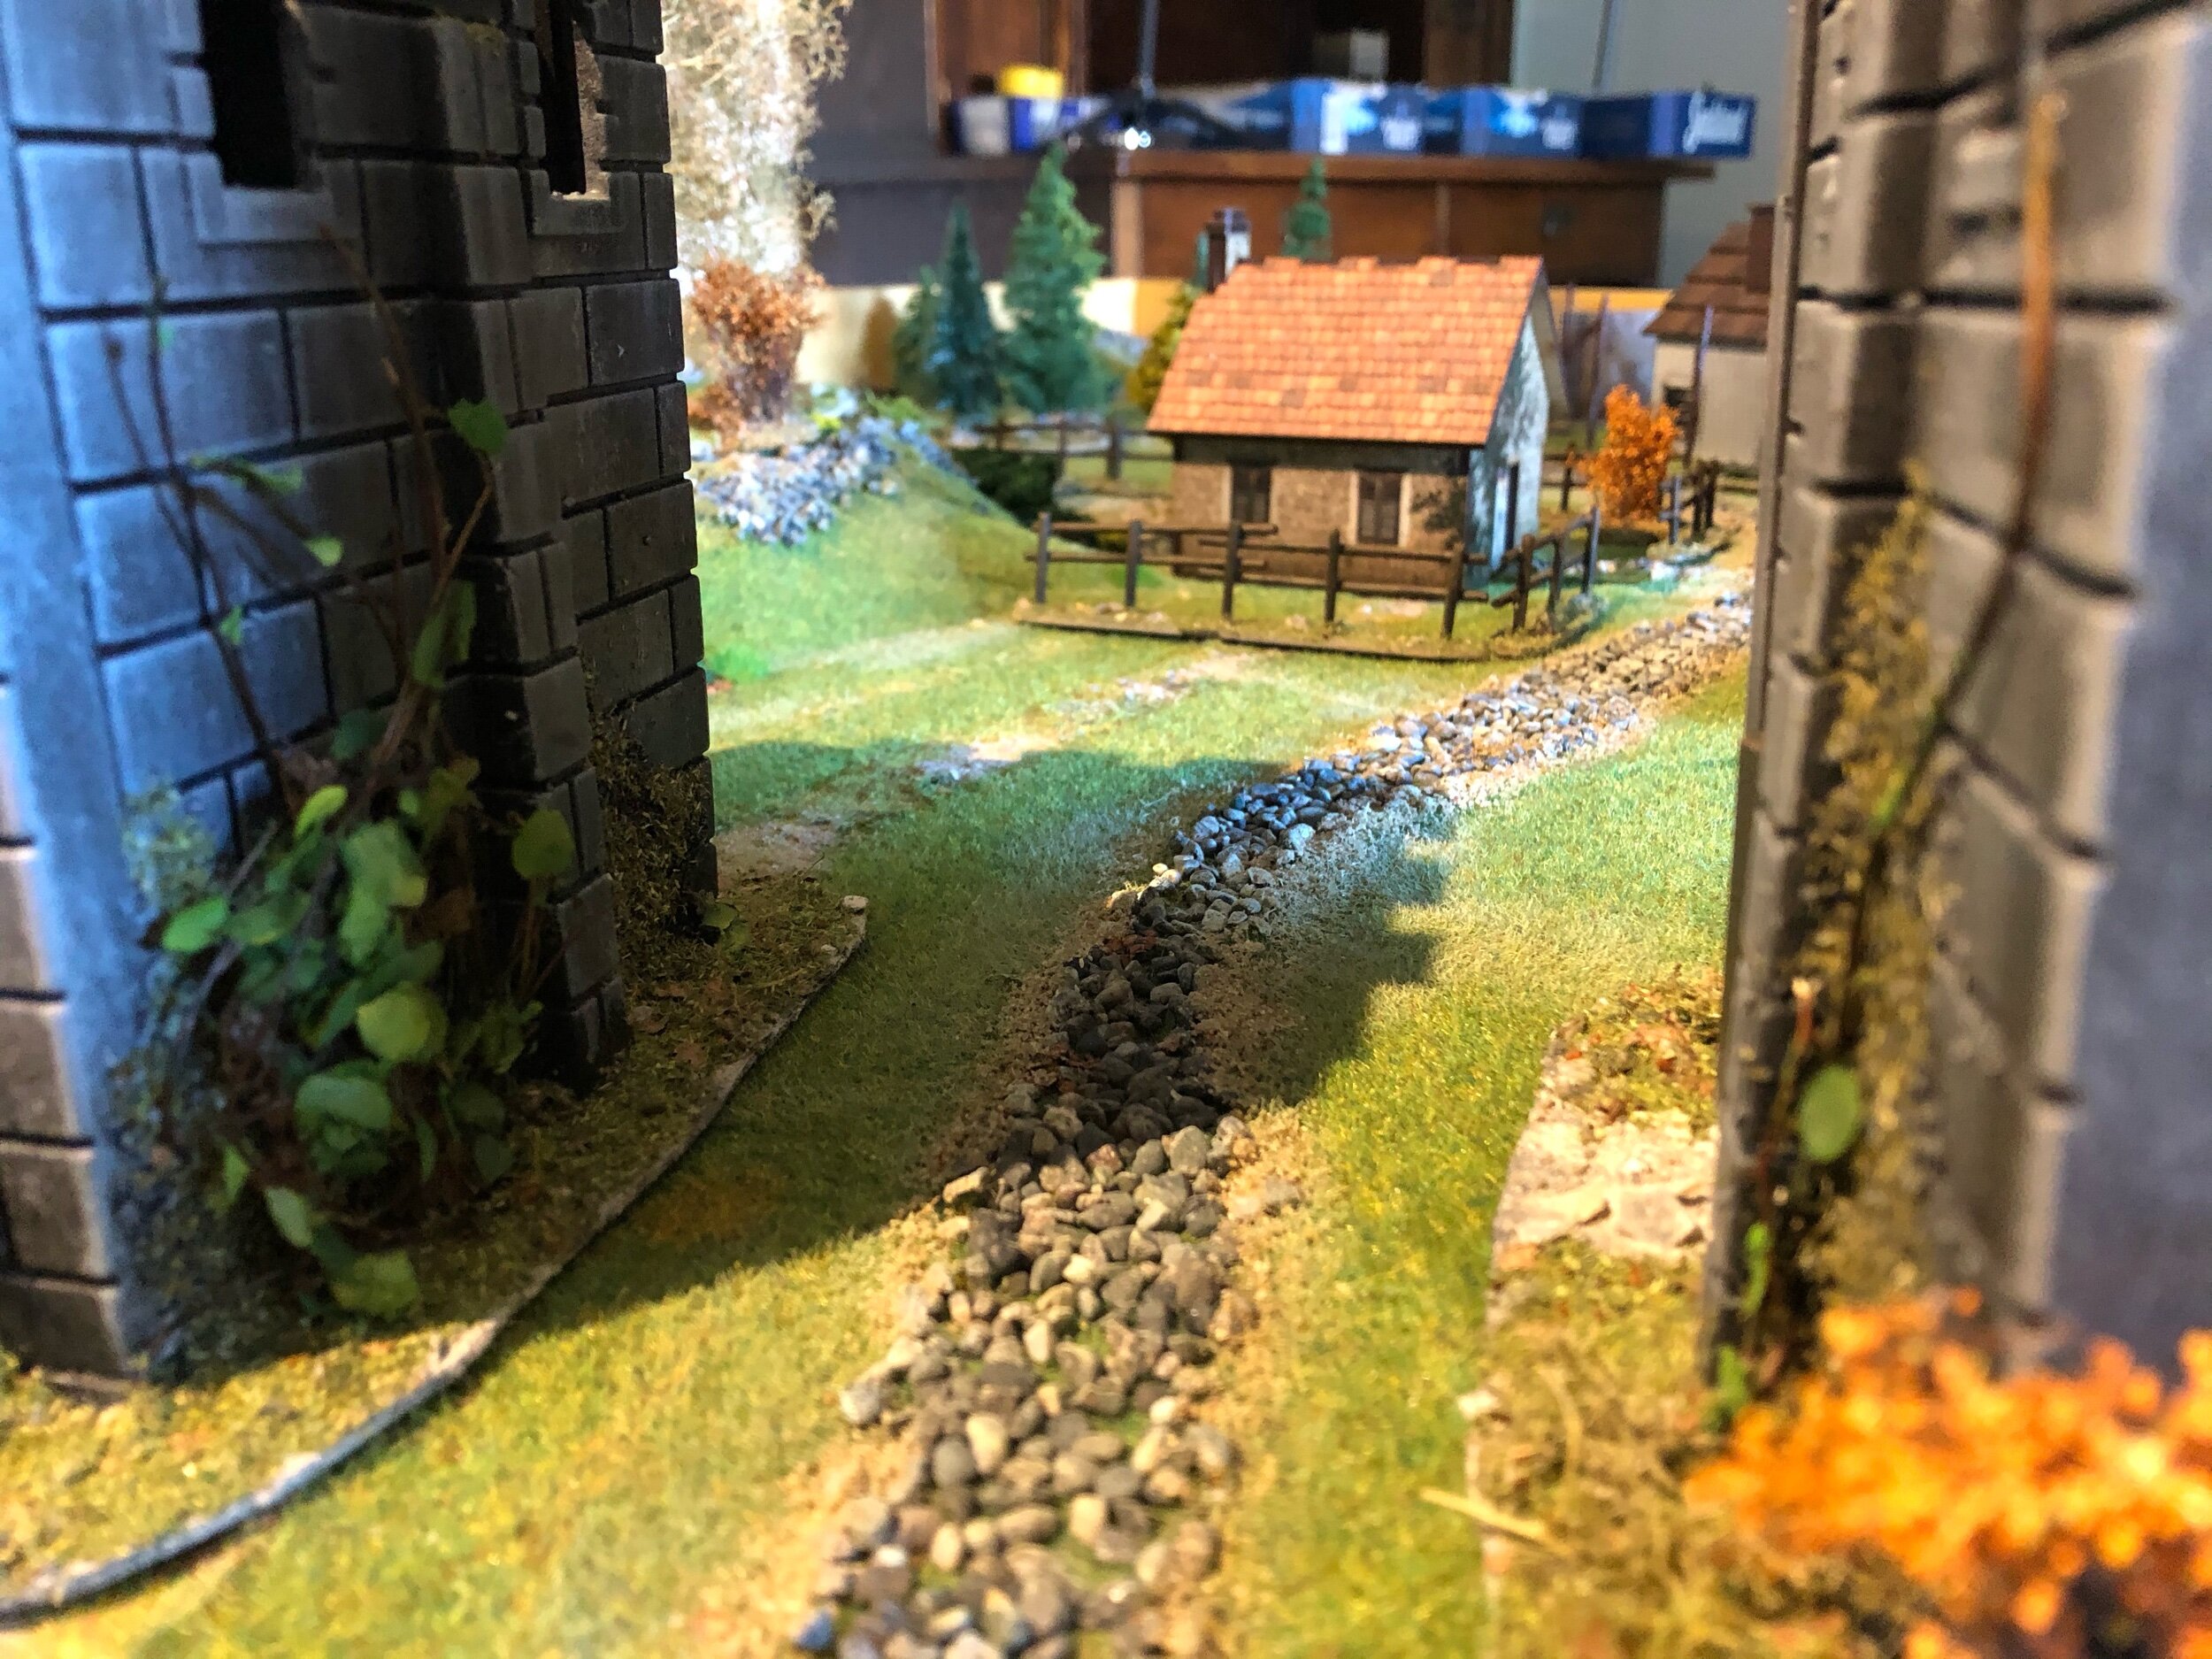
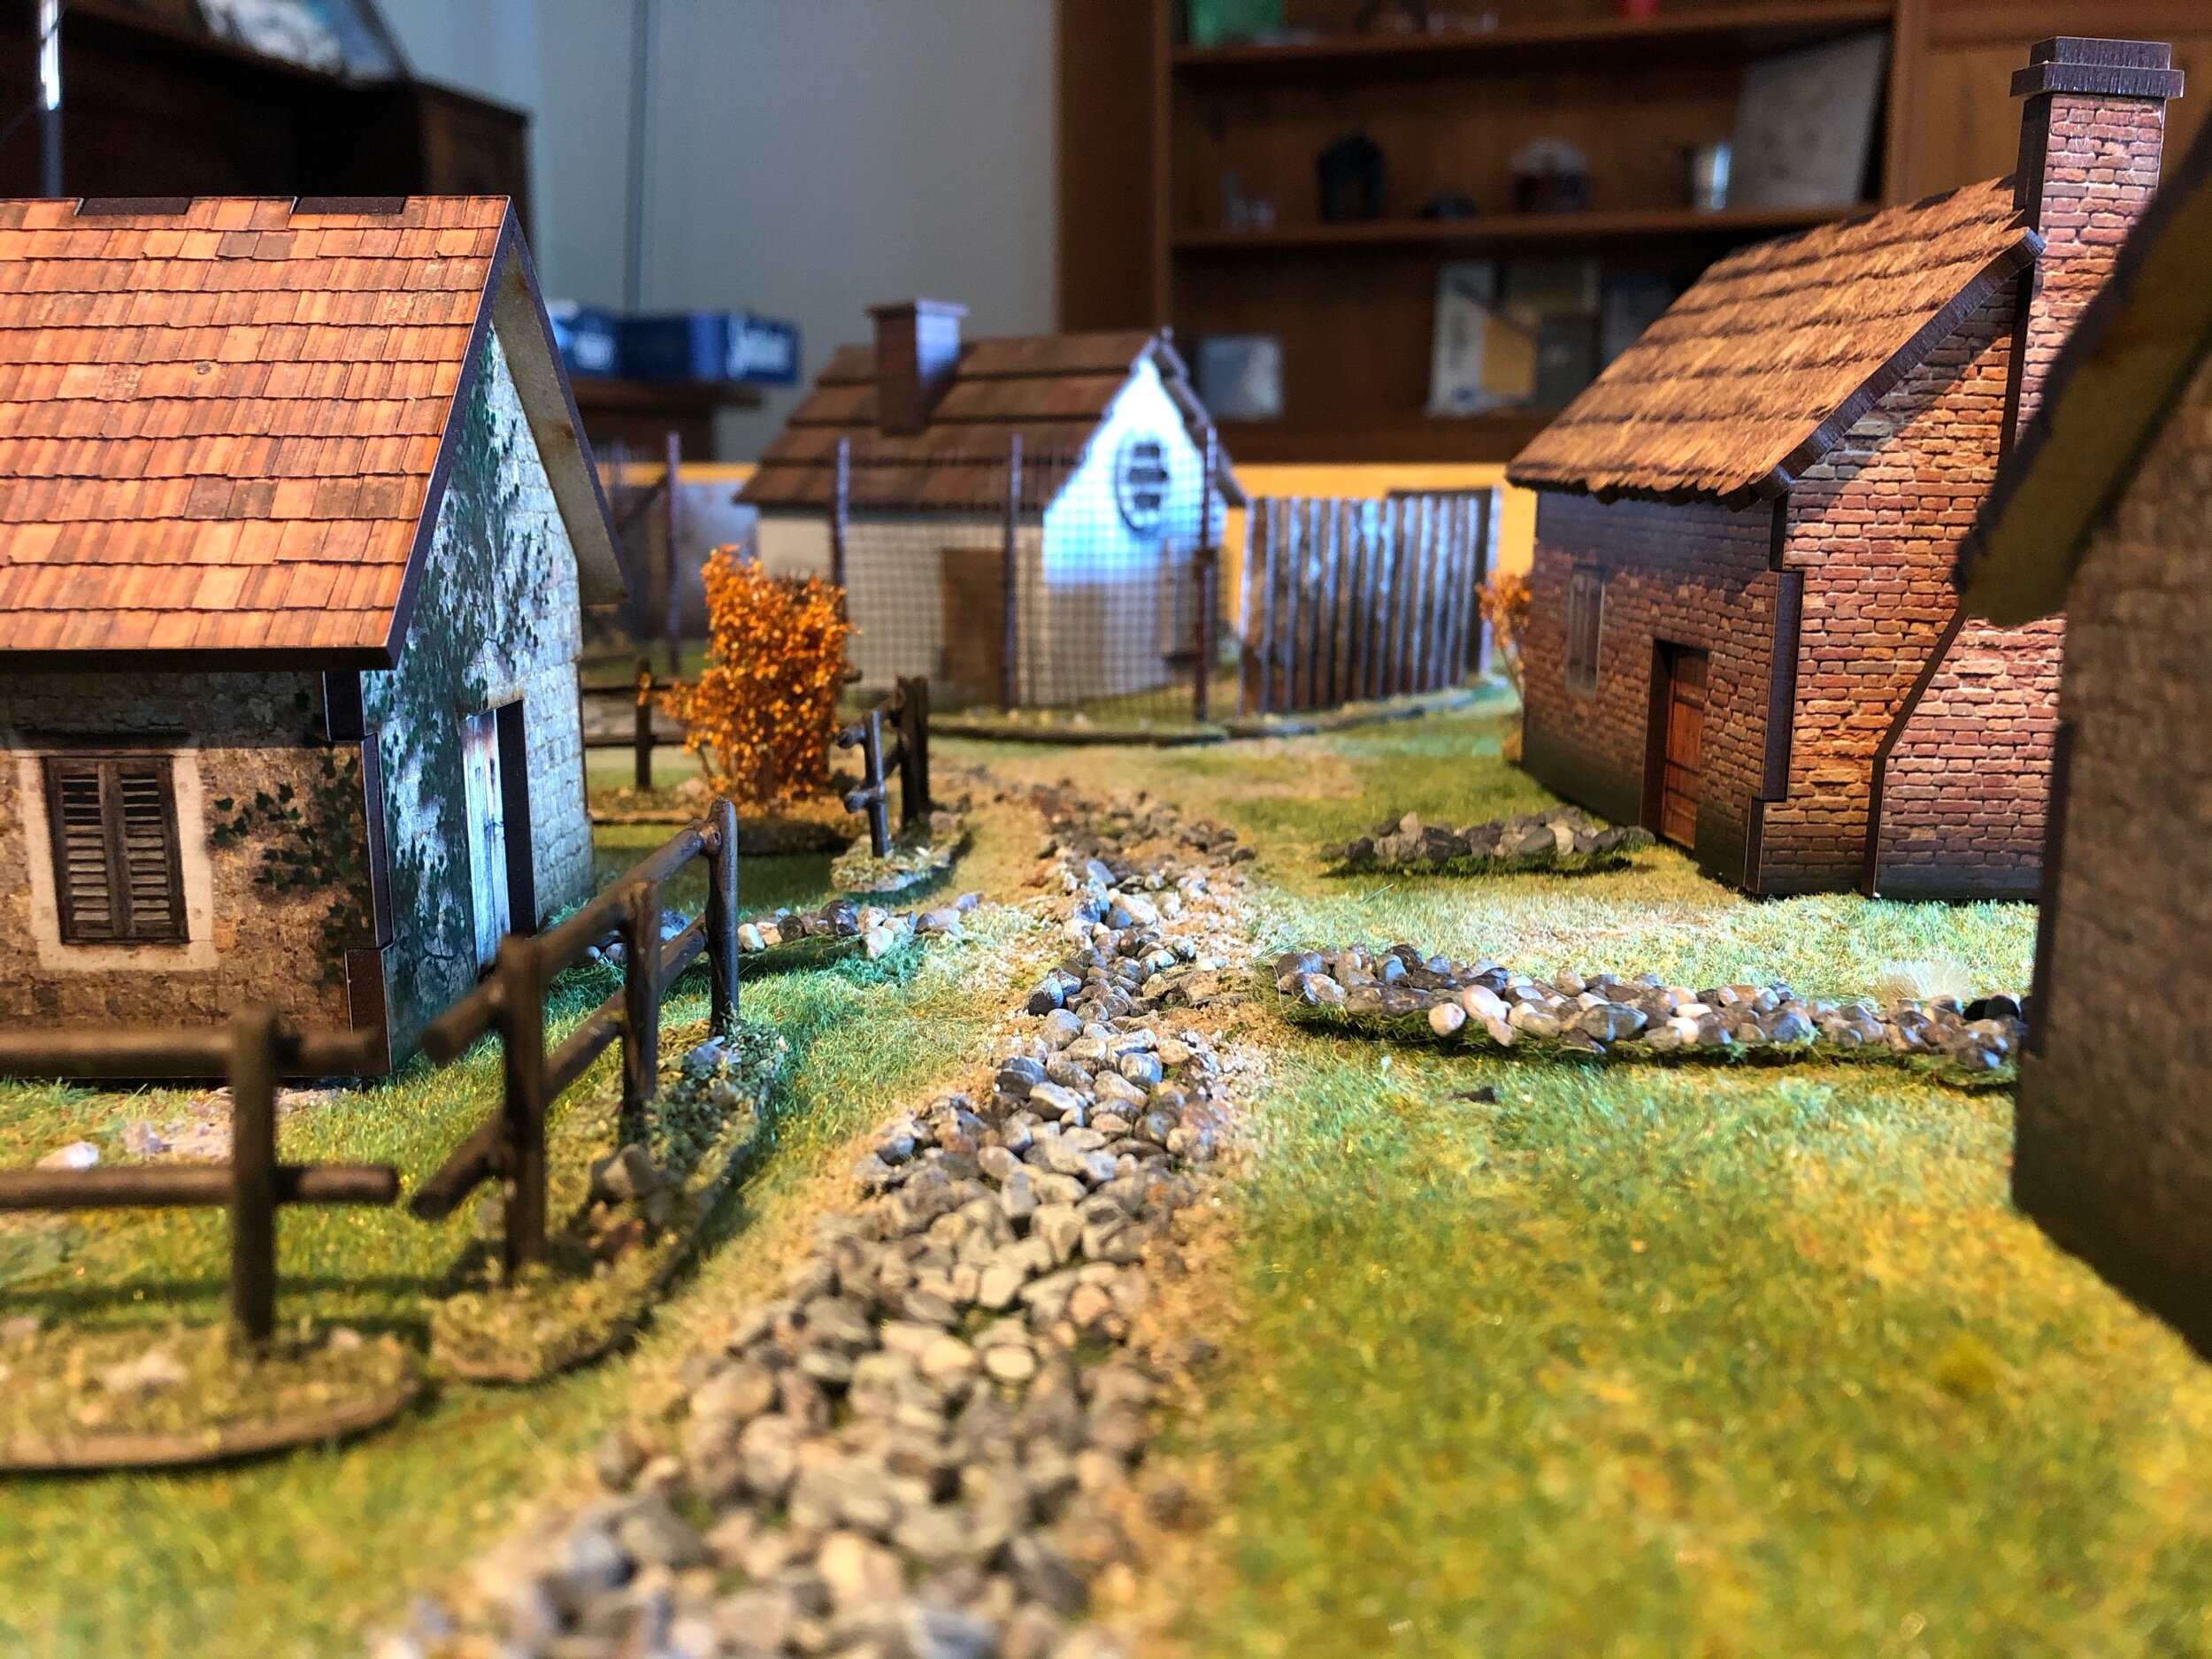
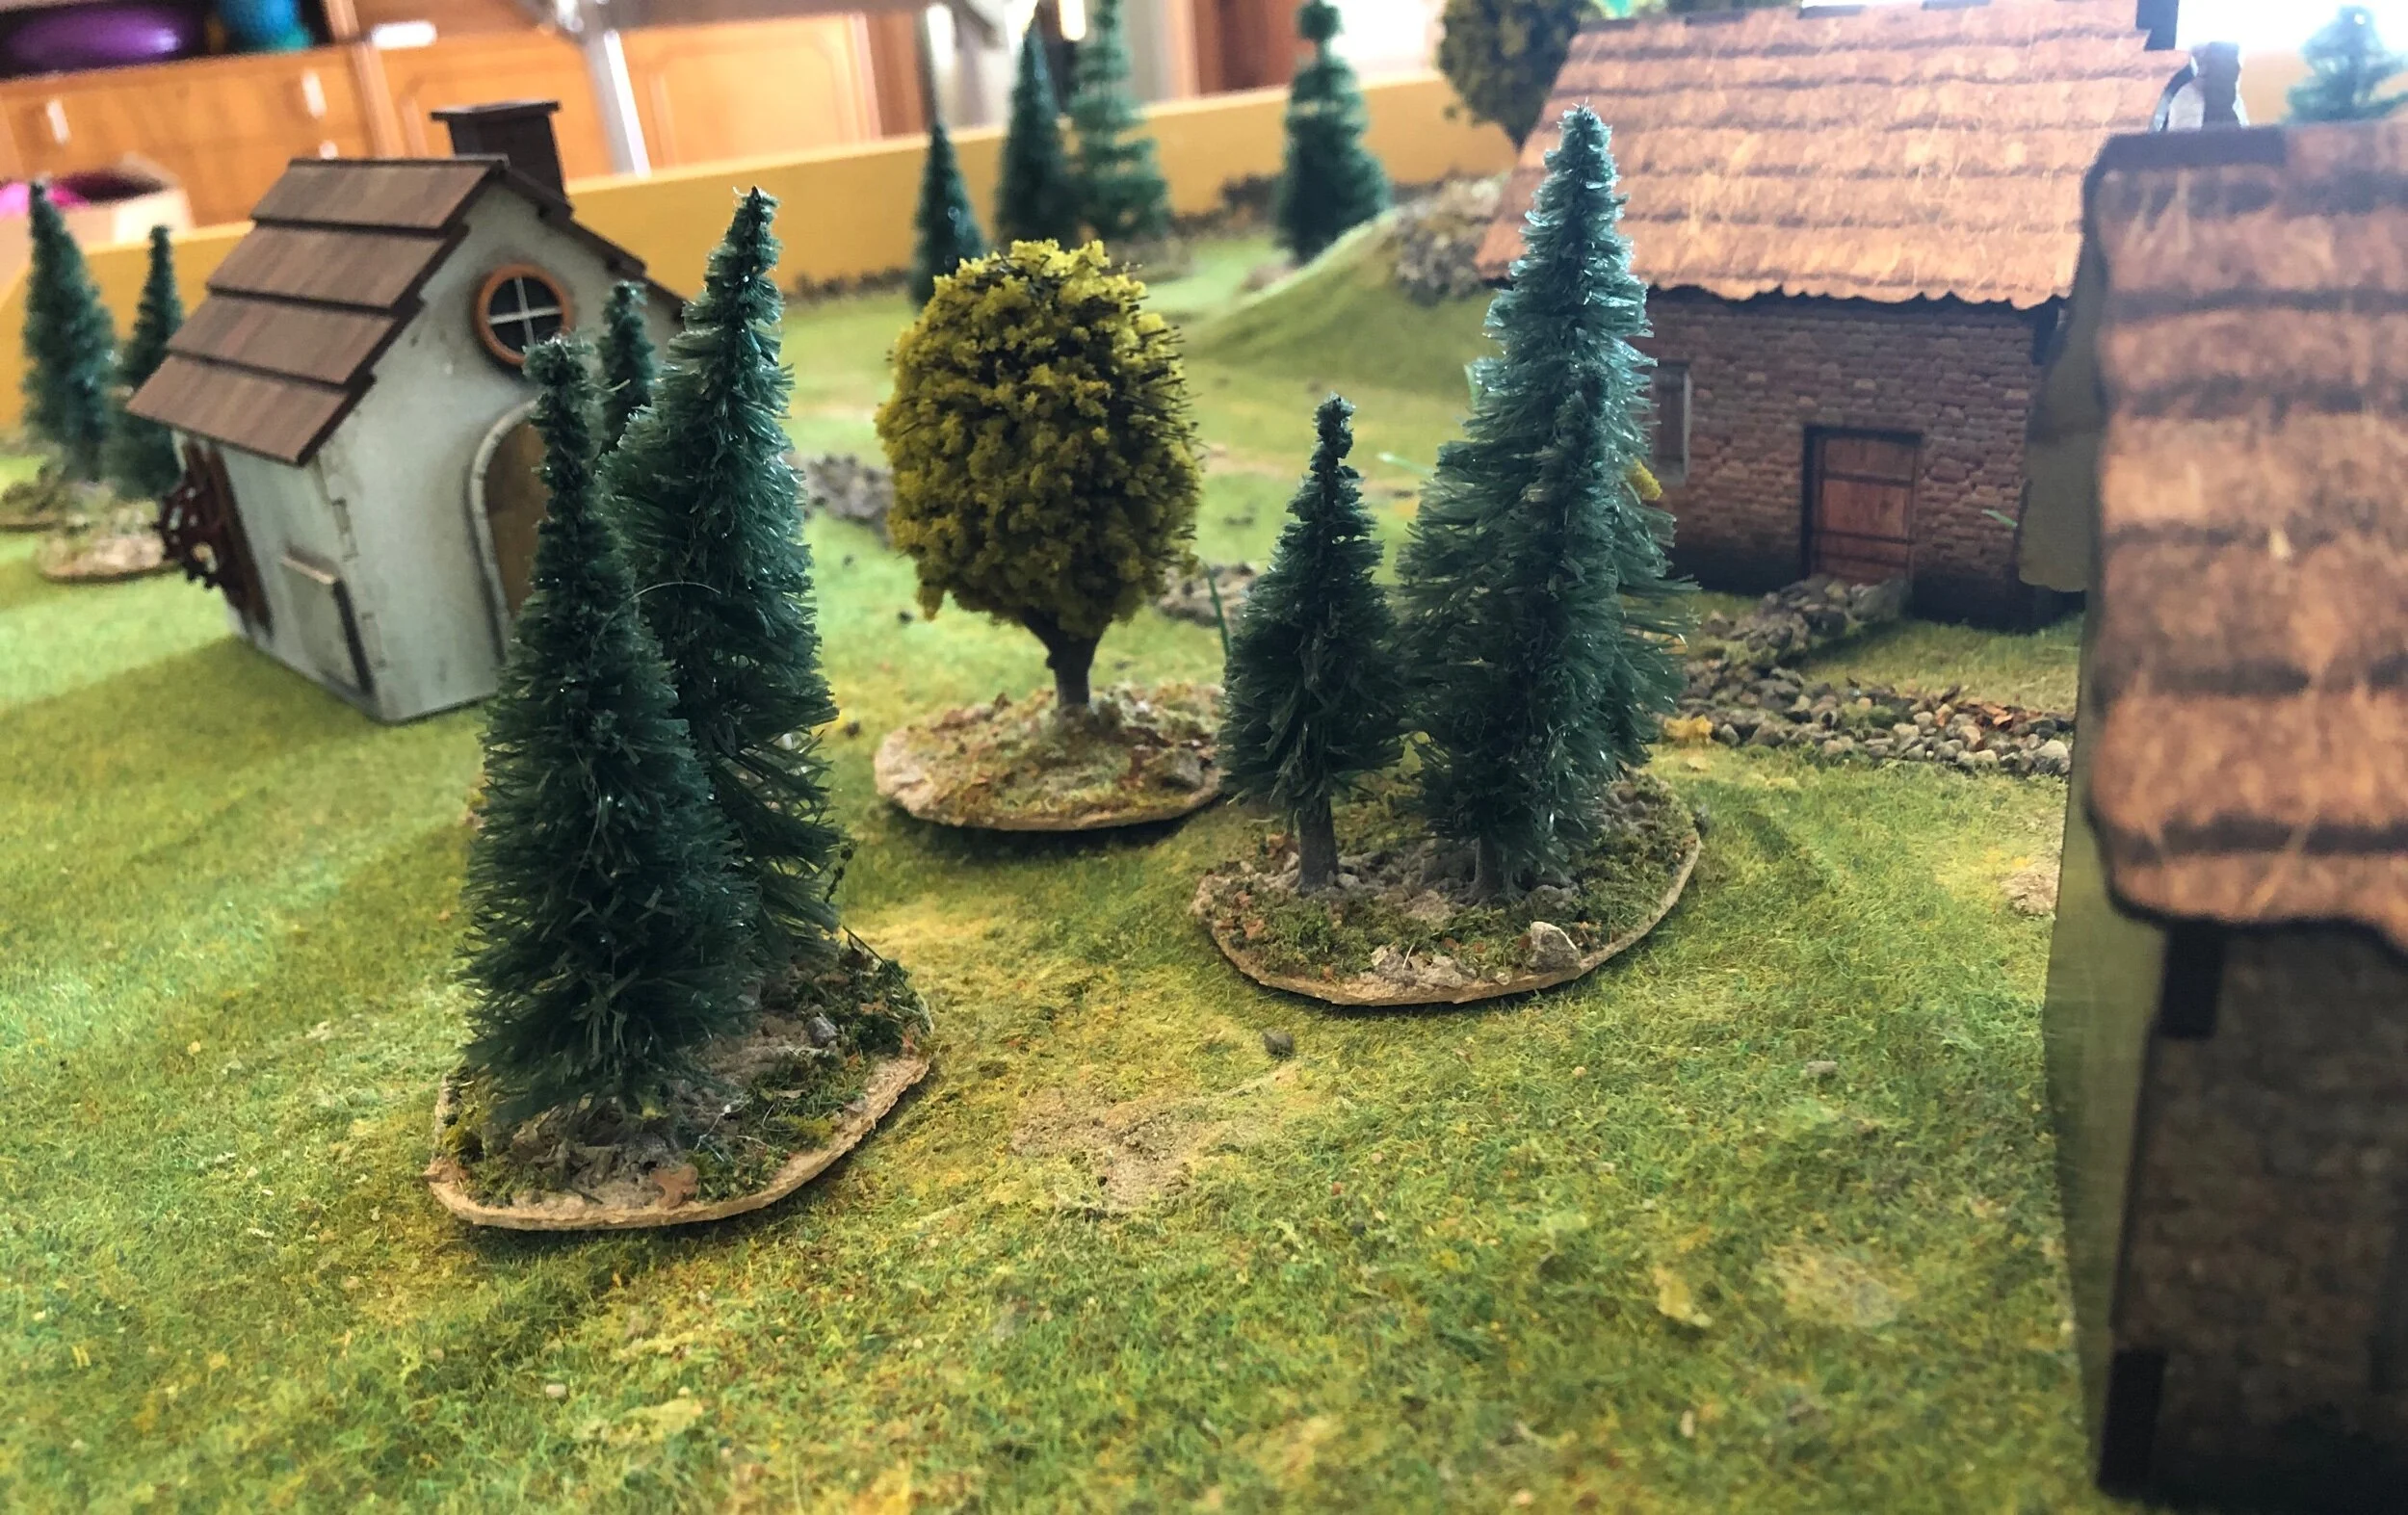
Lets address the elephant in the room. The wish airbrush kit. Back in February I was planning my malifaux table project and I felt it was a good opportunity to test out the concept of an airbrush. Making terrain and terrain pieces seemed like a good start to learn about this painting tool. I have also been curious about these small compressors for next to nothing.
I have been considering an airbrush for some time. The tool is self and what it can do is something I know I could use and get mileage out of. But I have been putting it off for one simple reason. I have a family, 2 kids, 5 dogs, 1 big house and a full time job. My hobby time is very sporadic. And many times I need to drop my painting on short notice and come back much later. An airbrush can’t sit with paint in it for to long and need to be cleaned between sessions. This have been my biggest issue. Would an airbrush fit my life and hobby arrangement right now?
So, spending 30 euro on an Airbrush kit of an unknown quality seemed like a reasonable step. If it doesn’t work as expected or don’t fit in my hobby life, then I haven’t spent to much money on this experiment.
Due to corona I received the airbrush kit 3 months after I ordered it. So basically when I had finished the gaming table. So instead of using it to paint terrain I jumped straight to miniatures.


Before my purchase I made sure the airbrush and compressor had some key features. The compressor needed to be able to produce a psi of at least 30psi. It also needs to have a water filter and be able to adjust the air pressure.
For the airbrush I needed it to be dual action, controlling air pressure and paint flow separately. It also needed to be gravity feed and have a relatively small needle. I found one for about 30 euros including shipping.
I took a week and played around with the kit once it arrived. I had a couple of concerns. One was that the compressor wouldn’t produce 30psi. The other was that the compressor wouldn’t be able to hold a even air pressure when you paint. The third was heat. Being so small and without a tank I could imagine that it could get quite hot if it was working longer periods of time.
The kit I got have non of the issues mentioned above. It works great and behaves like I had hoped. For the airbrush it self I had no real expectations. I just wanted it to be able to do some basic stuff.
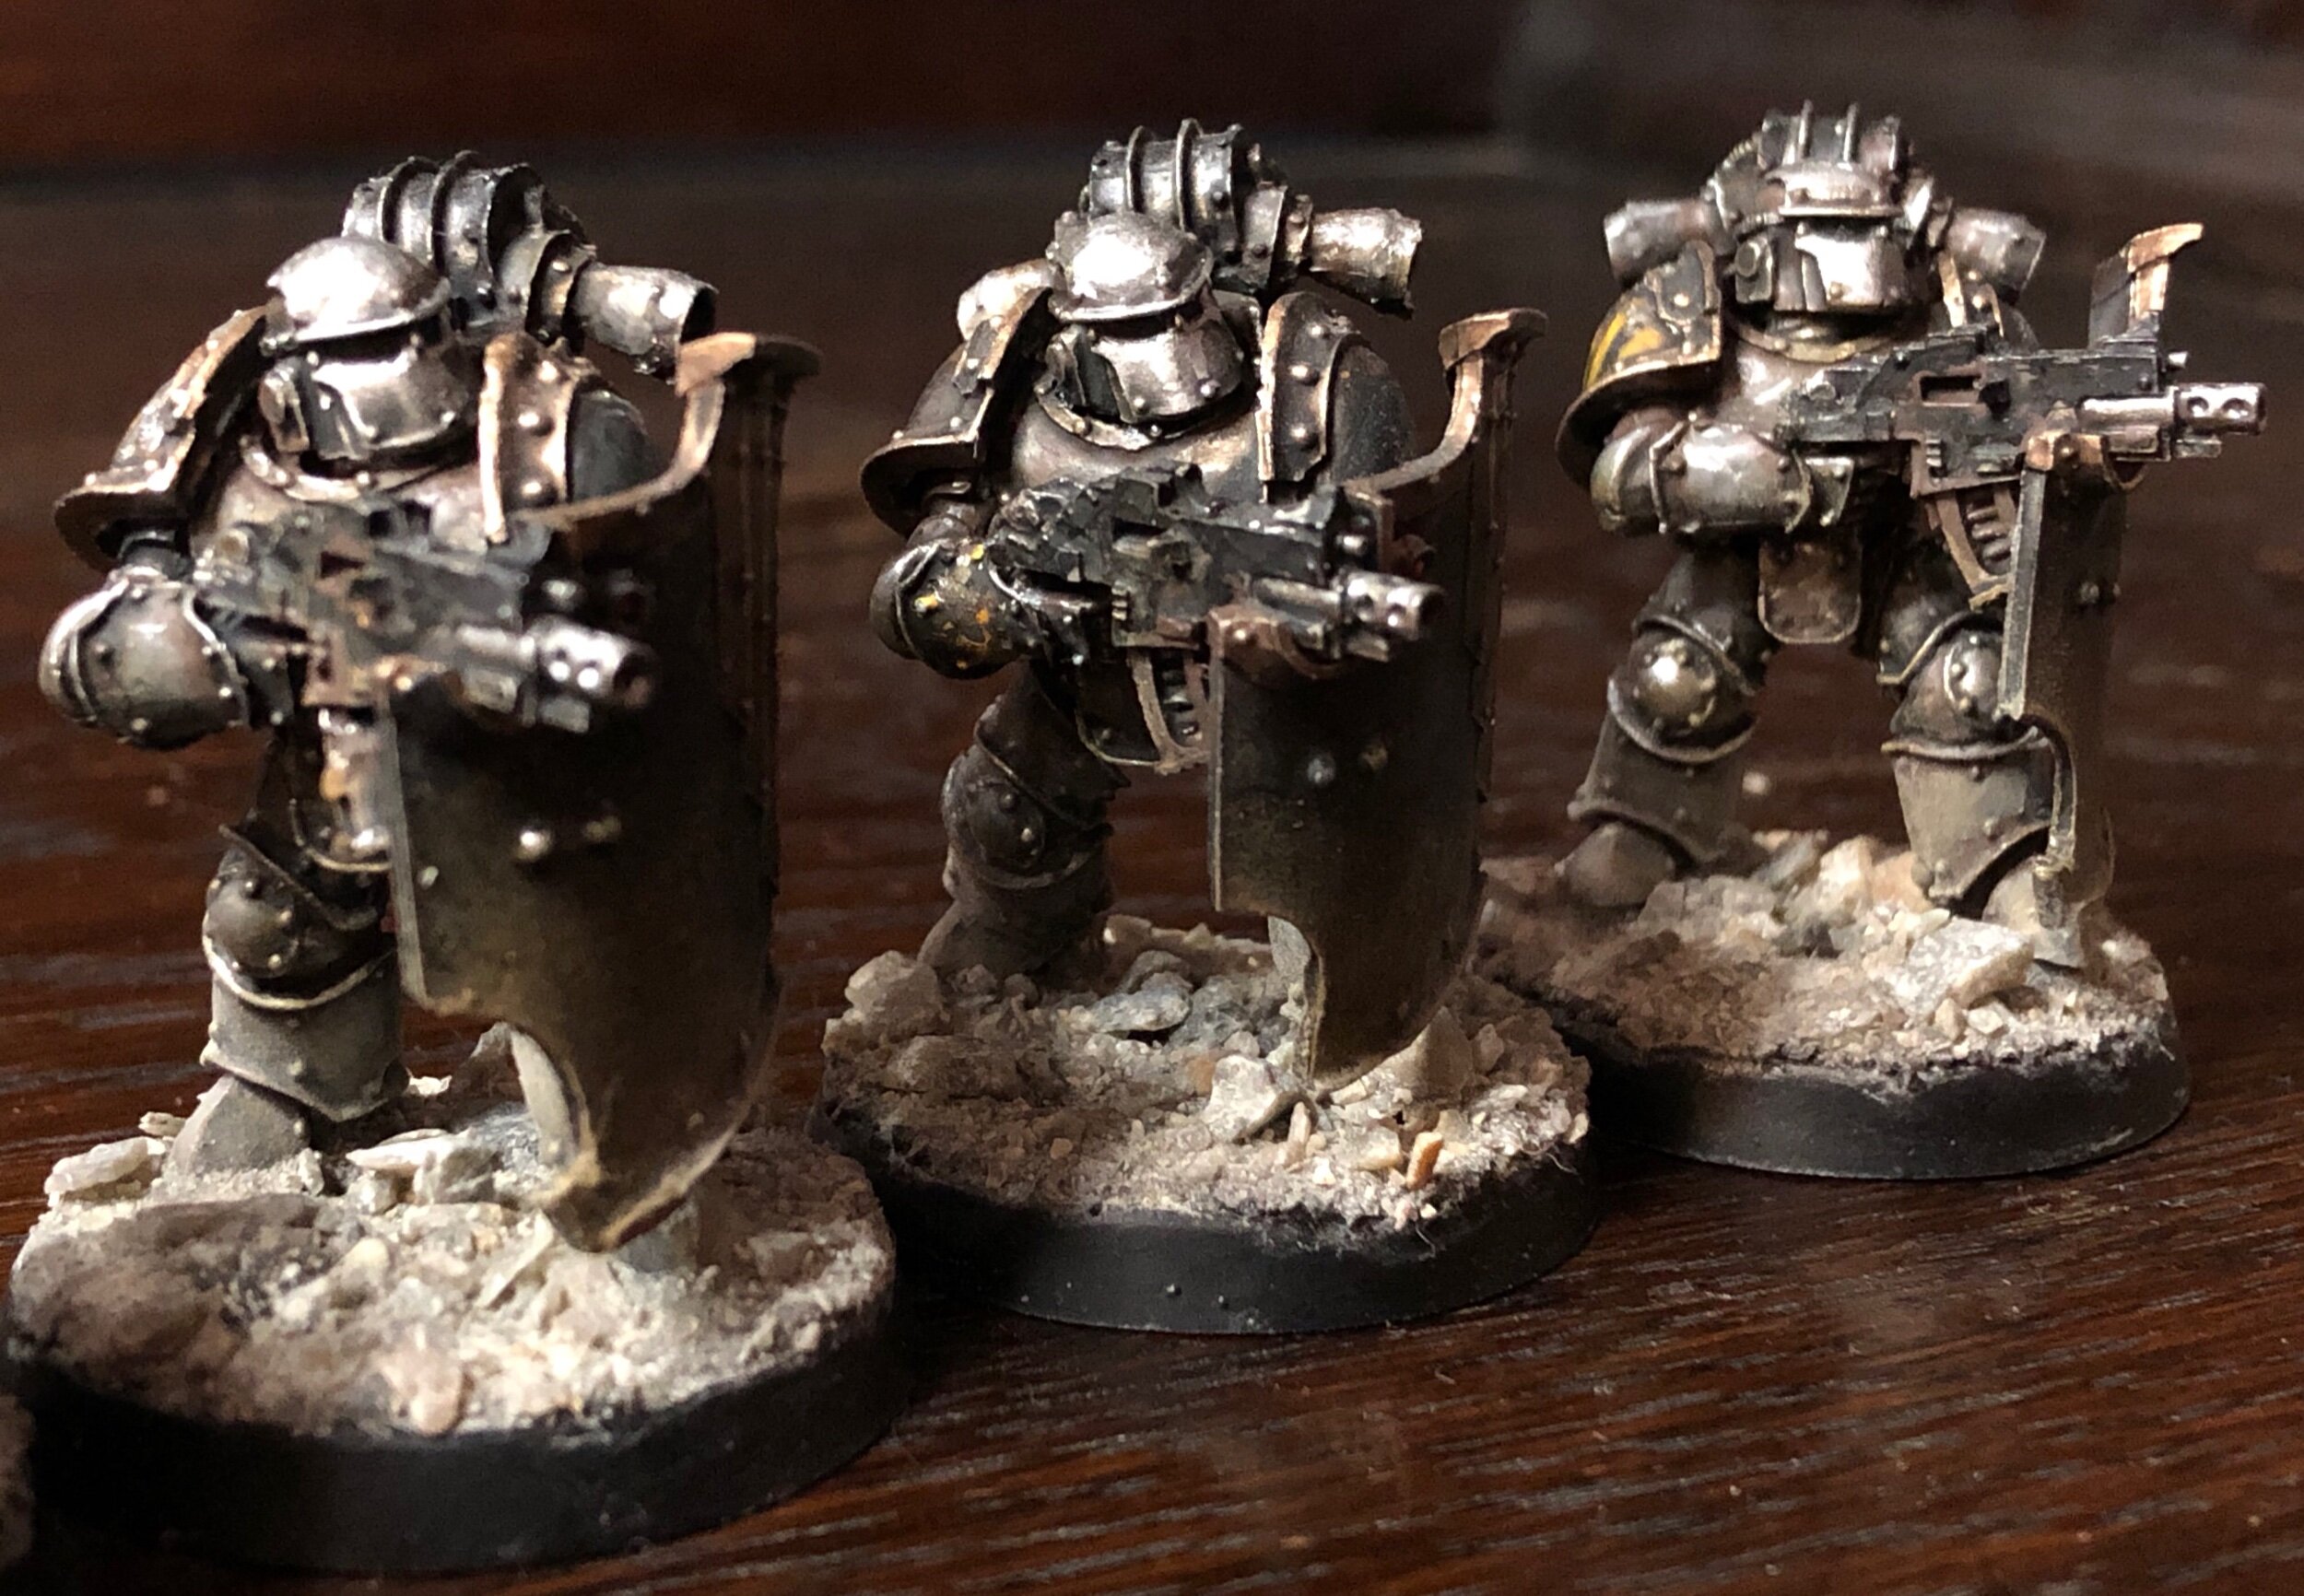
All in all the small and cheap little setup works great. I have been able to prime, base coat, make surface lighting, surface highlighting and smaller lighting with it without and issues. The first real project was my New malifaux crew. And the airbrush worked for about 1,5 hours straight without burning up so I am pleased.
Would I recommend this type of airbrush kit? Firstly I don’t know how long the compressor will live. It might die on me within a month, a year or never. I also don’t know if the quality is consistent for every product and kit. But the one I have here worked as intended and I can’t point out any real issues with it. For learning and trying the concept out it have been well worth it’s money for me.
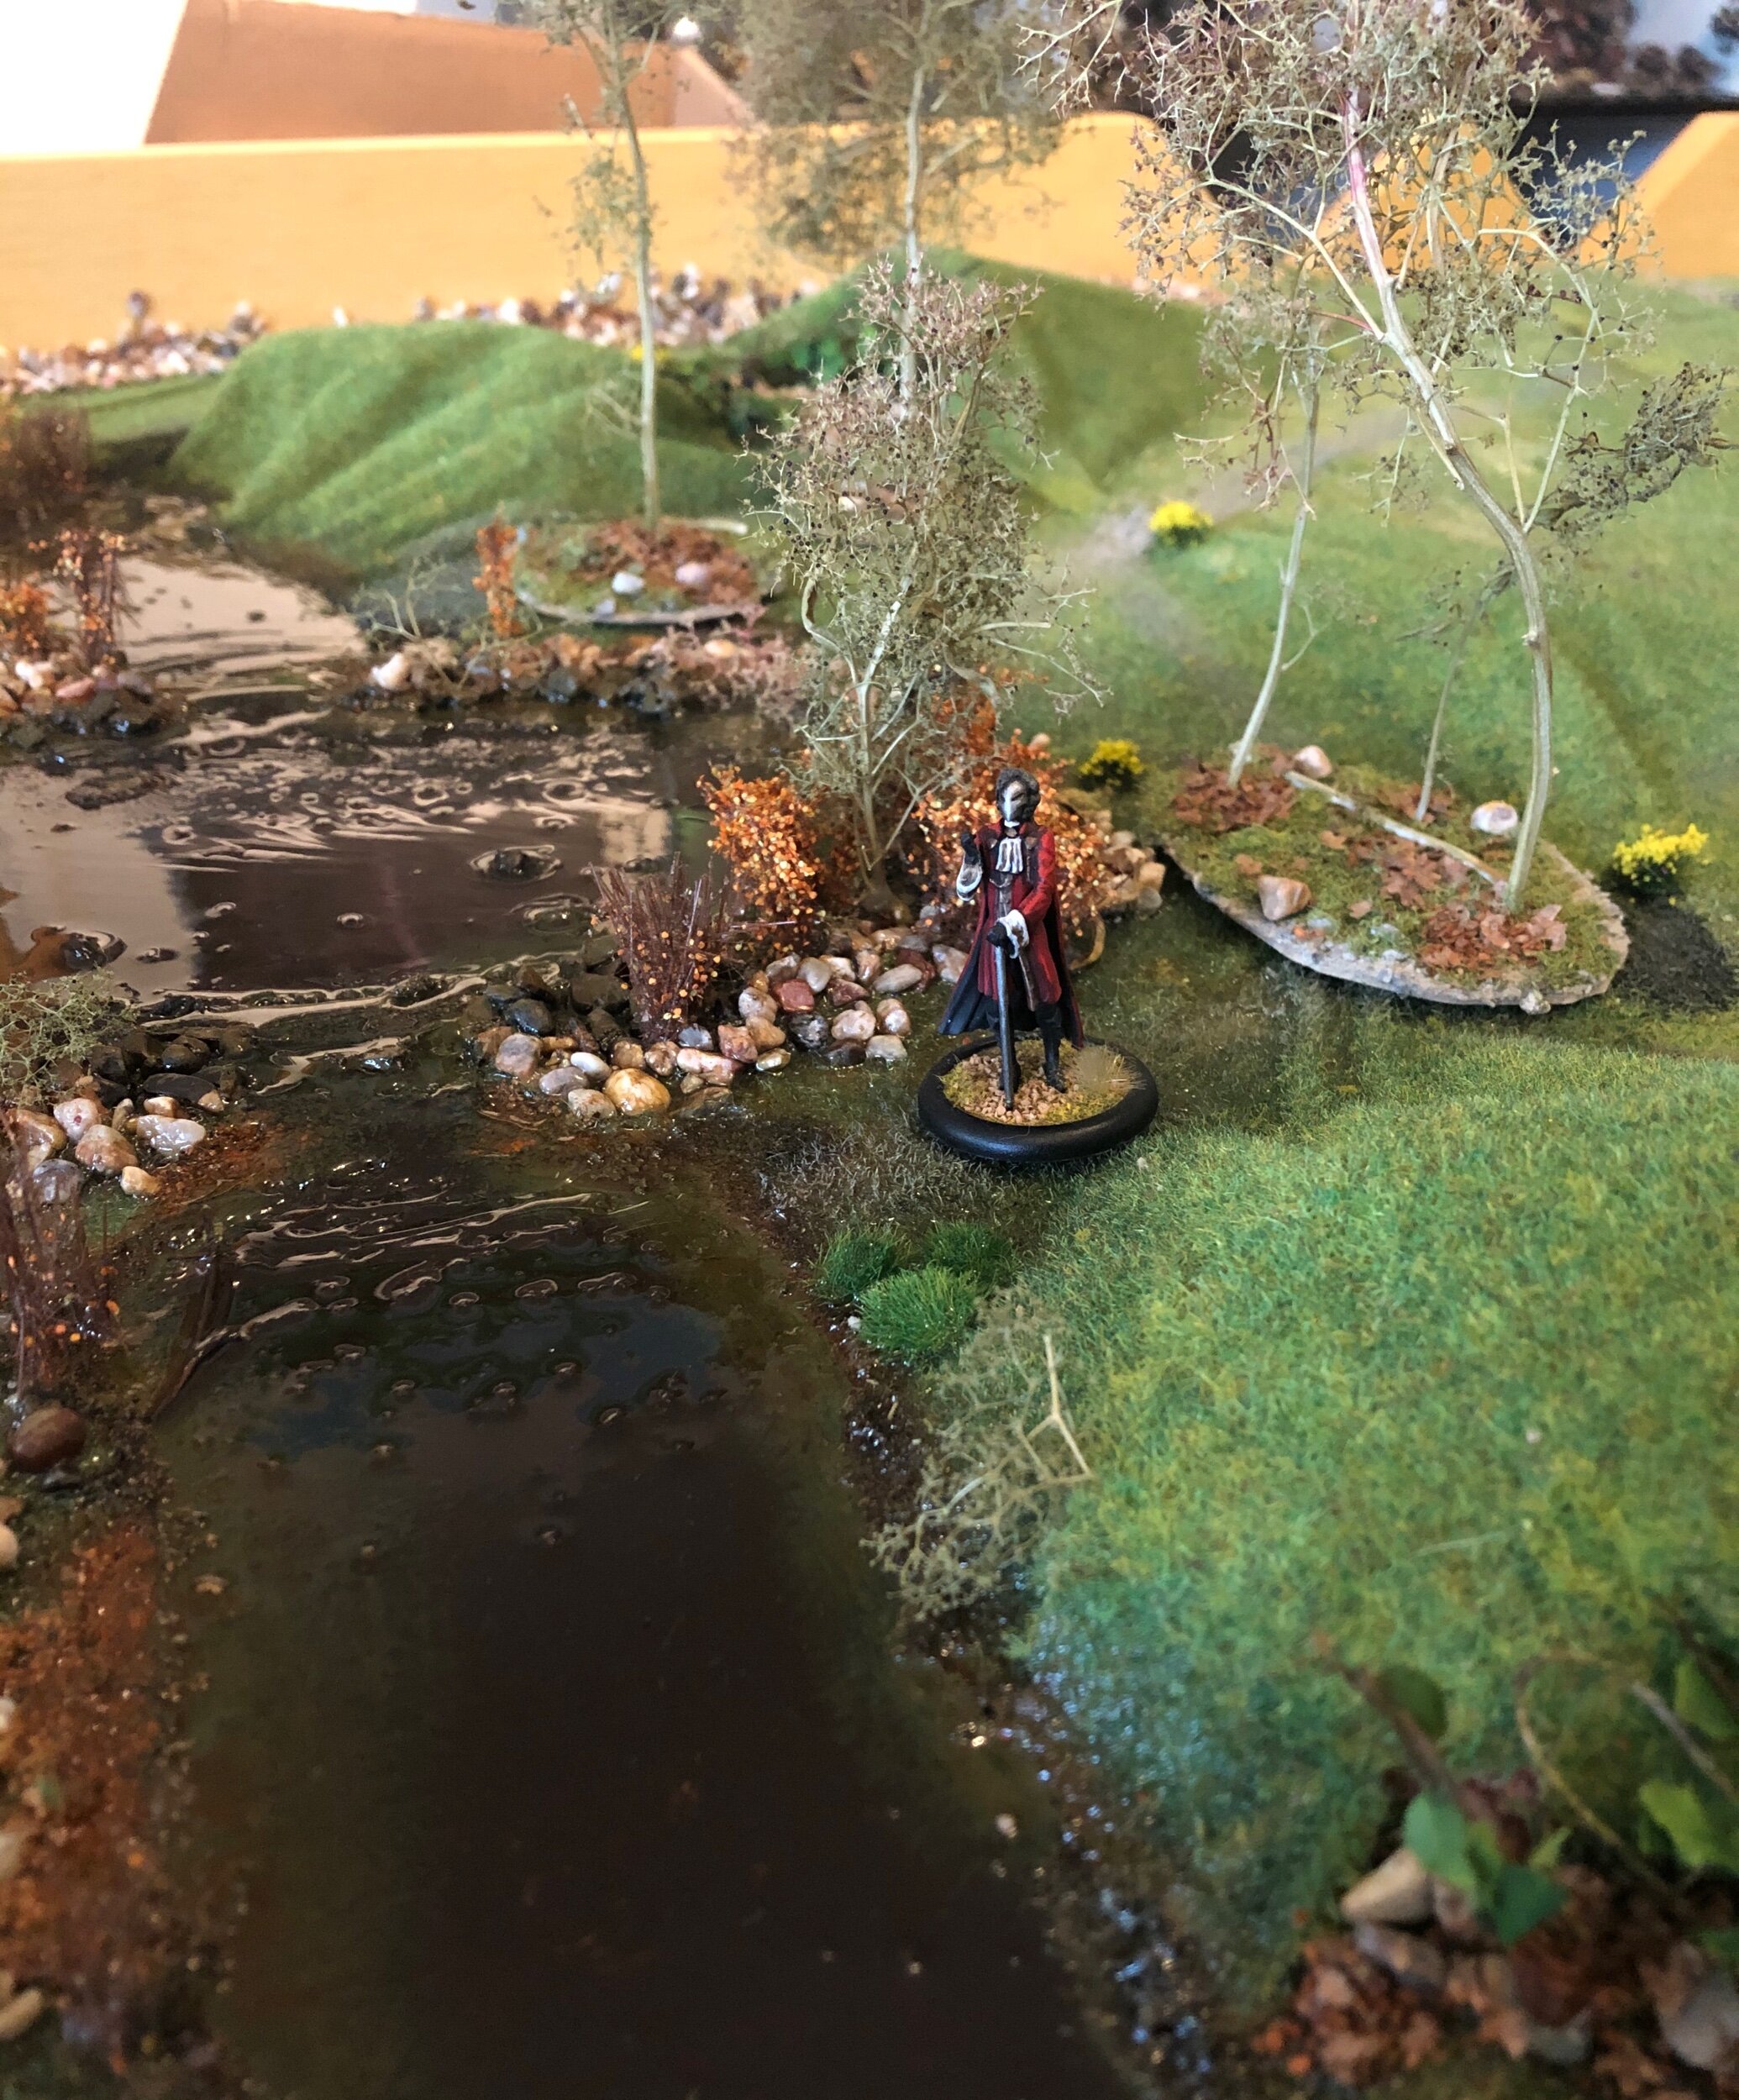
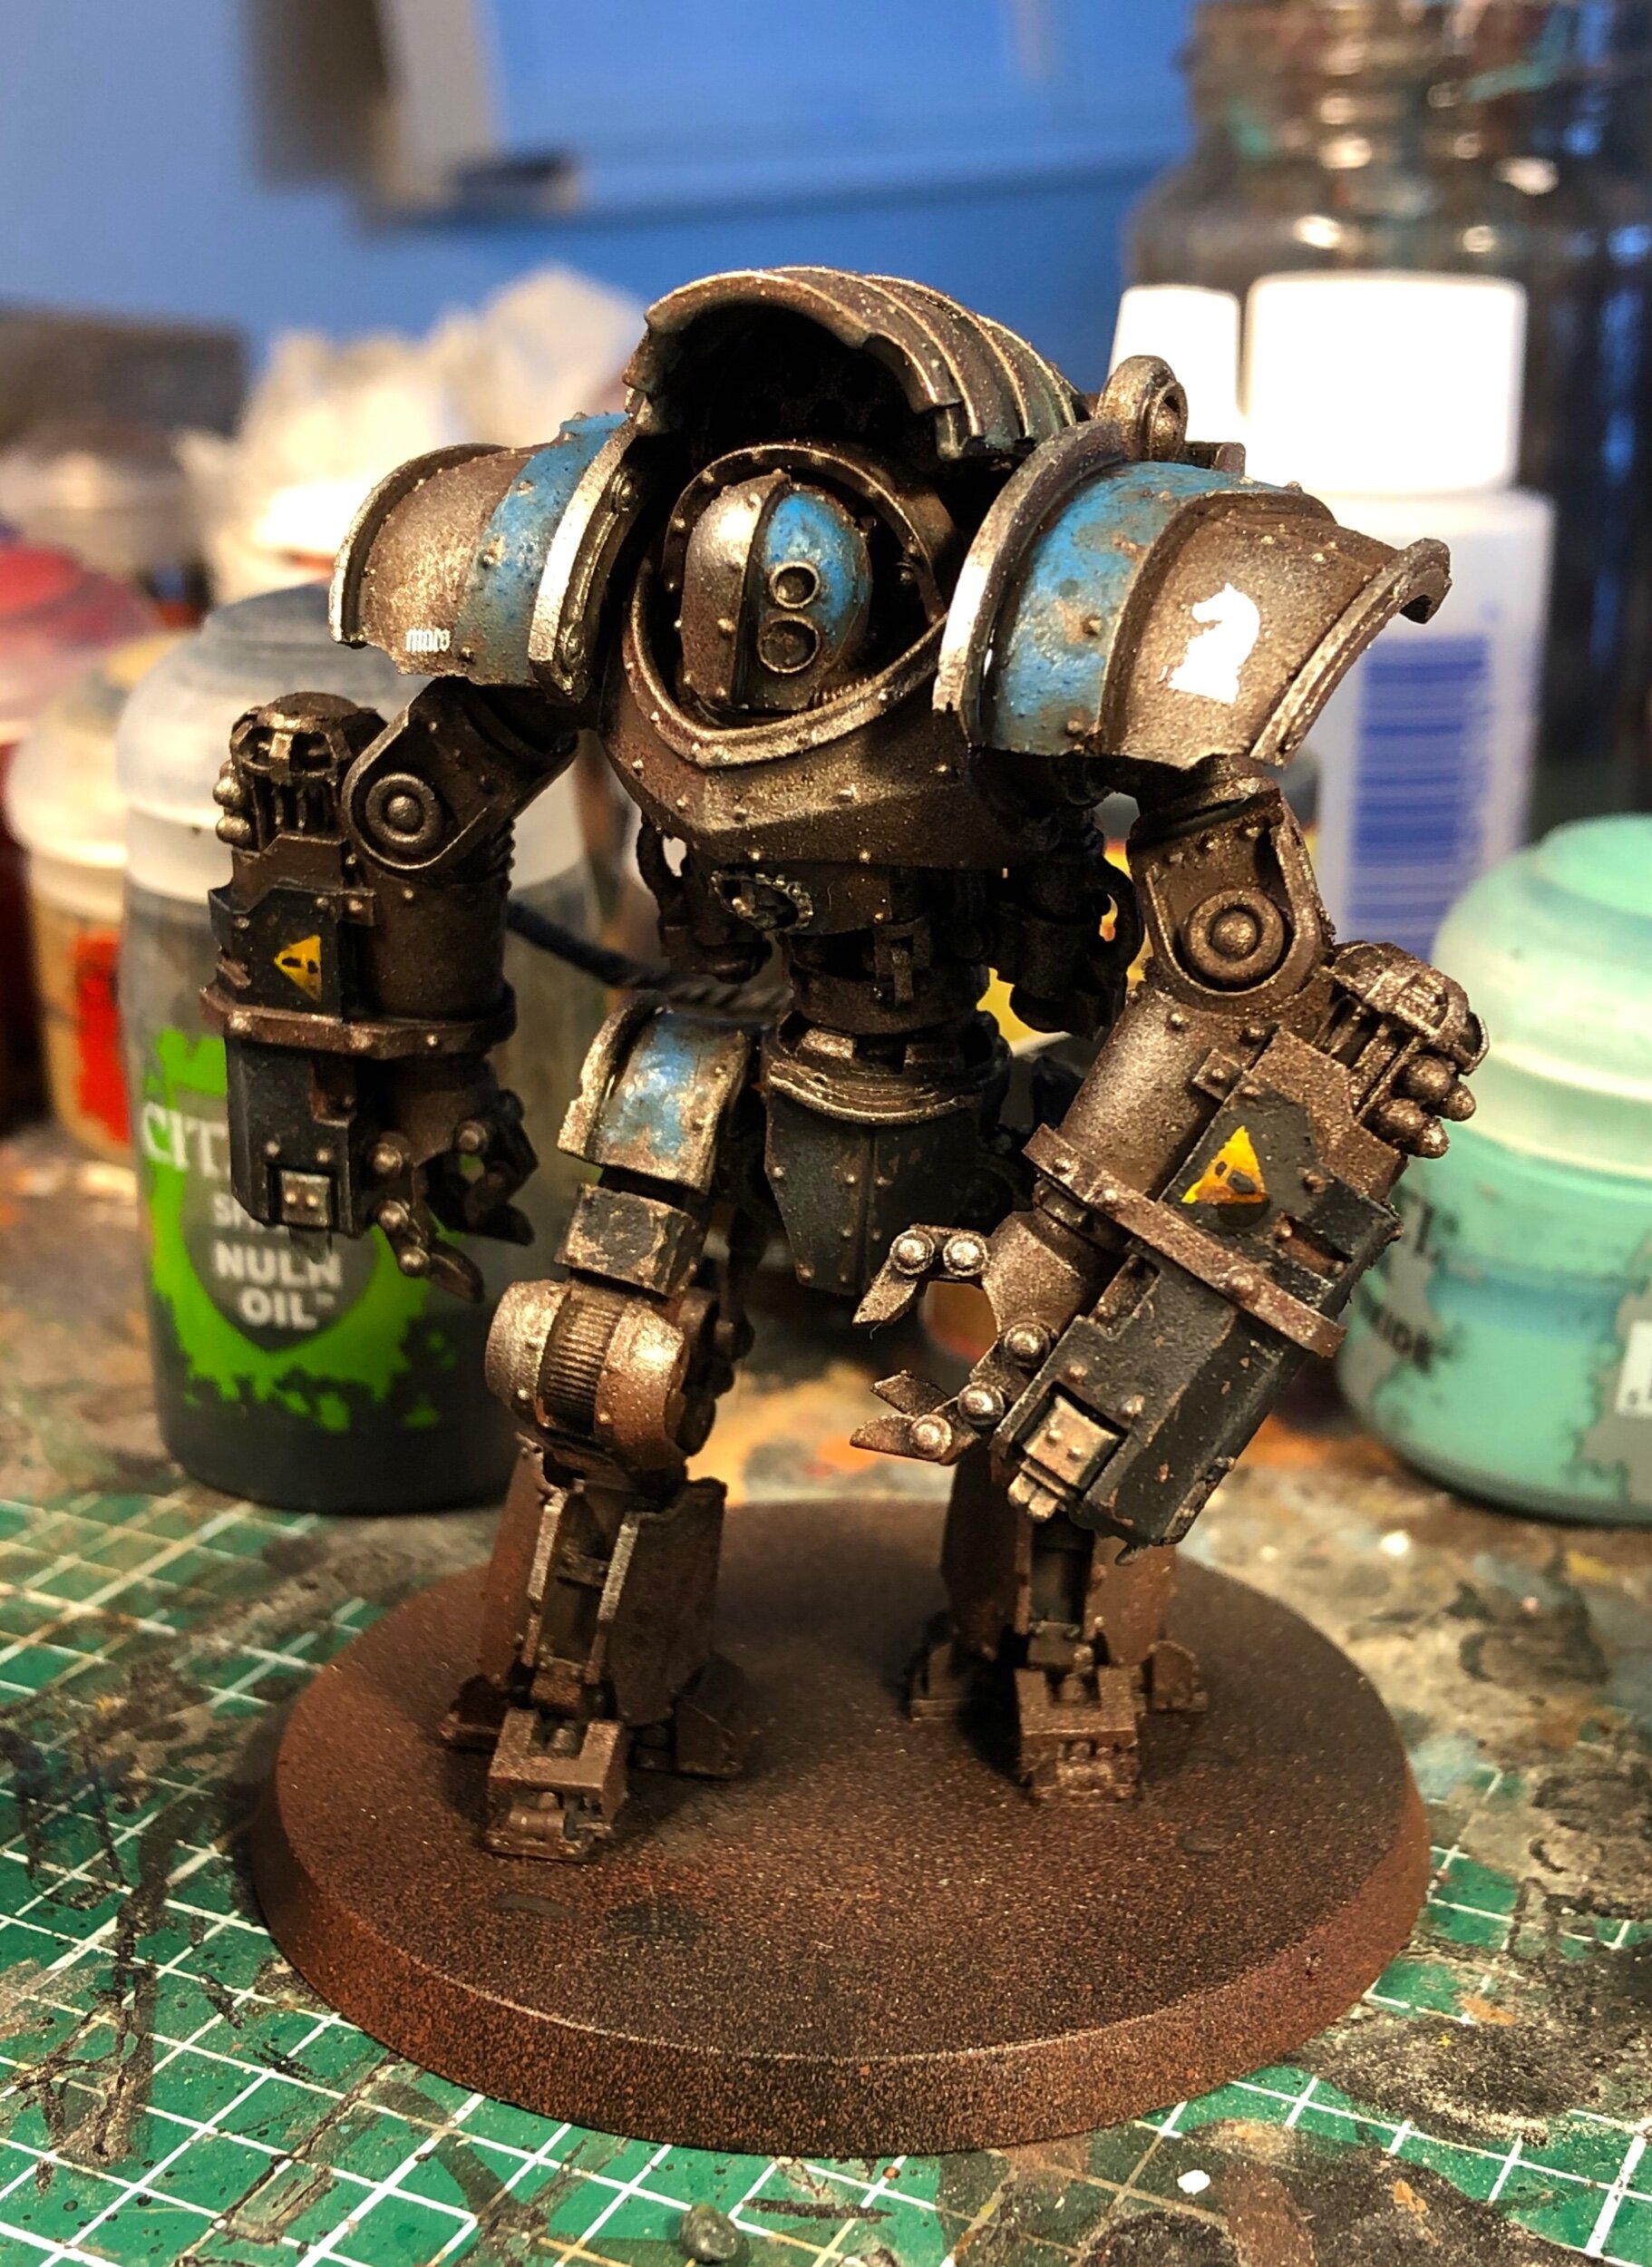
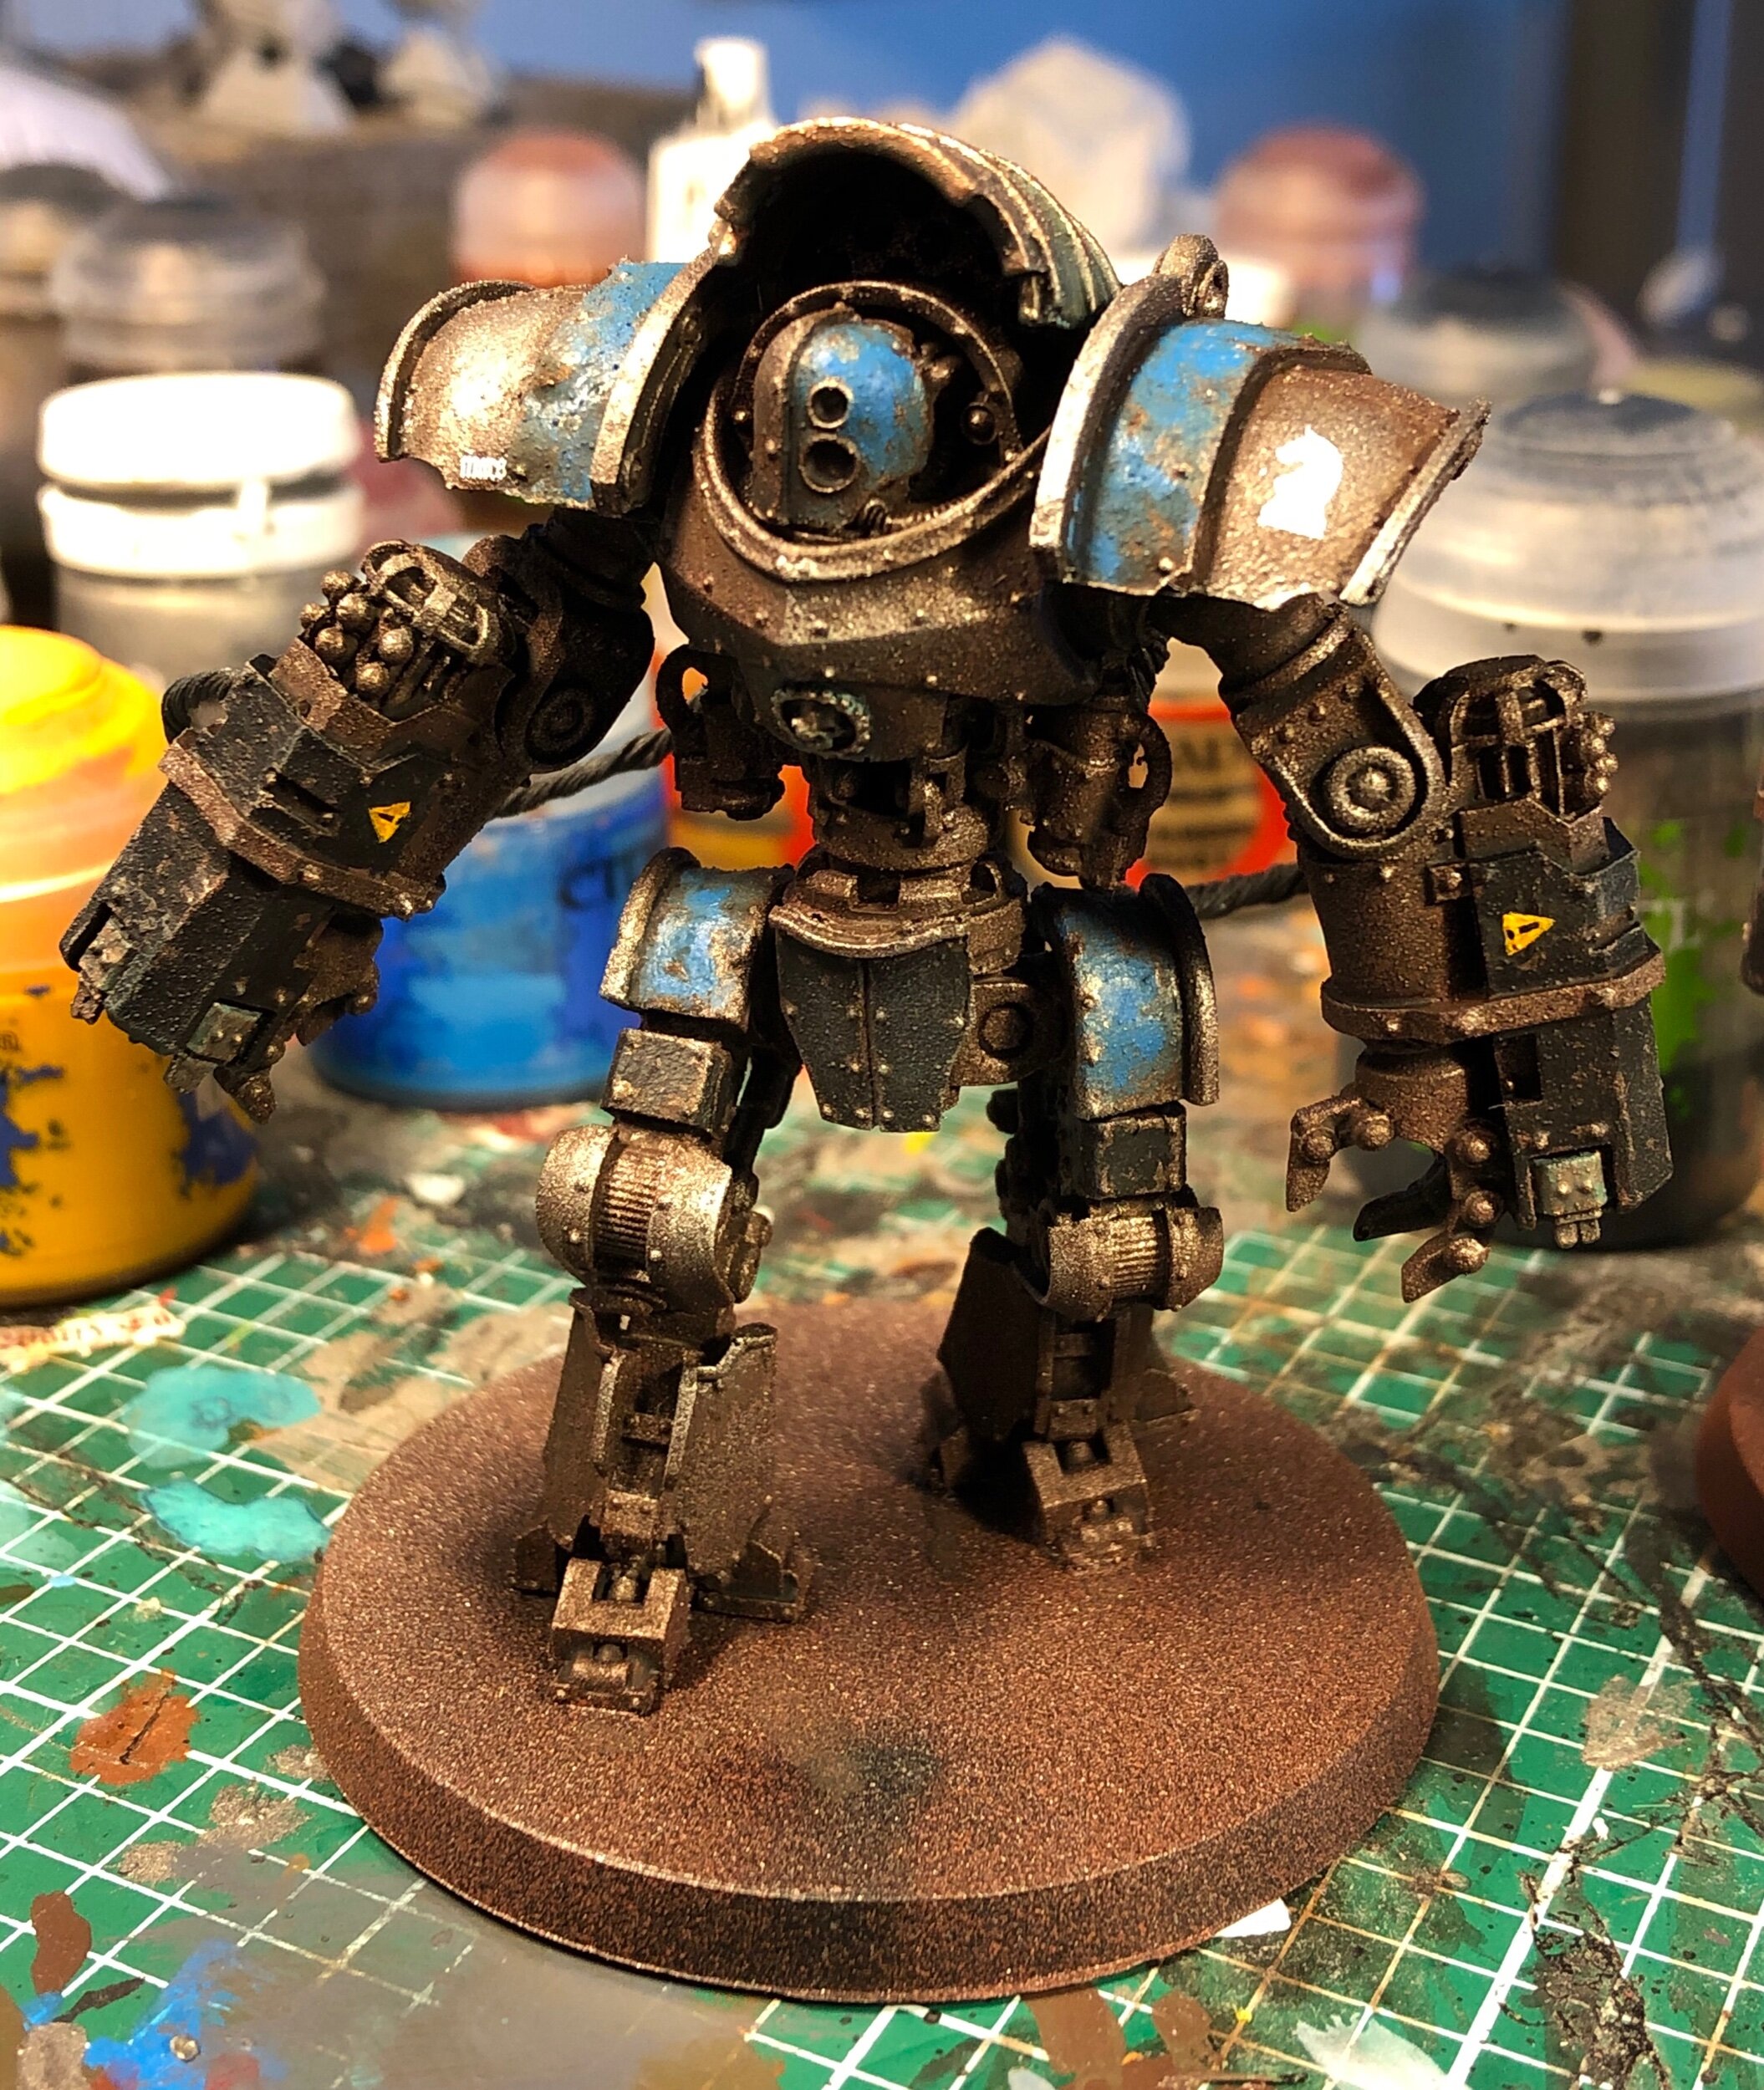
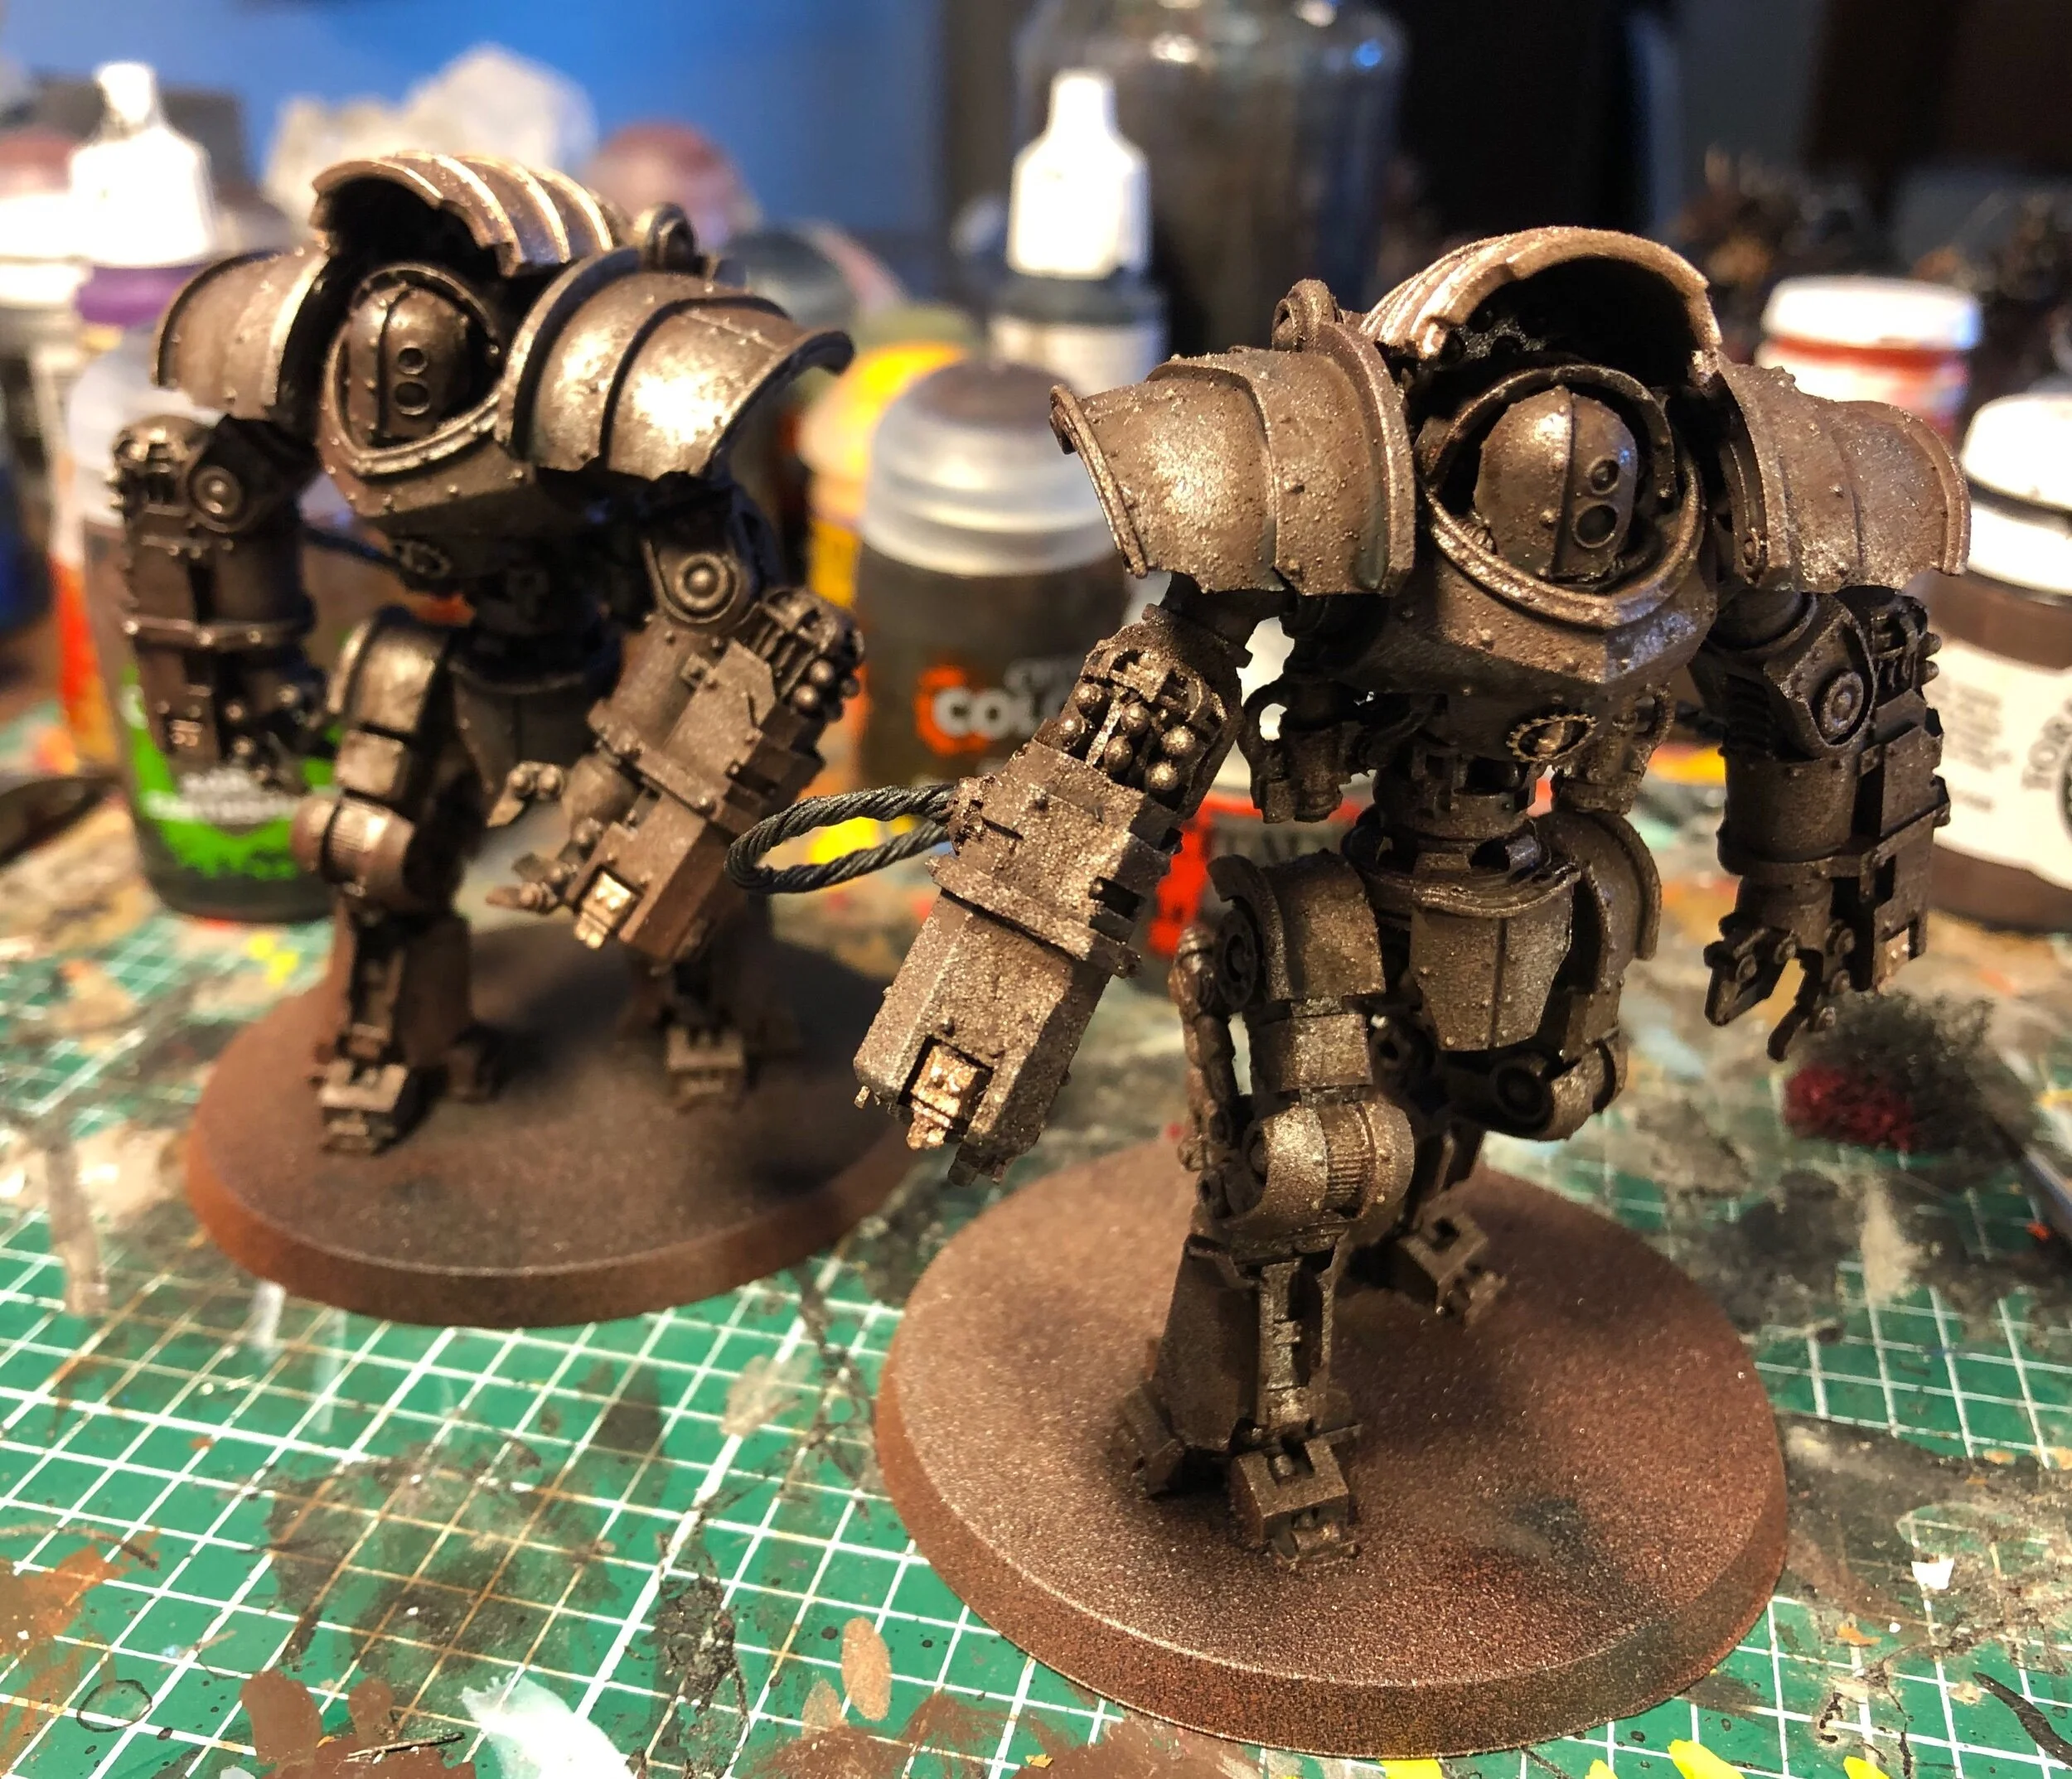
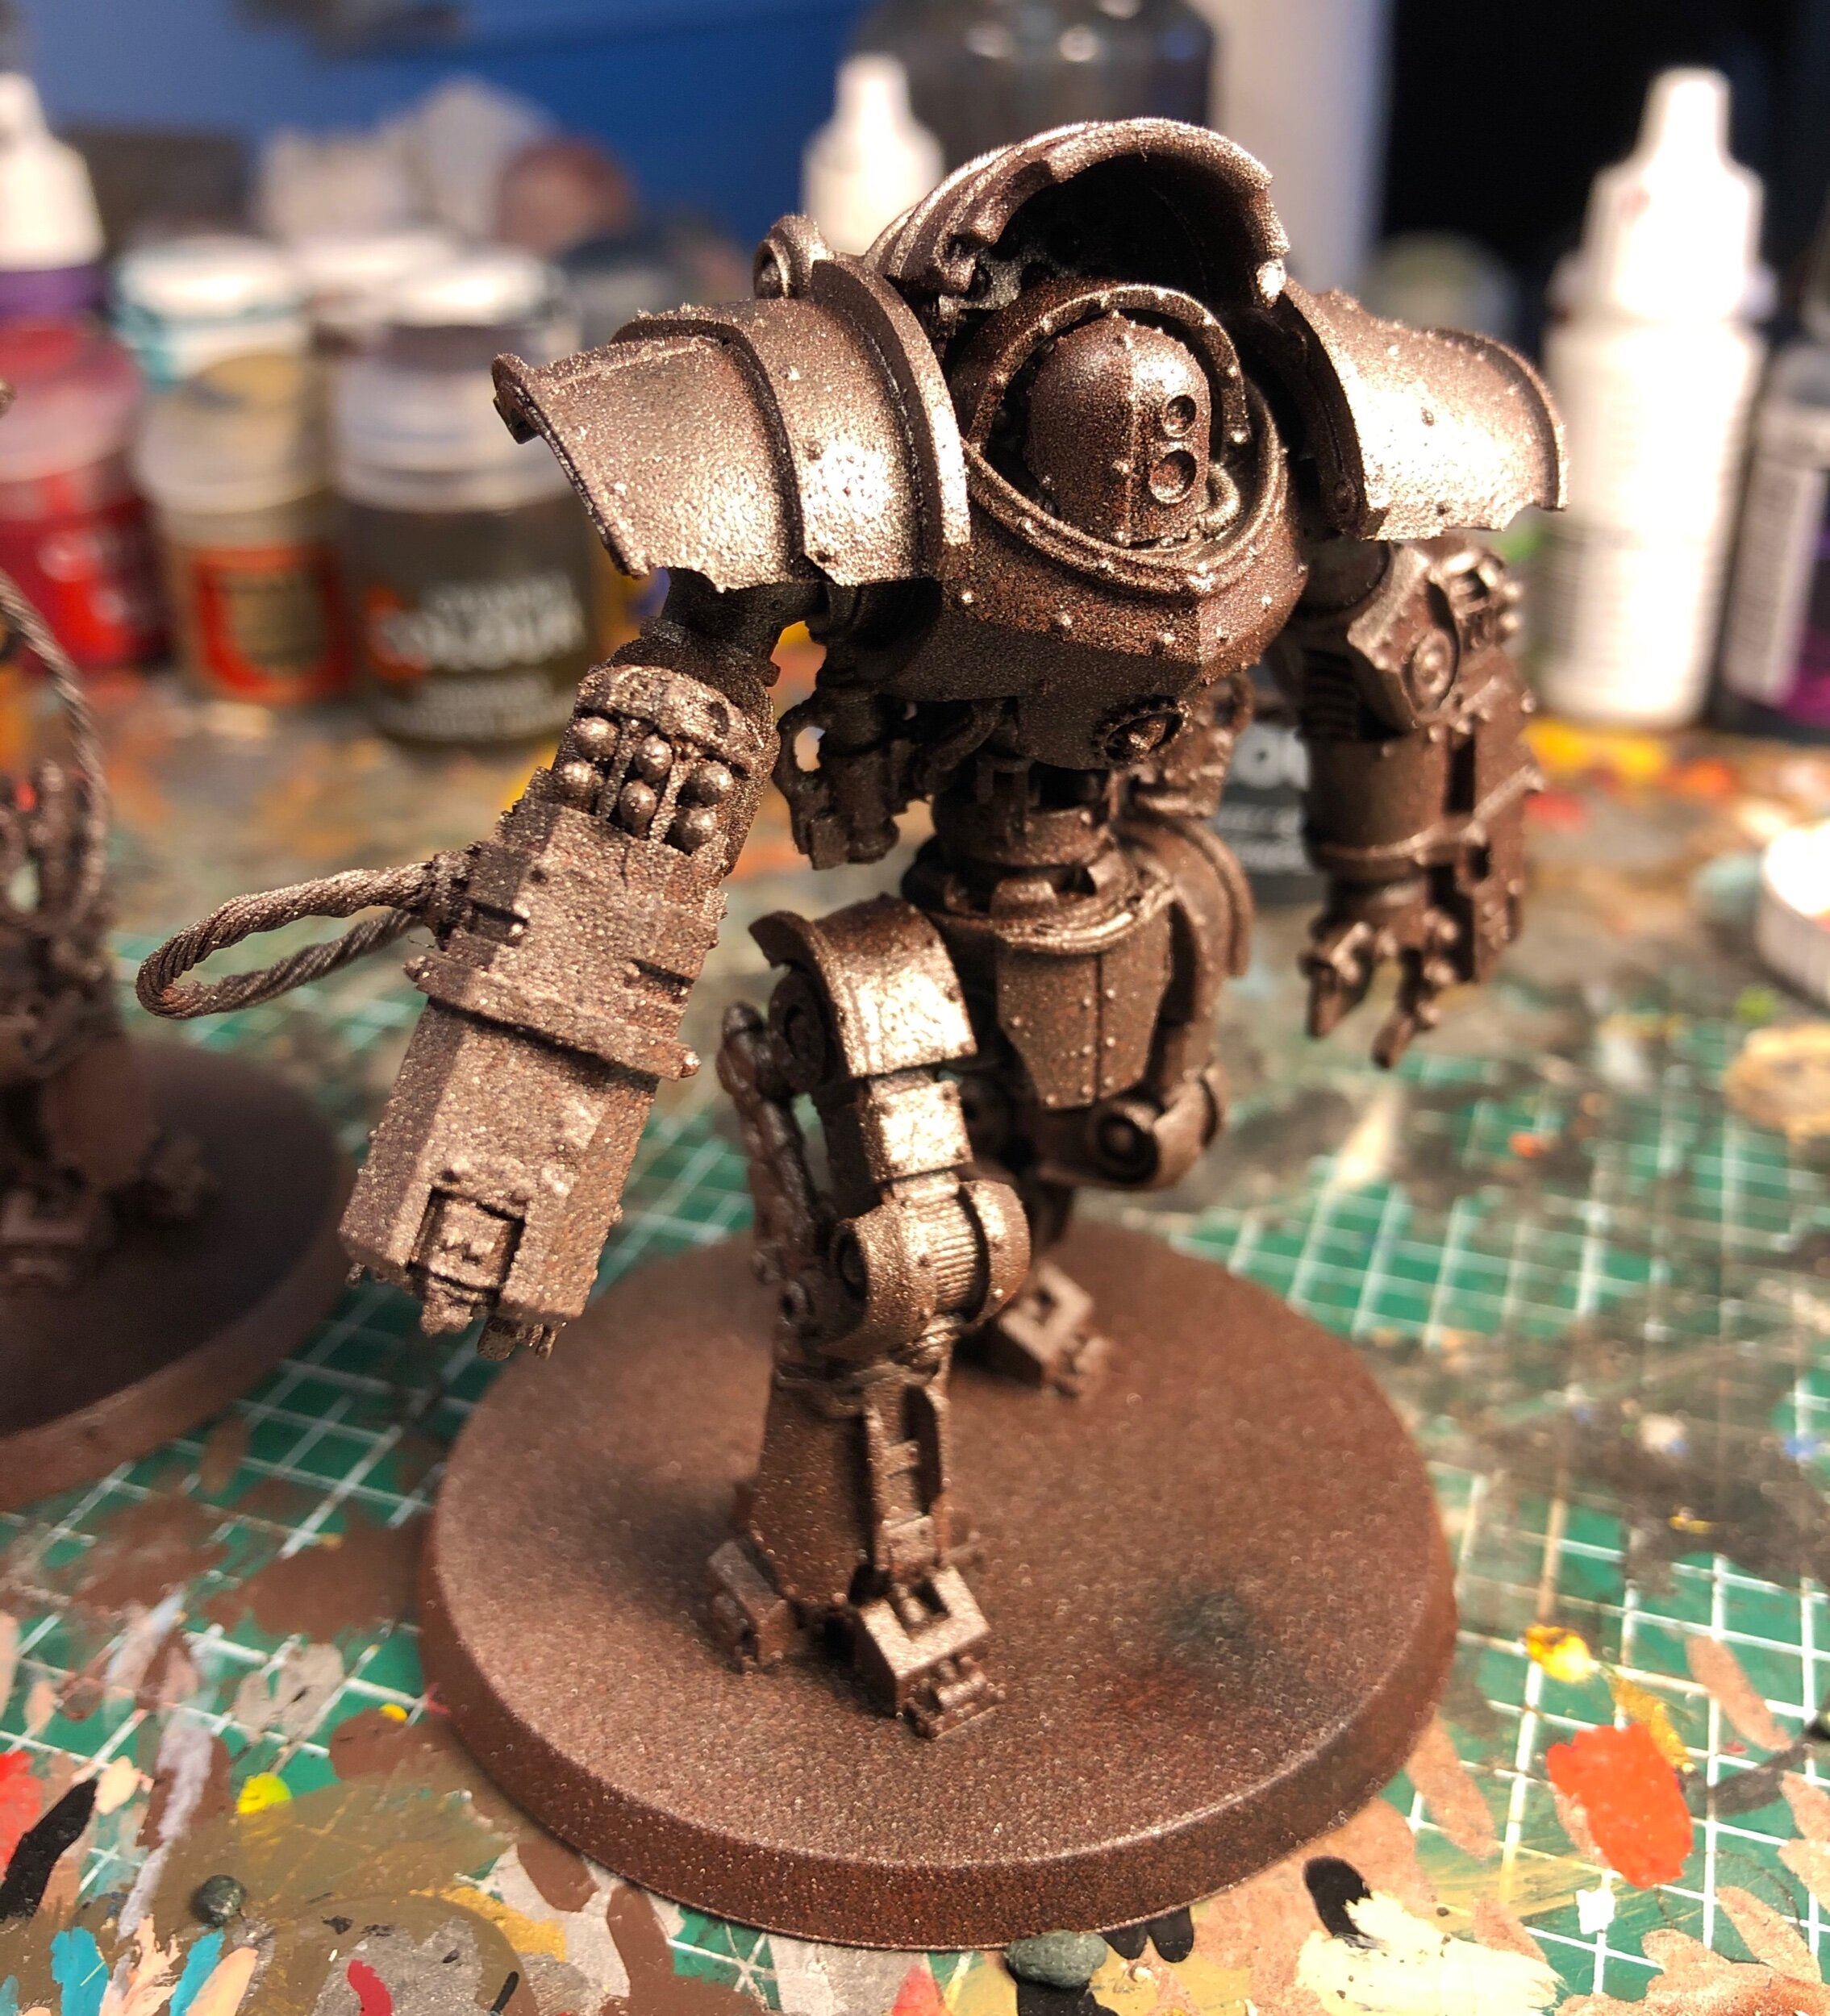
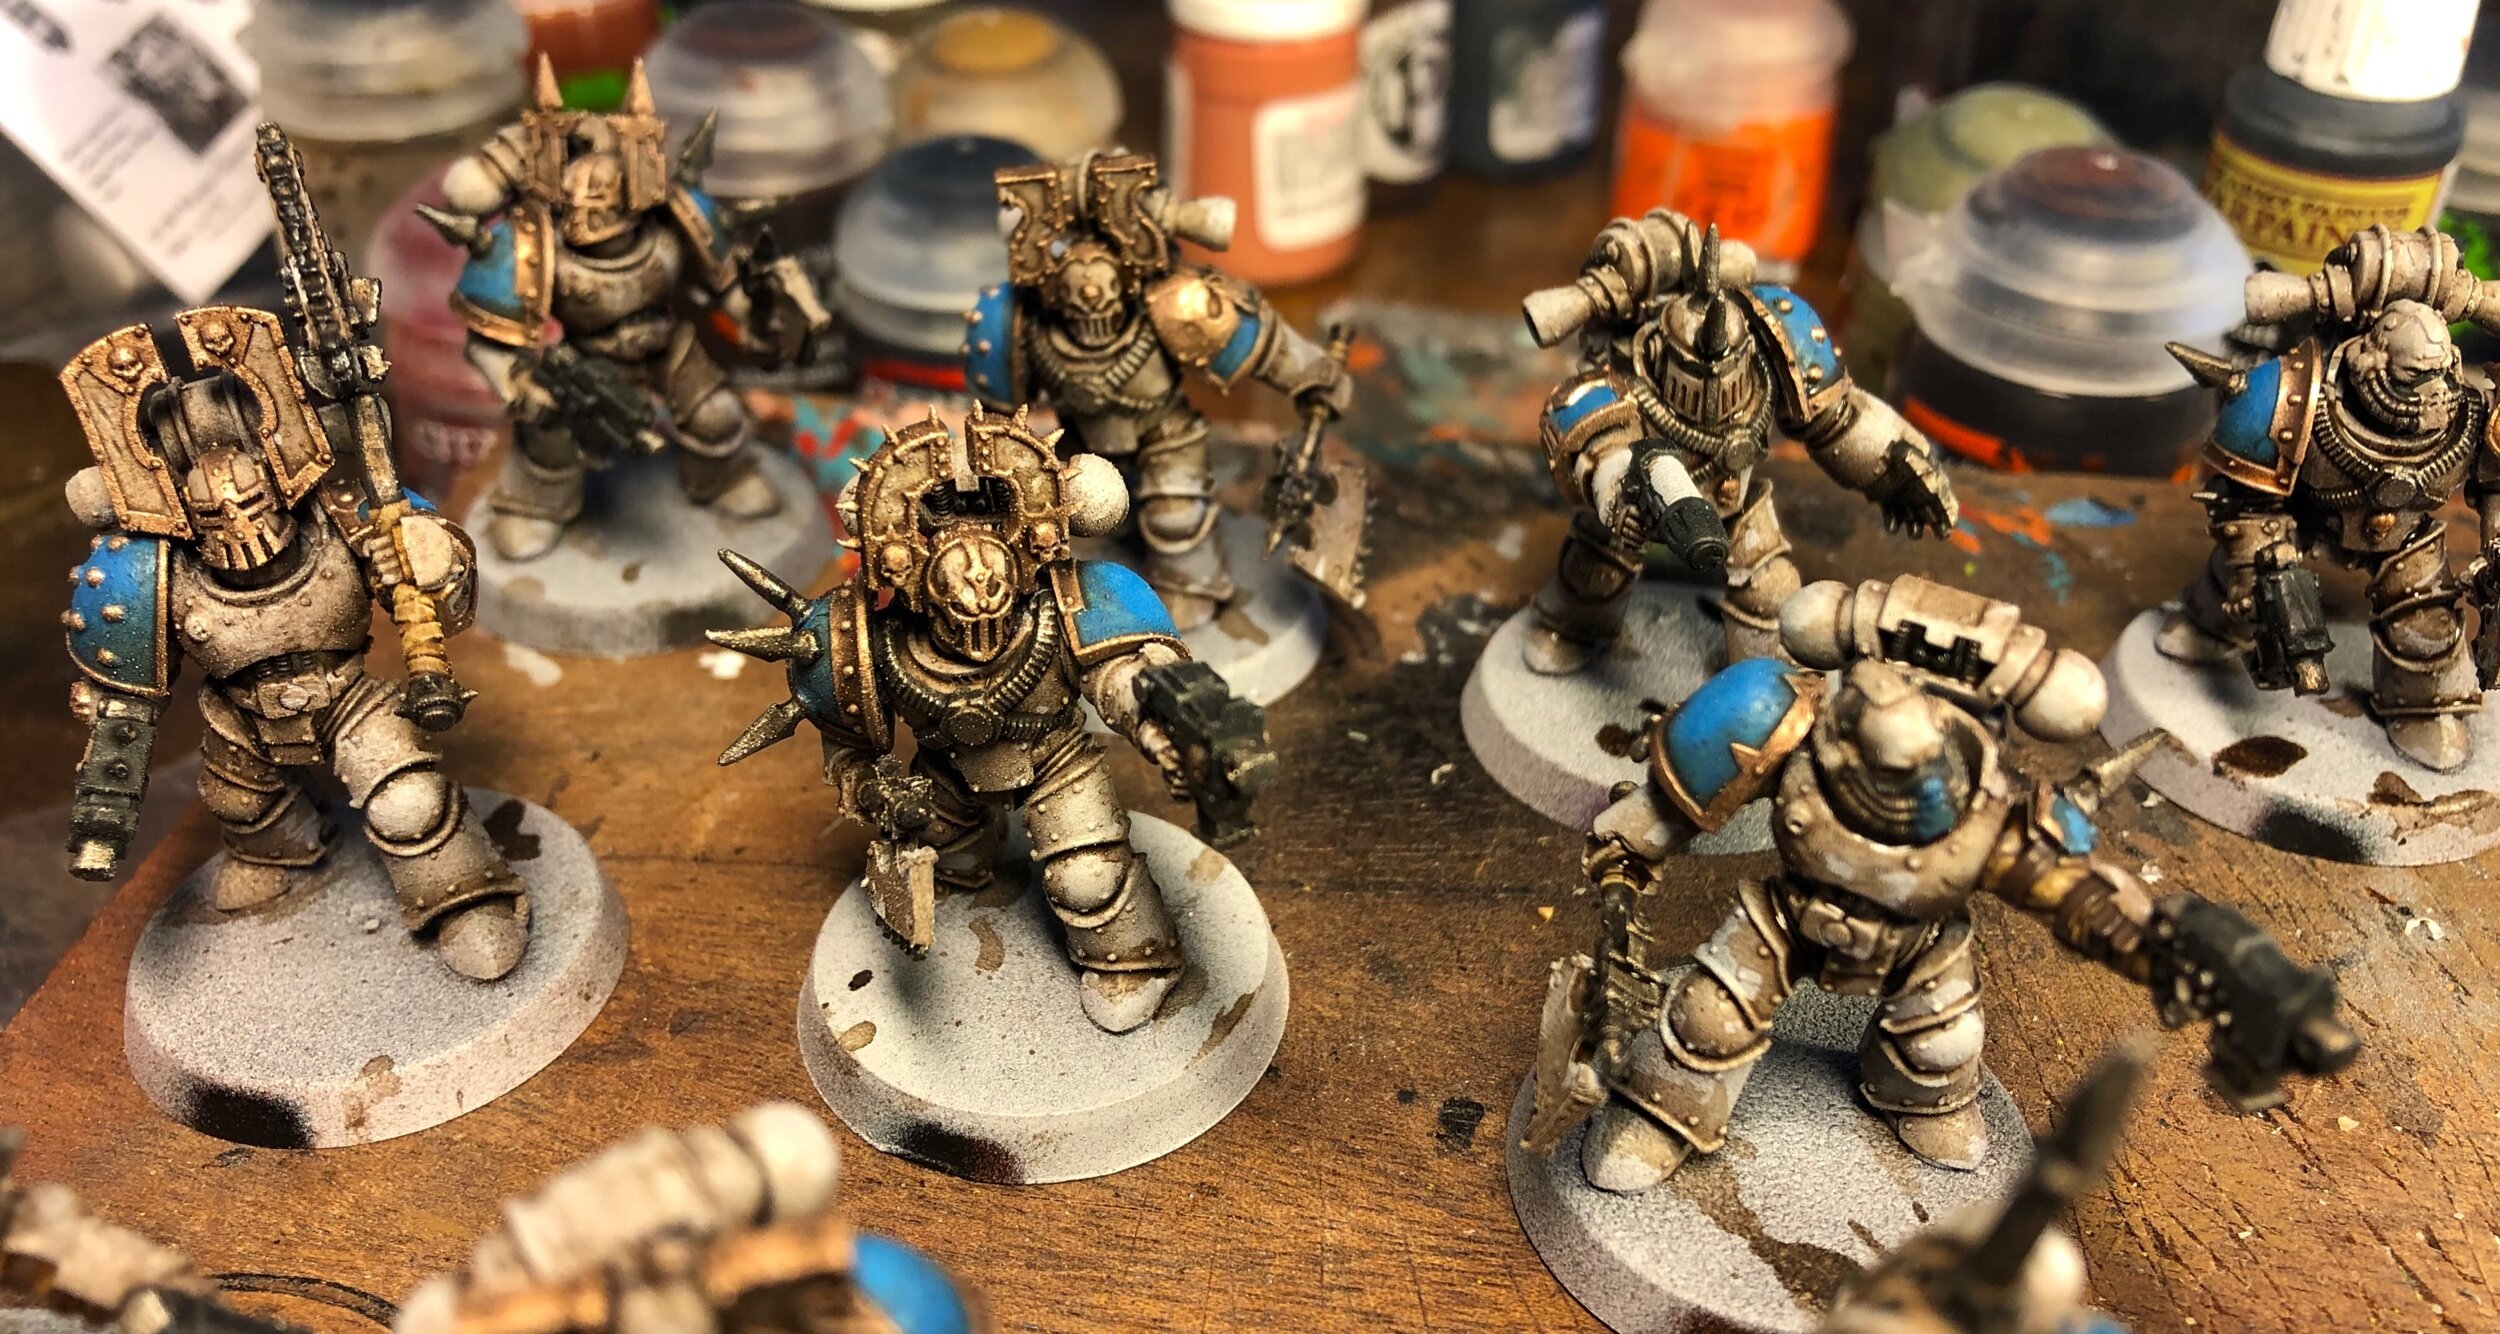
Let’s talk about this new Malifaux crew. In celebration that my gaming table is done I got a new Malifaux crew. I really liked the concept of giants and ice pillars so I just had to get the euripides box. I painted the white blue skin with the airbrush and continued painting with the trusty brush after that.

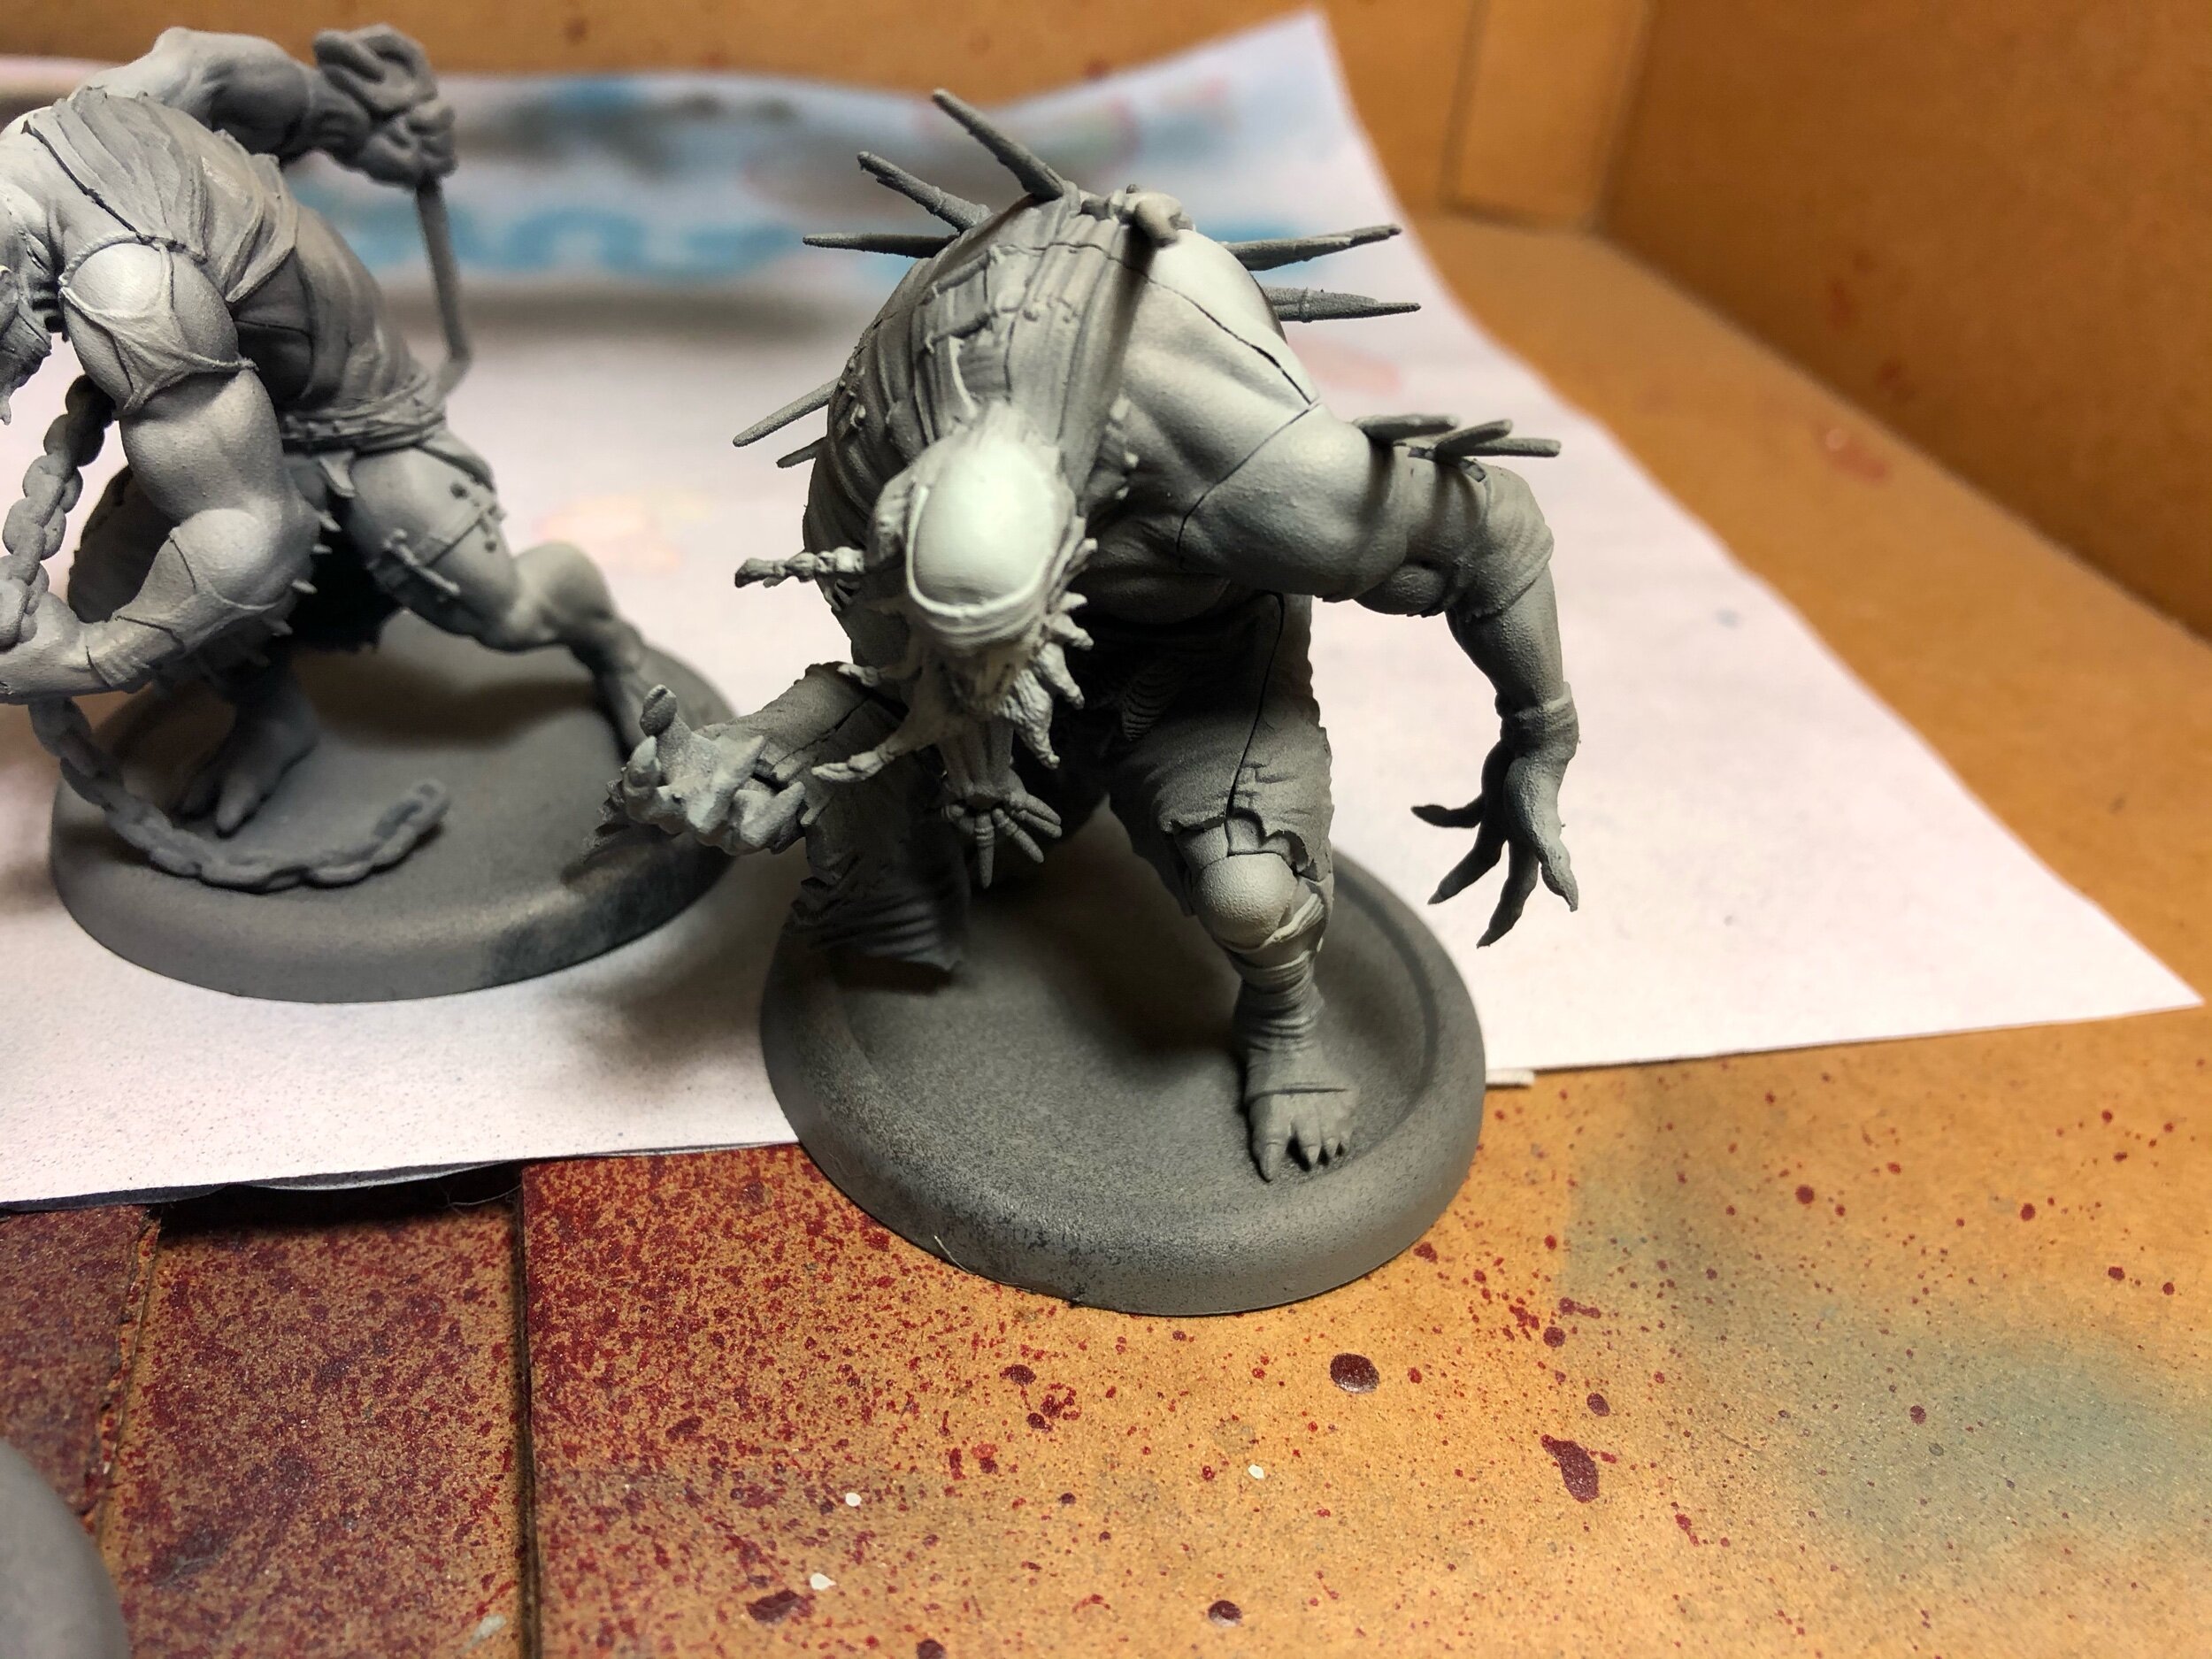
As you can see the models have a lot of split lines. I don’t know why Wyrd allow this. The splits is placed in wierd places and on details where green stuff would only look bad if you tried fixing it. Like splits on muscles and on smooth skin. I hope Wyrd can get a handle on this in the future because the designs of the models is great and it is a shame to see them chopped up like this.
On the final result you can see that I have covered up most of these splits and in the end I feel it looks ok.


So this concludes my first airbrush experience. I have to say that I like it. It is another tool to use. I have learned a lot along the way, clogged nozzles and dryied paint on needles. To thick paint and to thin. I have made all the mistakes but I feel I am starting to get the feel for it. And I look forward using the airbrush some more :) .