Horus Heresy. Iron Warriors. Seeker Squads. Part3.

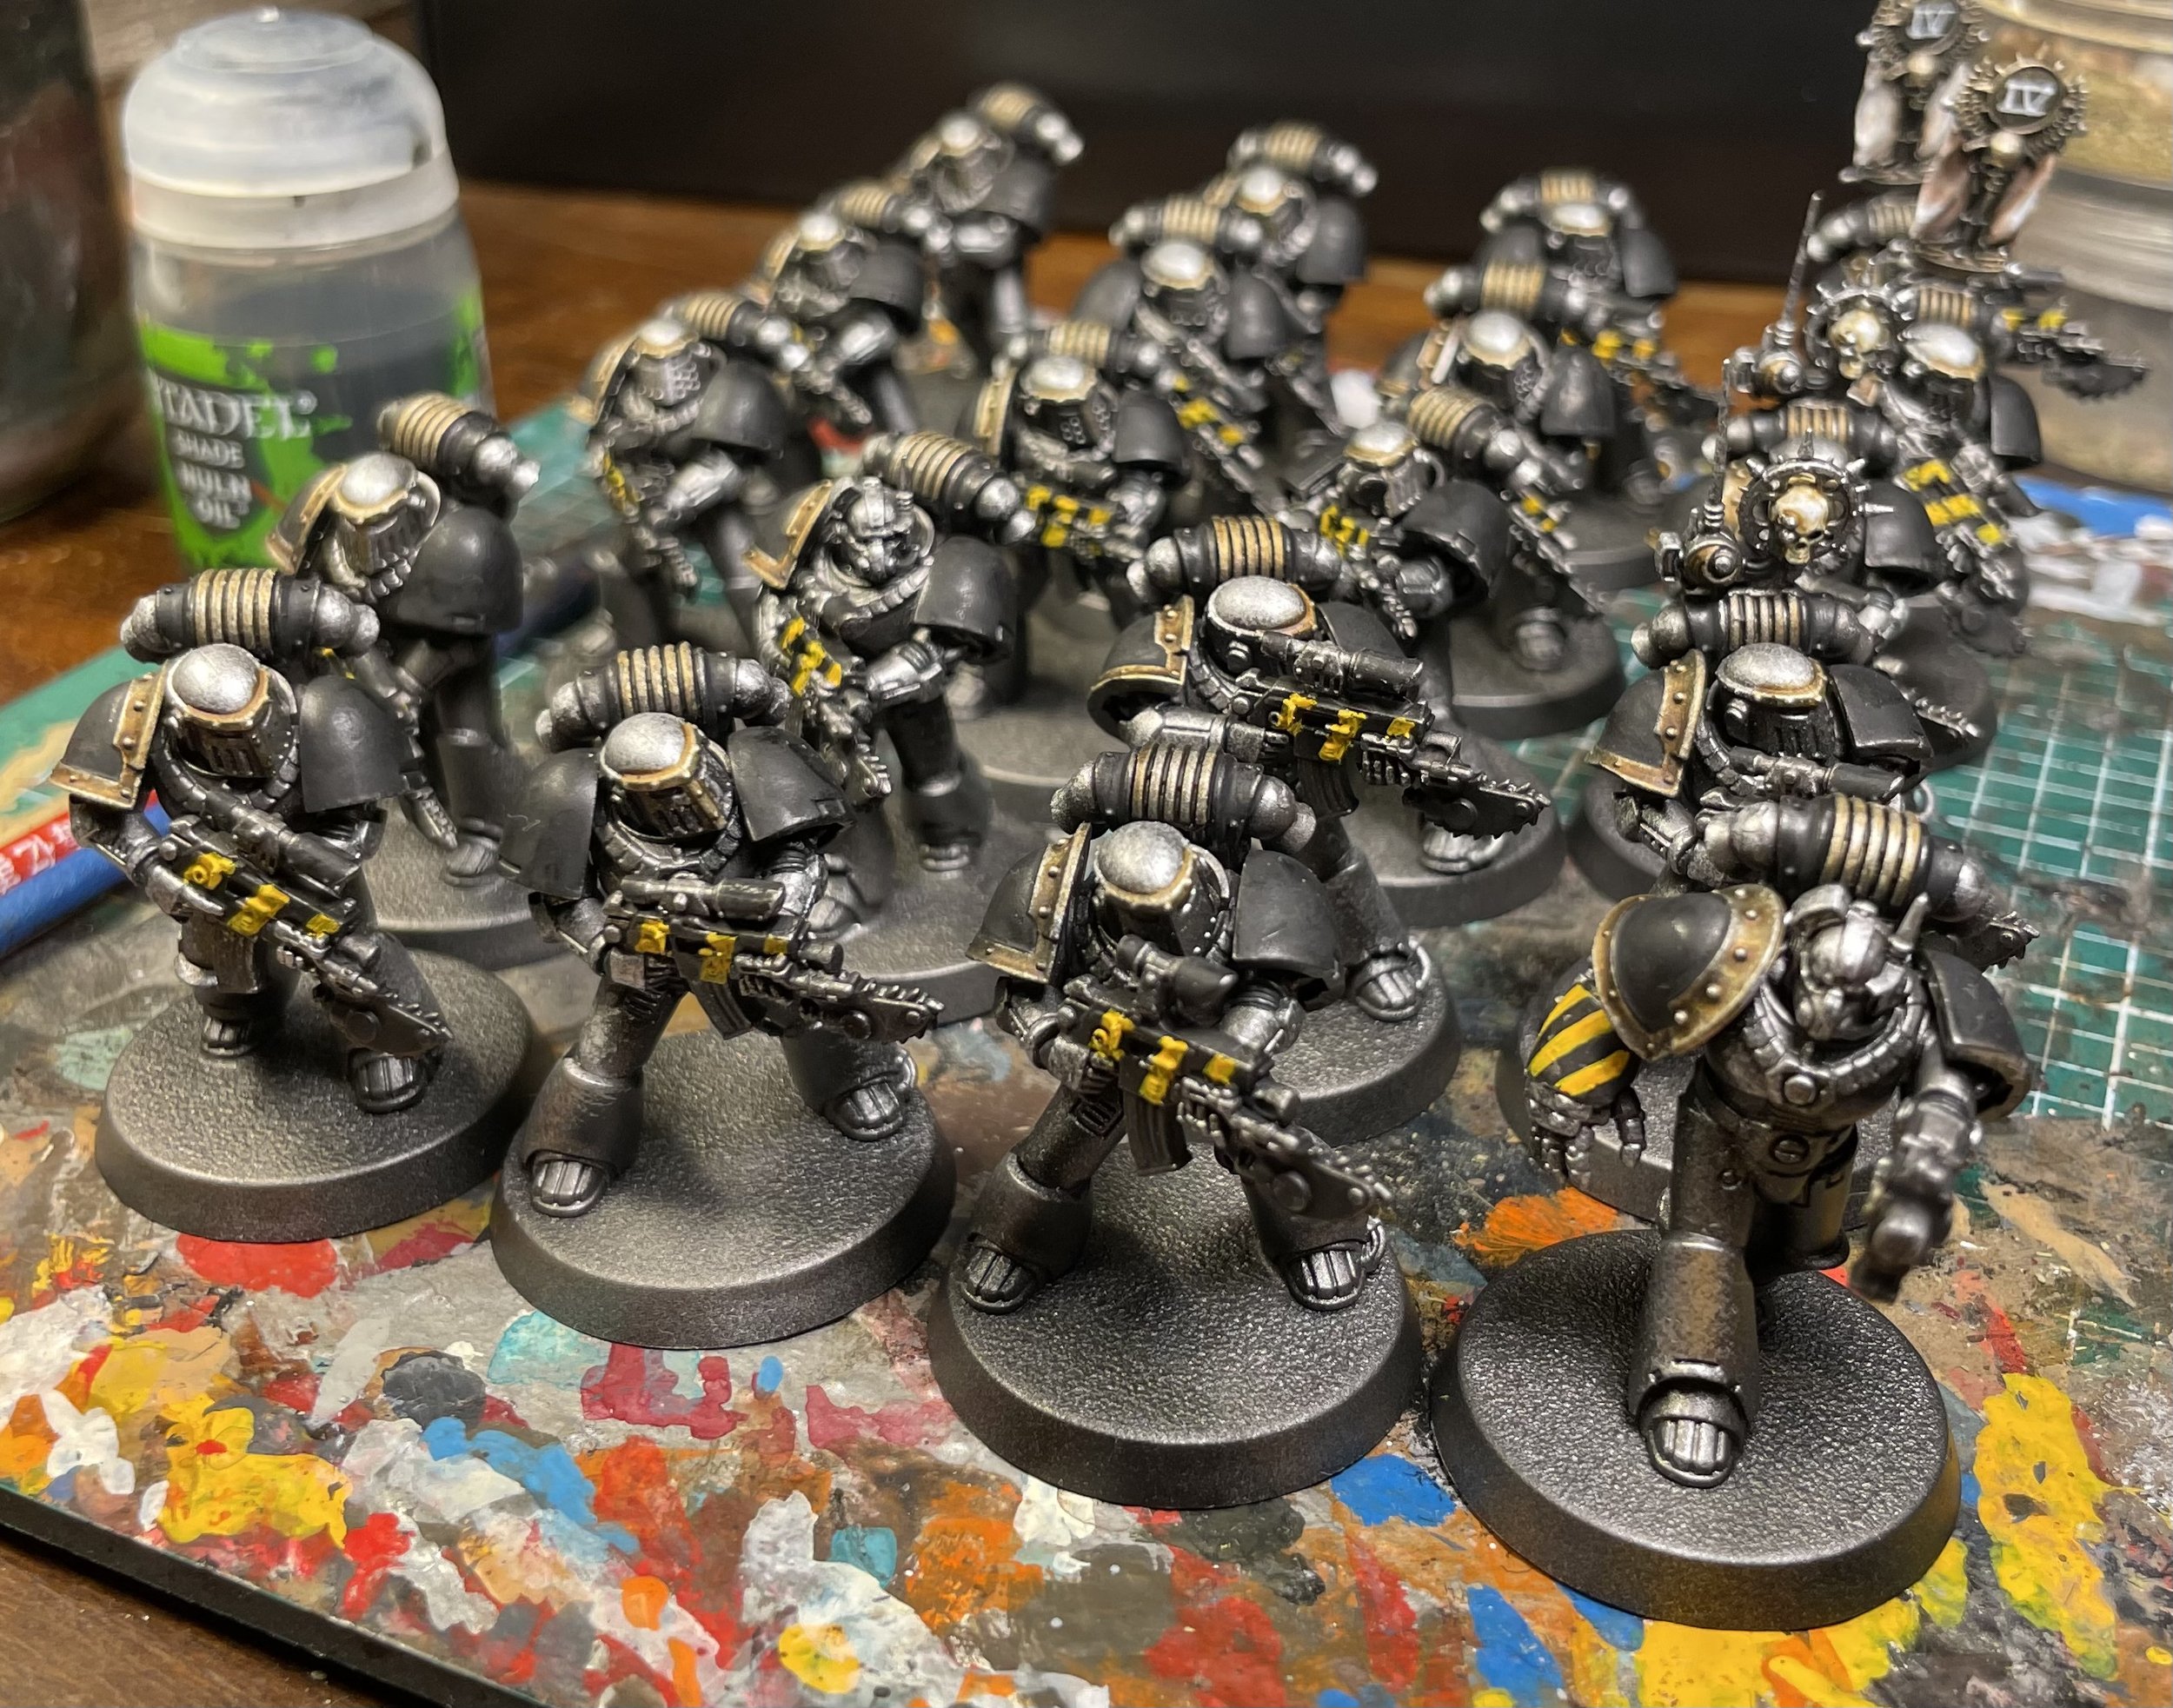
Painting 20 marines slows the speed down some, but I always feel that dividing them into fives helps. It at least helps mentally 🤣 .

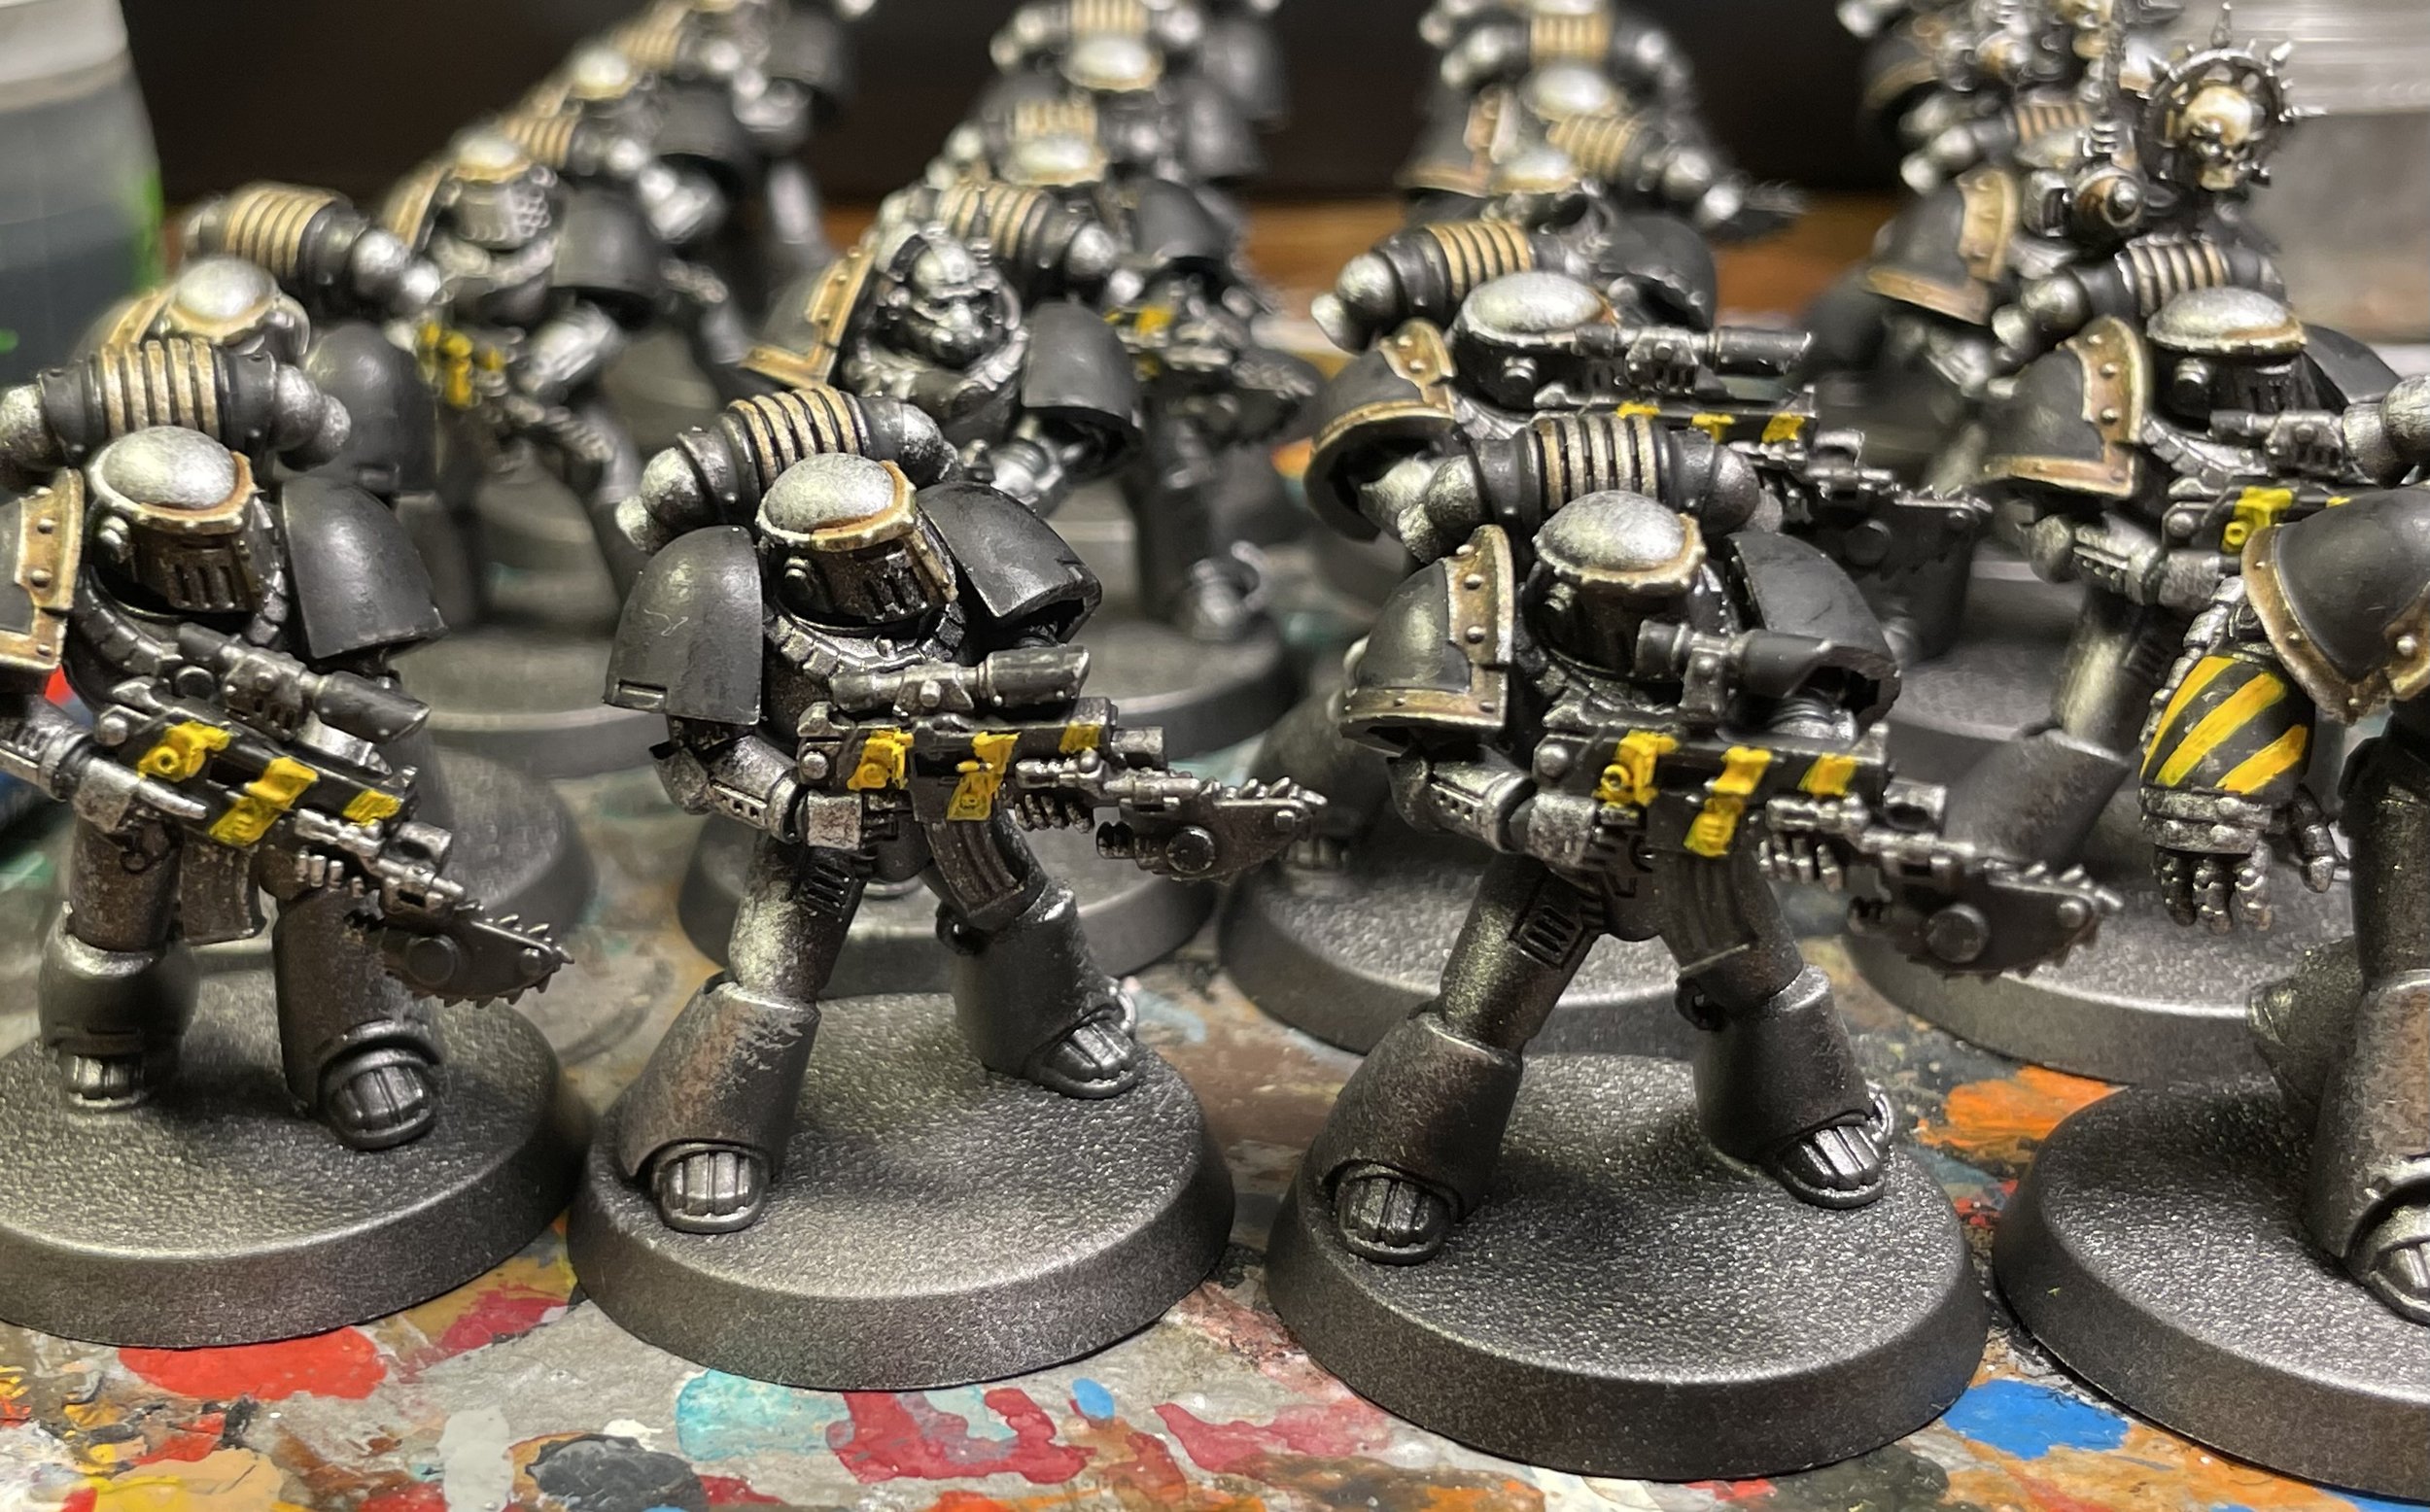
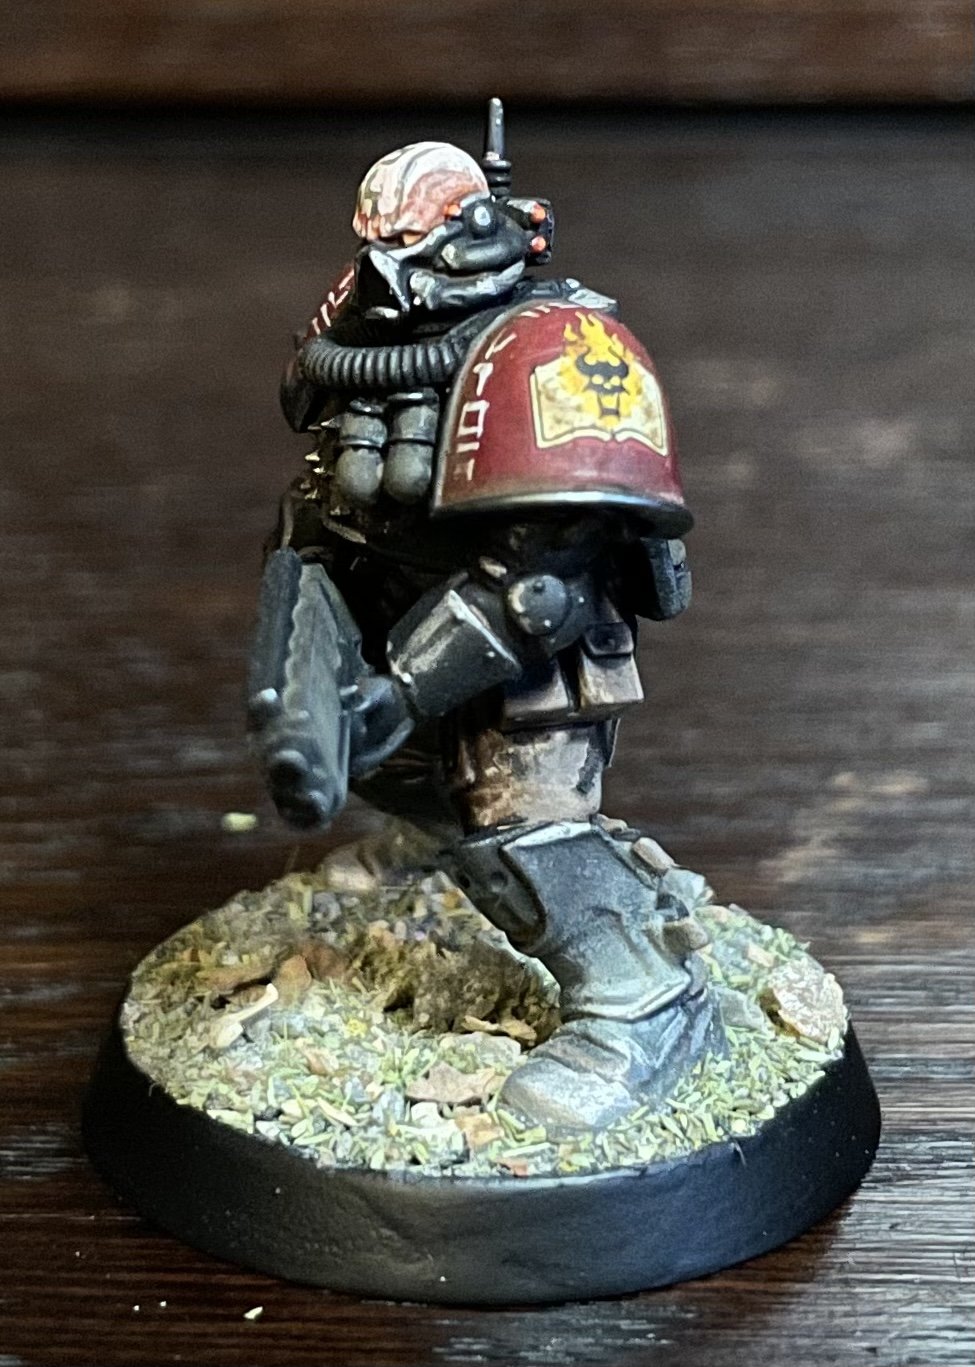
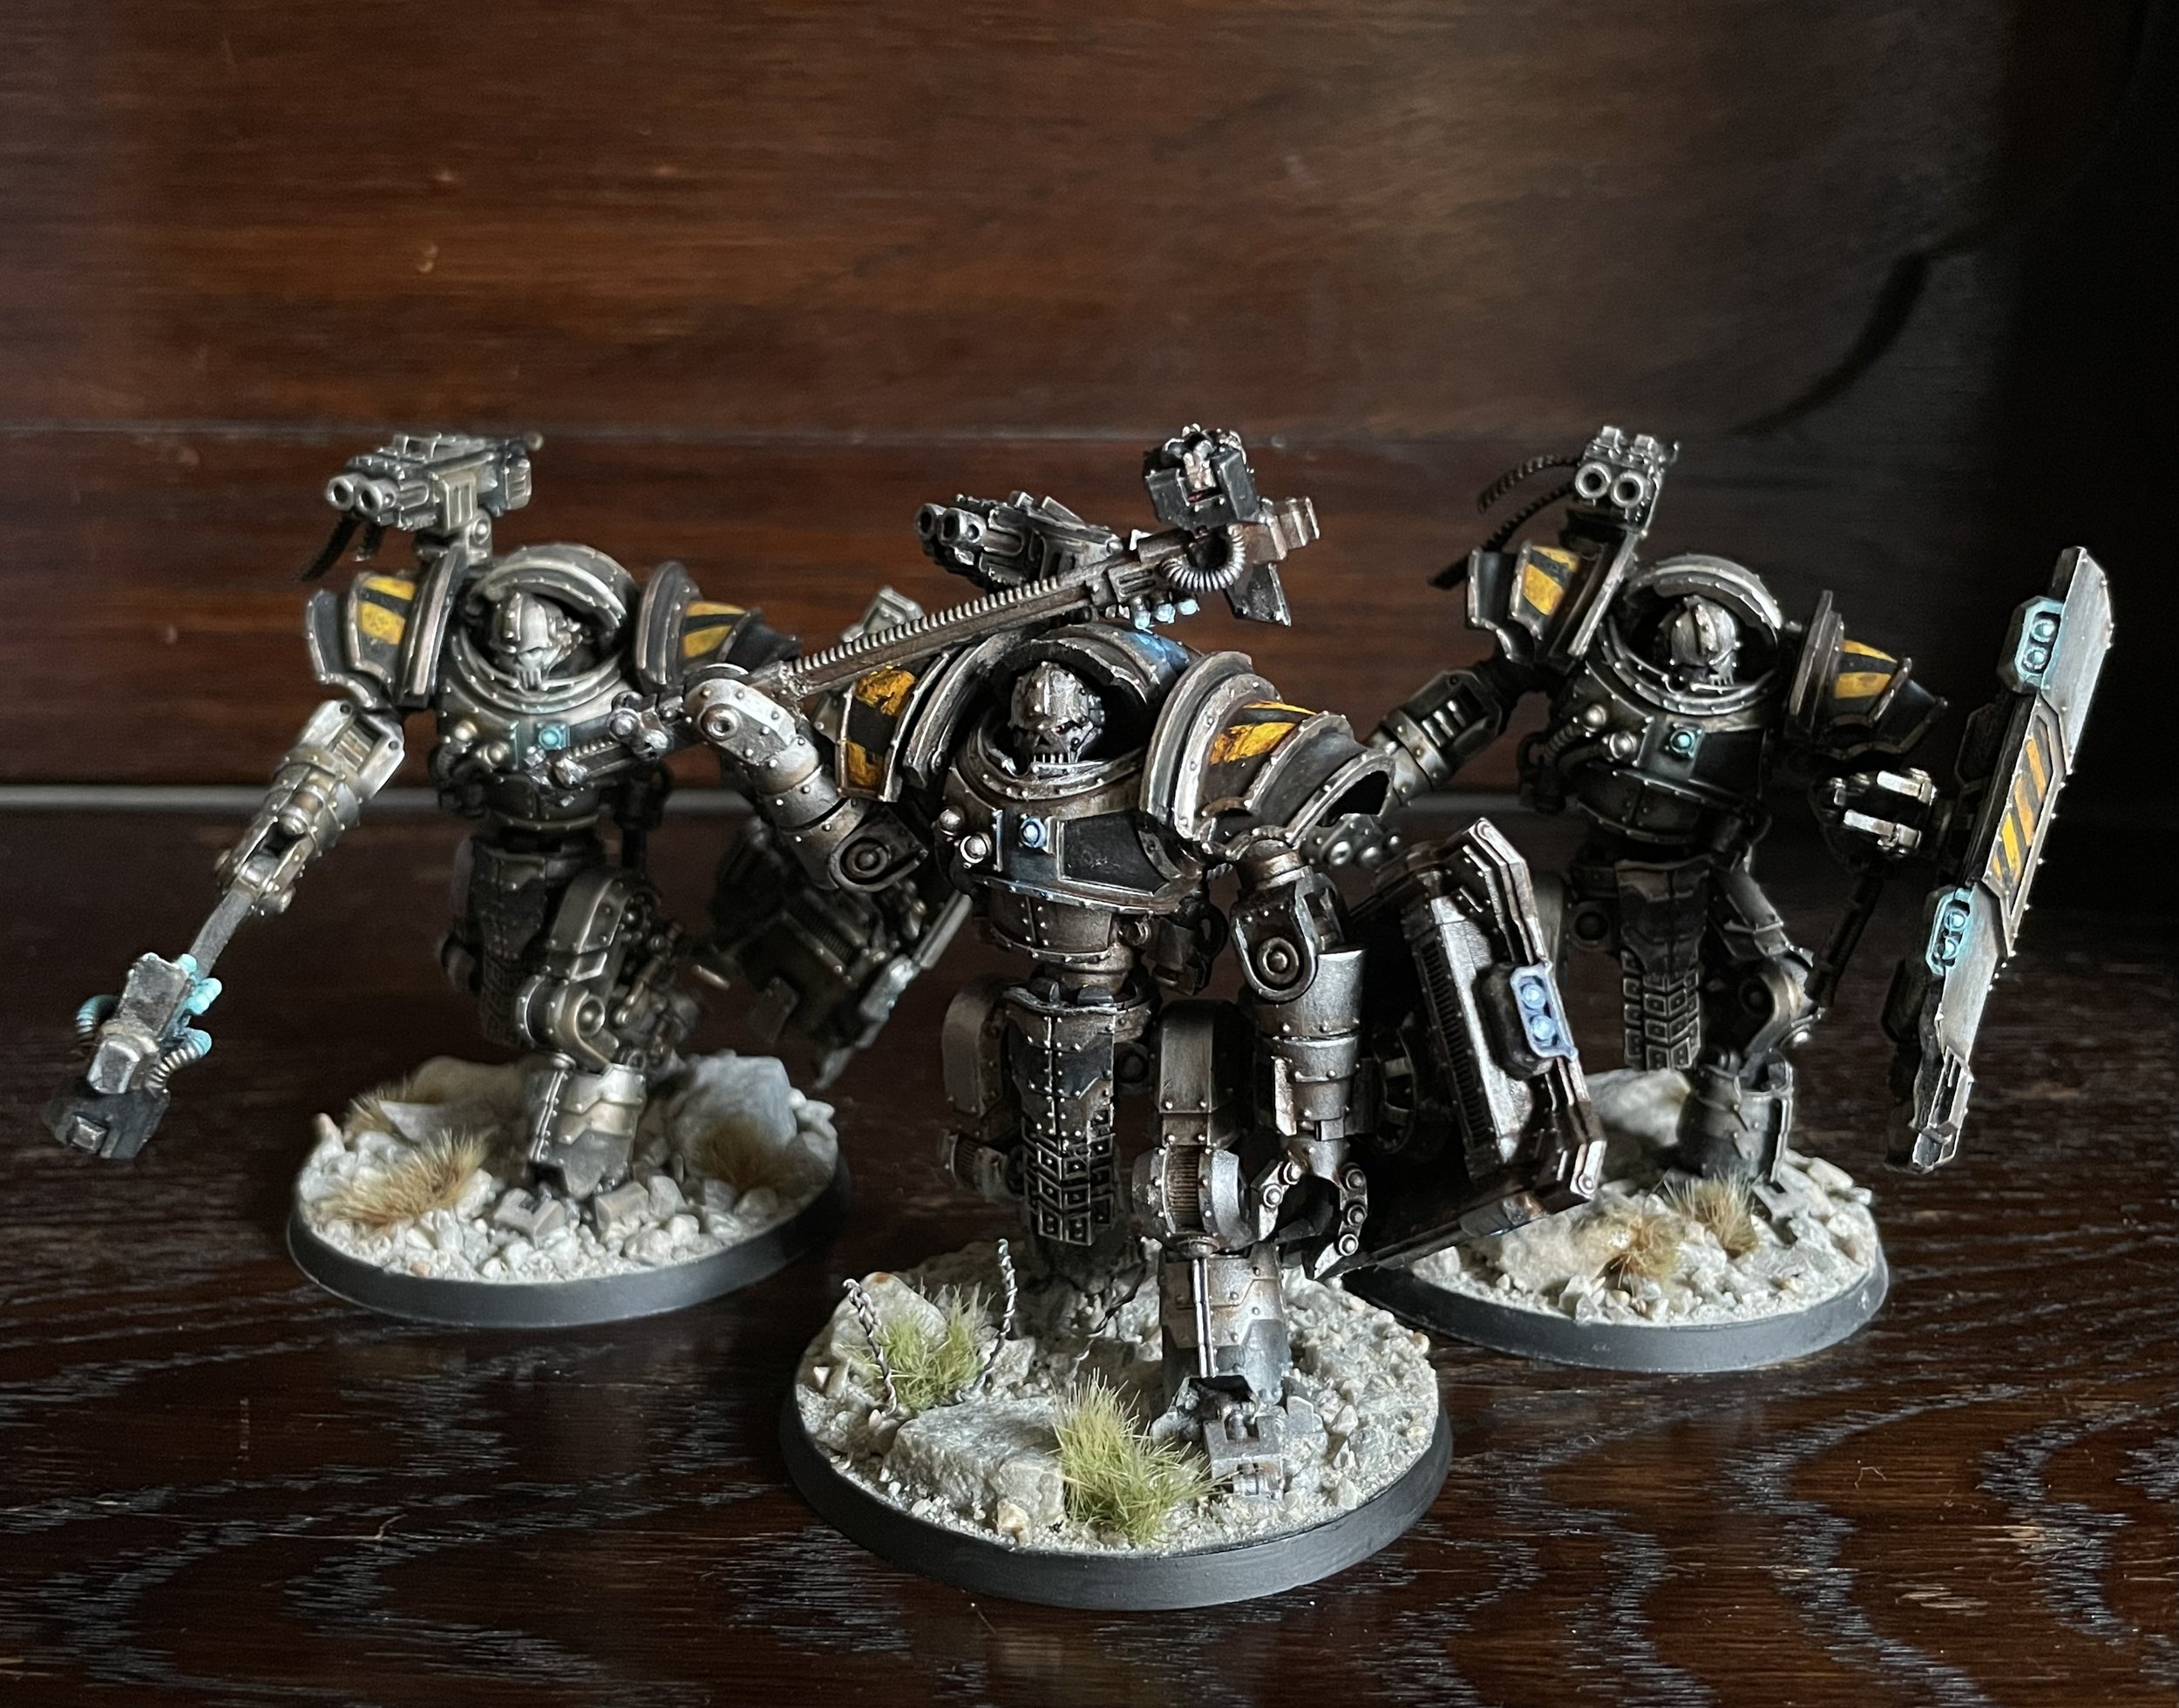
The black areas have now been painted and hazard stripes is added. And that marks the most “complicated” part of this paint job.

I decided to do the hazard stripes on the guns. This is the old school way of doing it….at least that was the way it was done back in the 90s . Plus doing hazard stripes on the shoulder pads is really time consuming. I have done the hazard stripes on the shoulders on most of my army. Now I fell for a change and a simpler path 😅.

Horus Heresy. Iron Warriors. Seeker Squads. Part2.

Picking up where I left off my seekers.

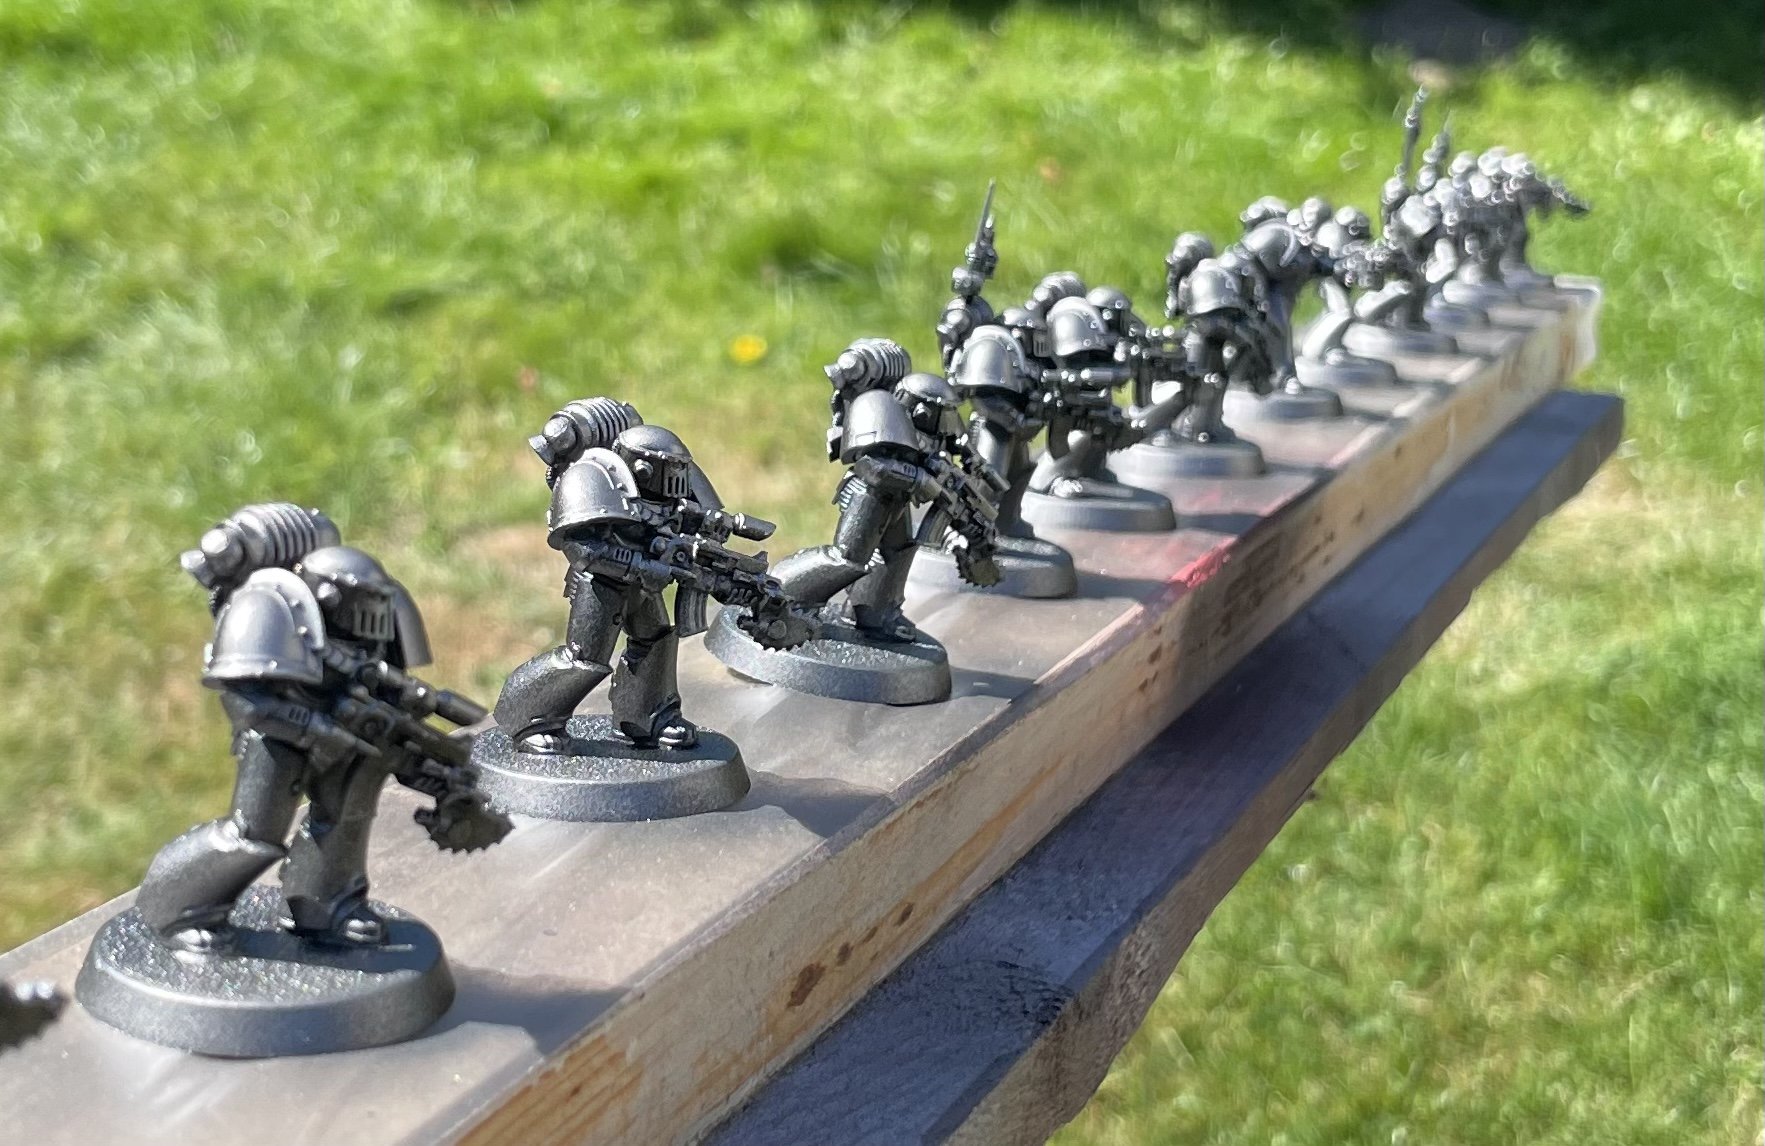
After black primer and Leadbelcher zenith spray. I sponge brighter silver on the top surfaces on the armor. This to give more of a surface highlight and to introduce some textures.

After this I use a contrast paint called skeletonhord on all trim and areas I want to make gold.

This is pretty much the same process I used when painting my Kratos tank. So the process is both quick and simple.

Horus Heresy. Iron Warriors. Seeker Squads. Part1.

So, a small update. After four weeks of vacation it is now coming to an end.

I have been doing a little of everything around the house and on my Horus Heresy legions. Mange to get a couple of games in, in the new edition as well.

The latest addition on my hobby desk is 20 seekers for my iron Warriors.

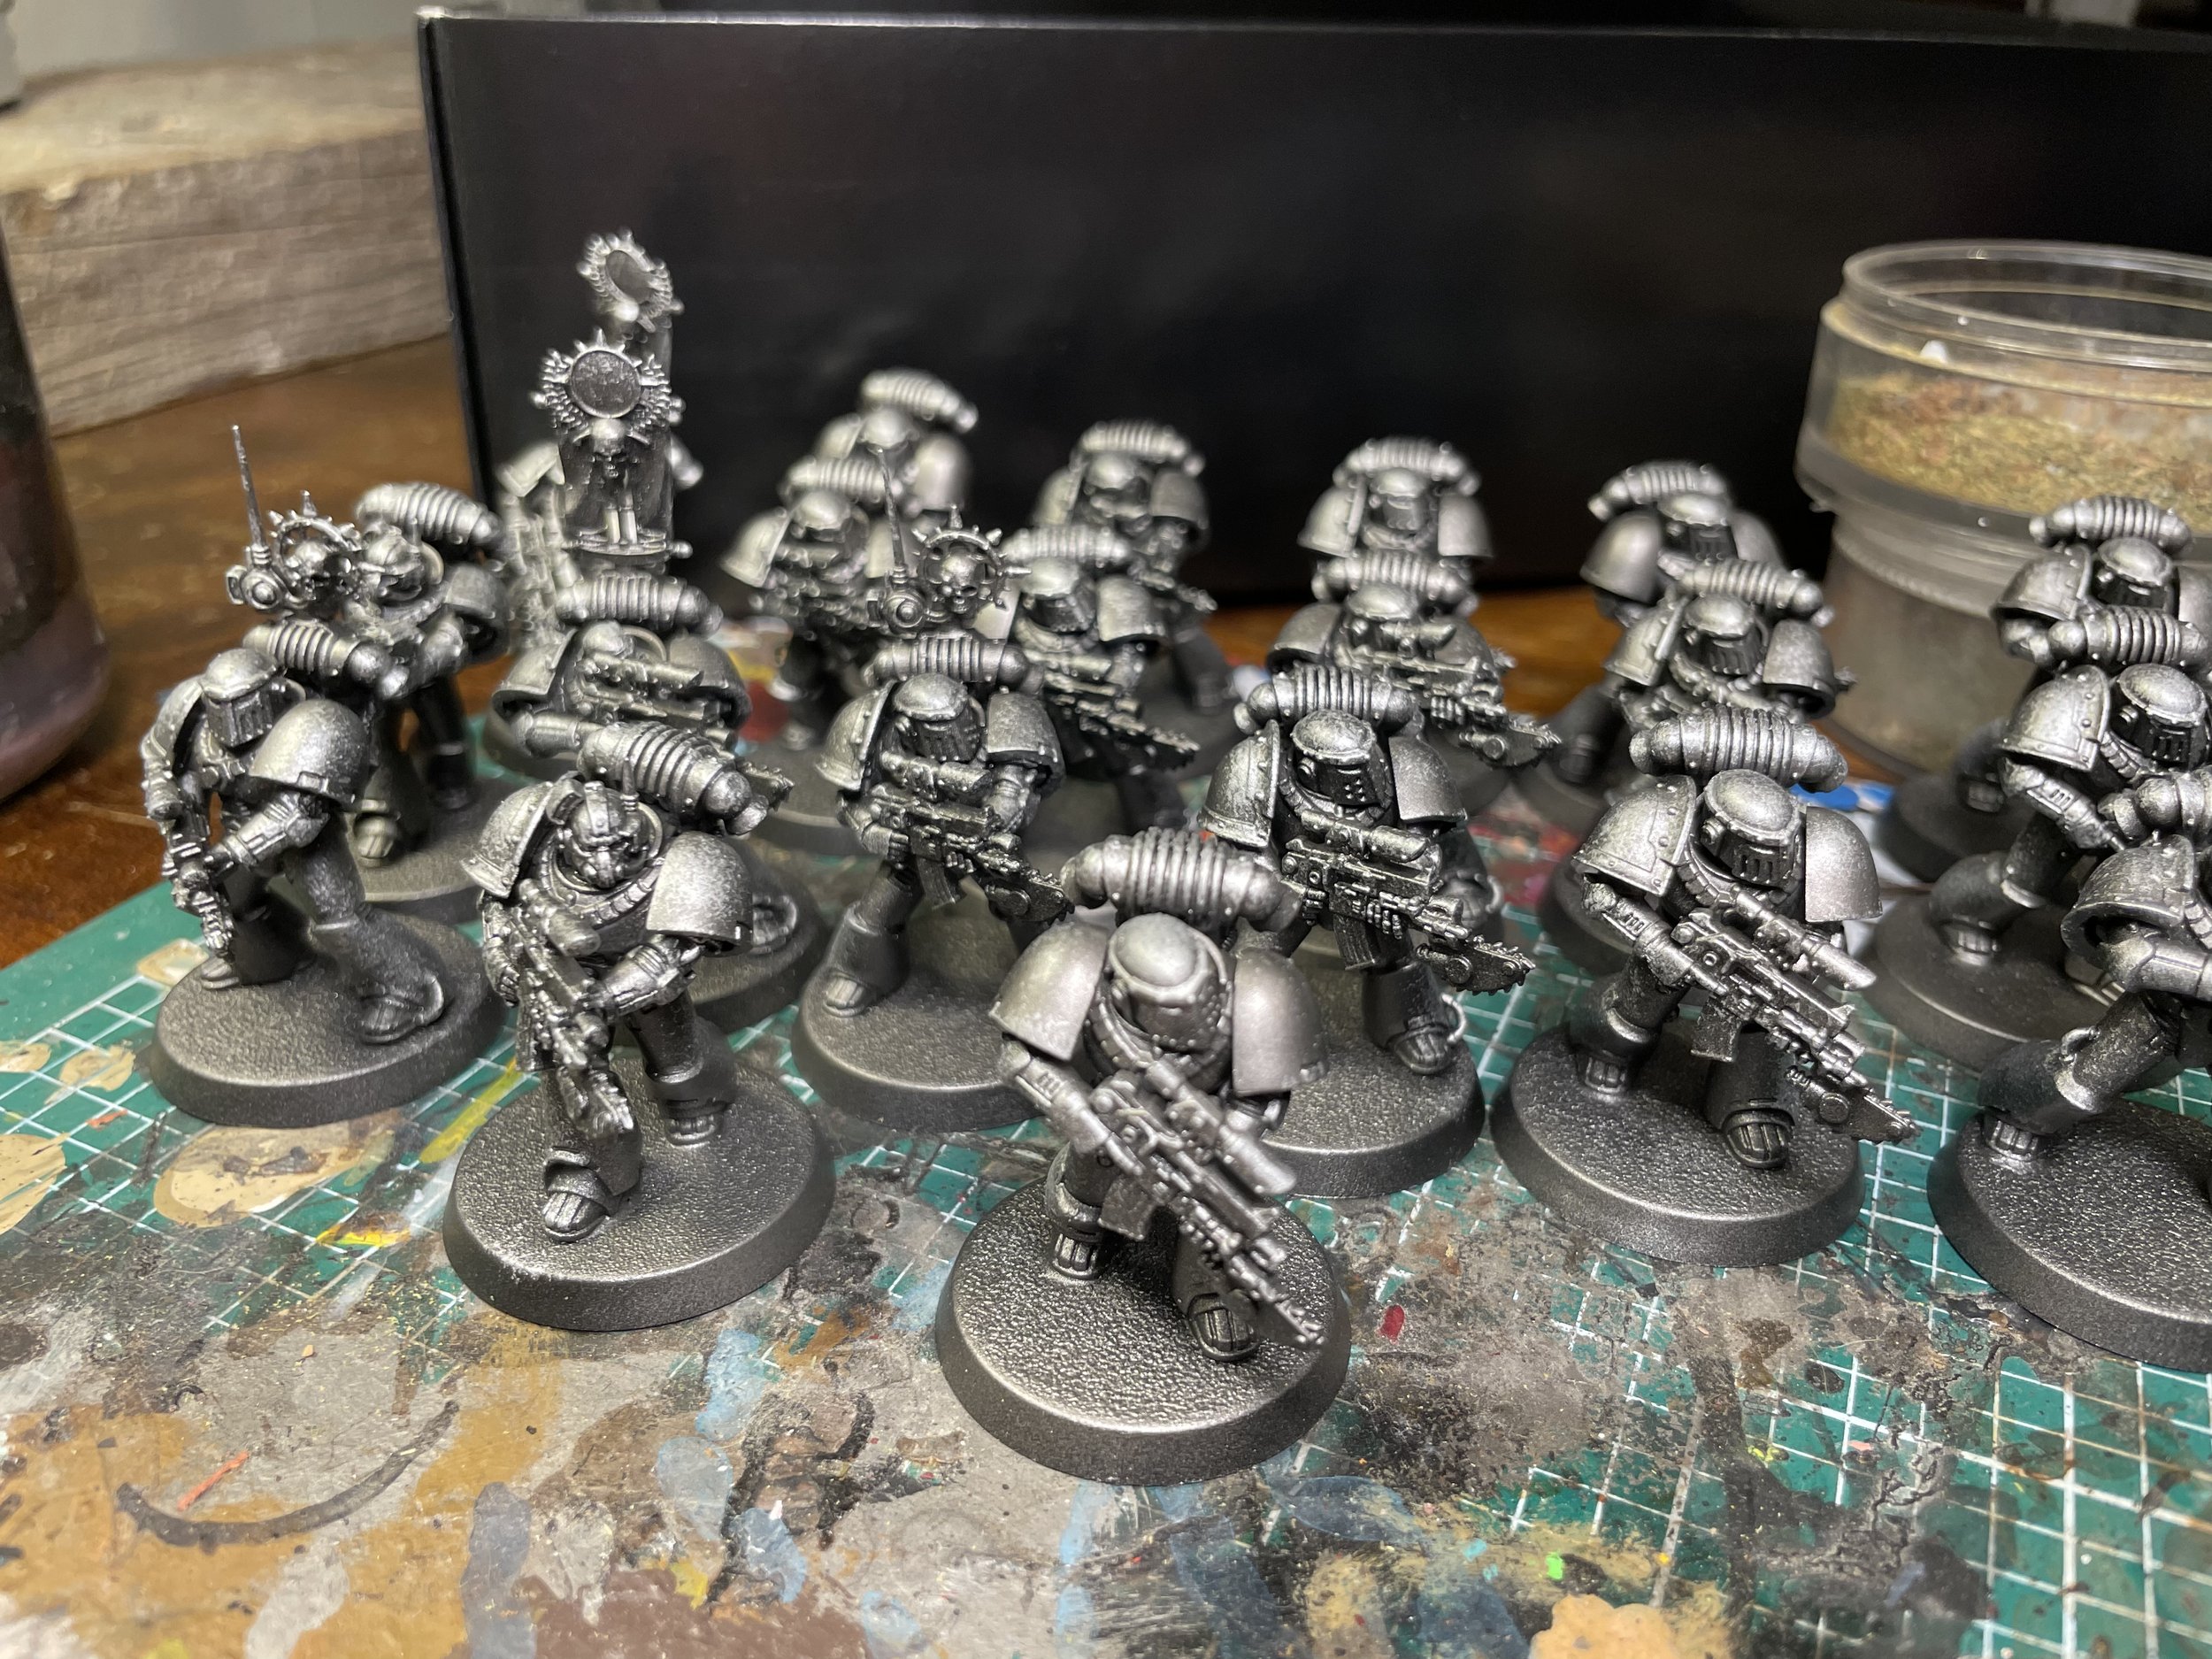
Primed black and base coated in Leadbelcher. They are now ready for the painting desk.

Iron Warriors. Horus Heresy. Kratos. Part2.

Continuing right after part1. I ended the blogpost after I had added the transfers and hazard stripes.

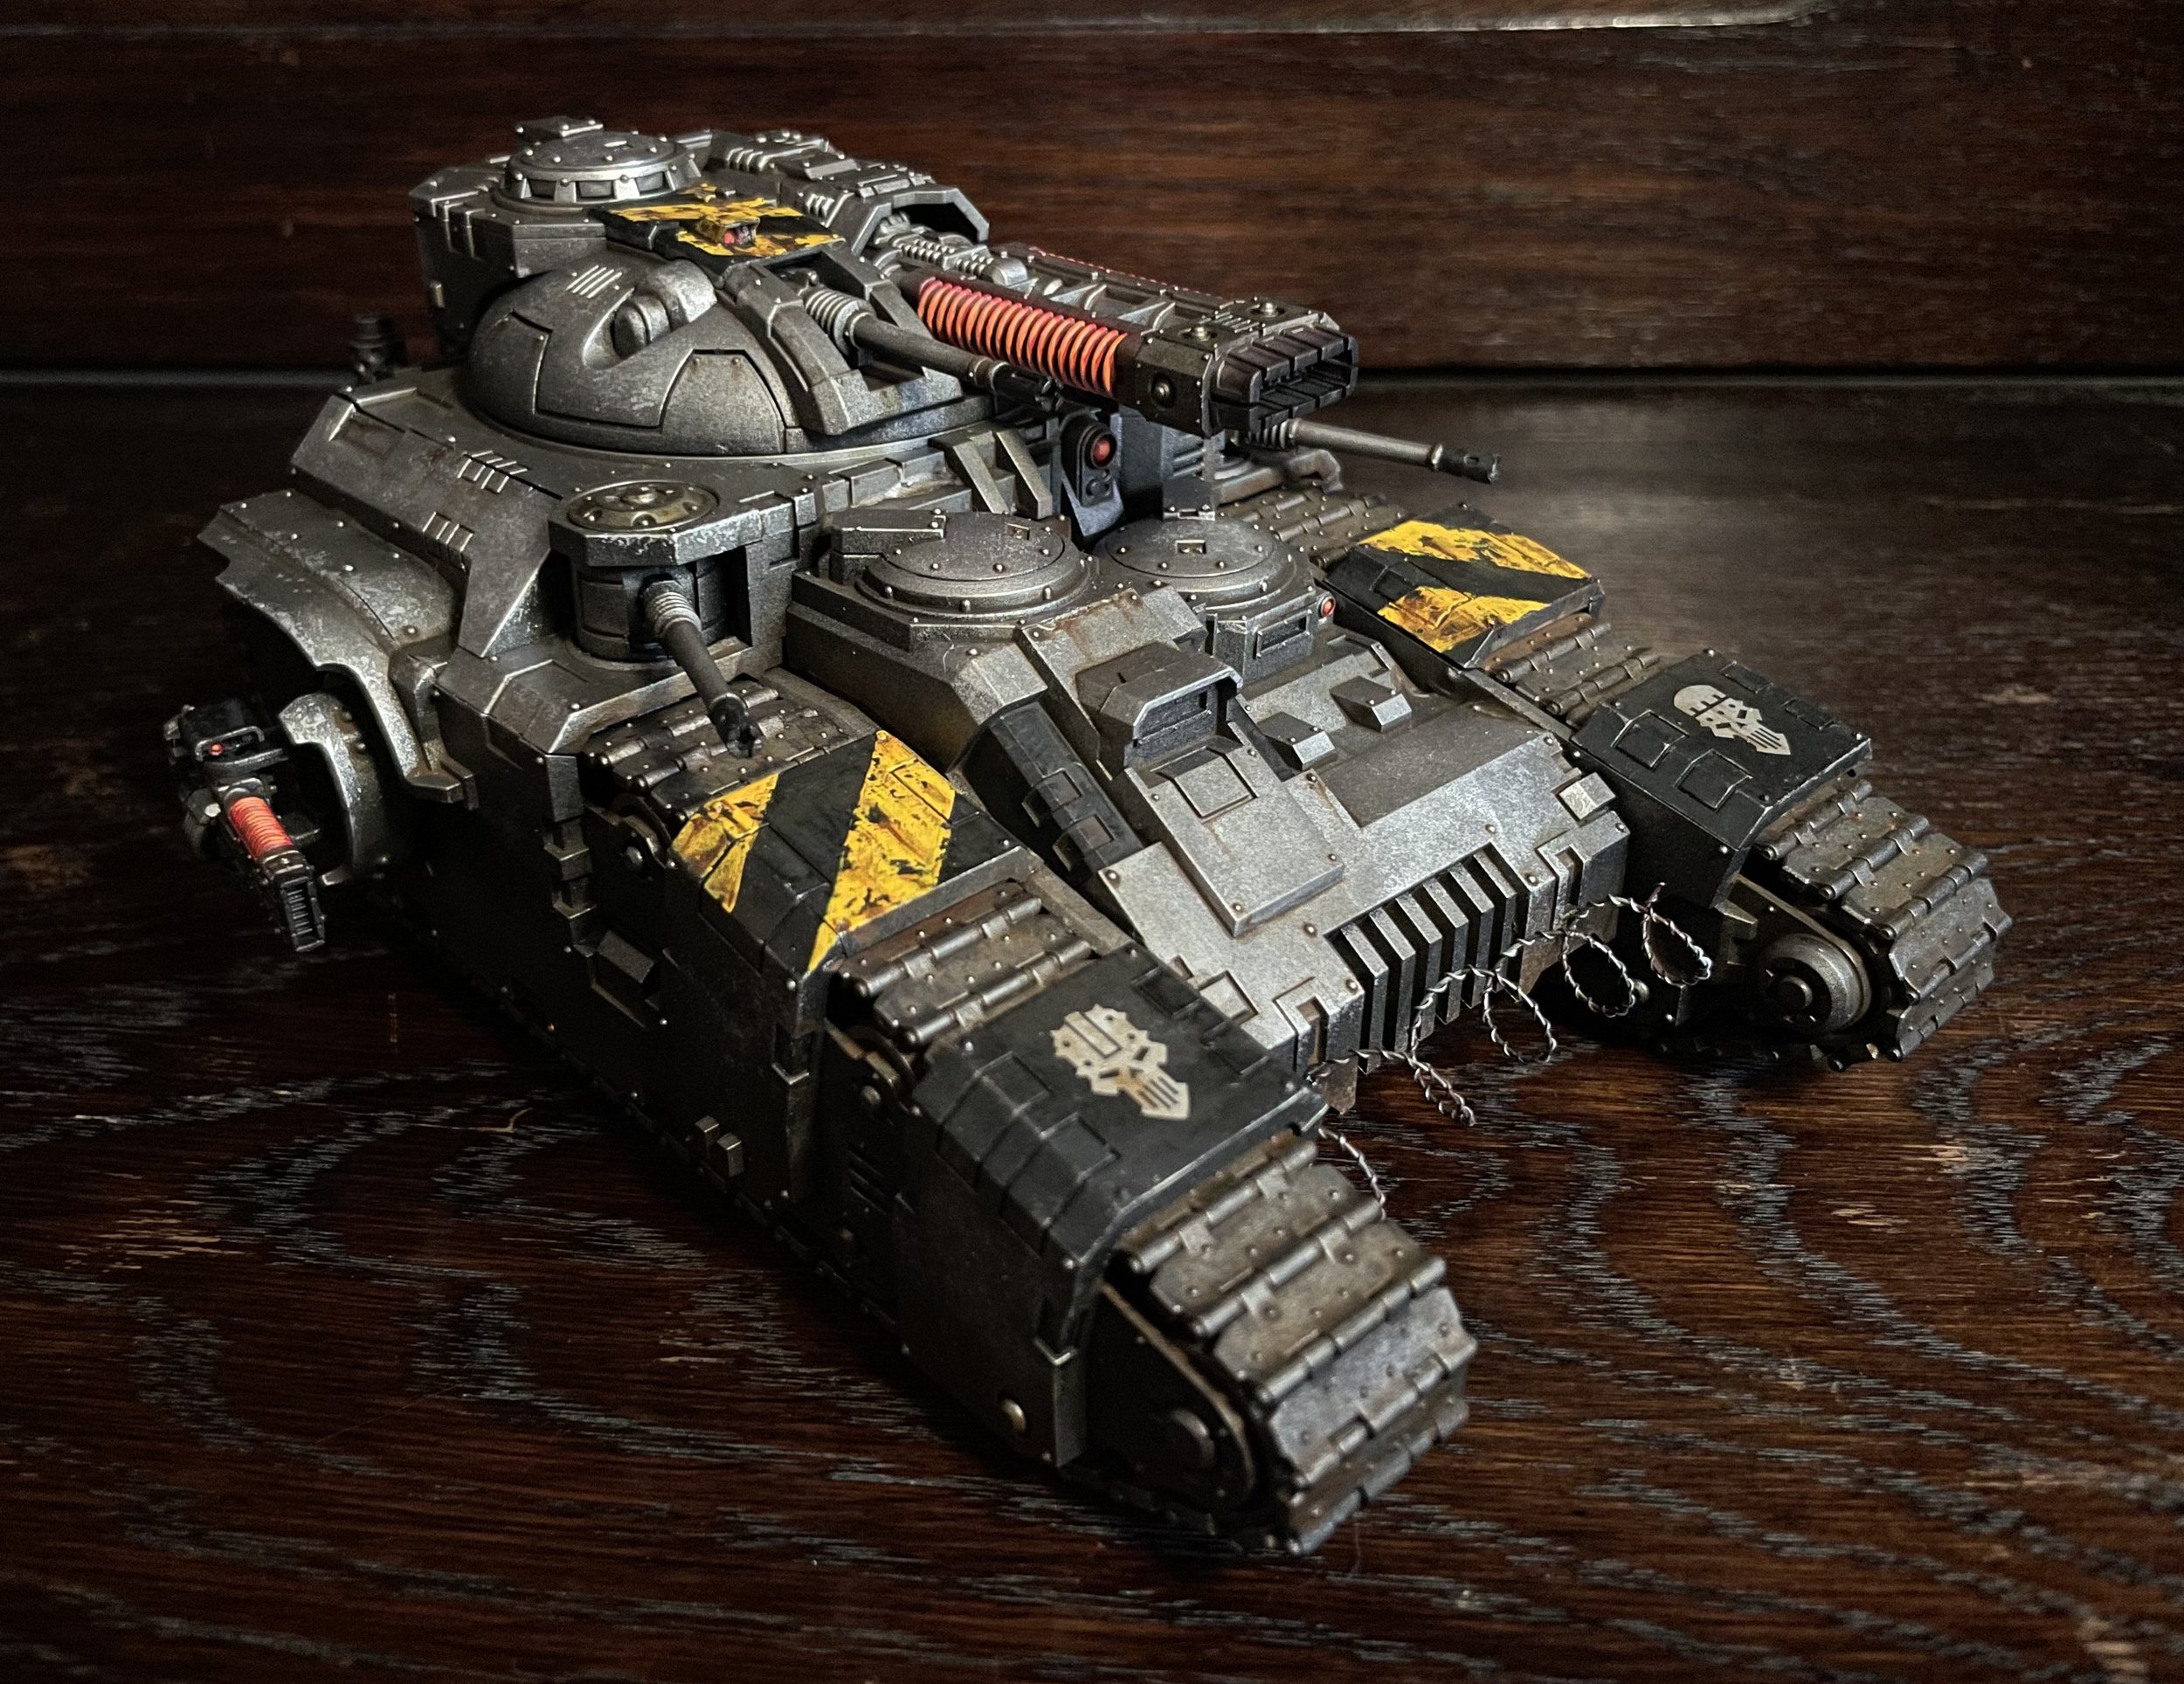
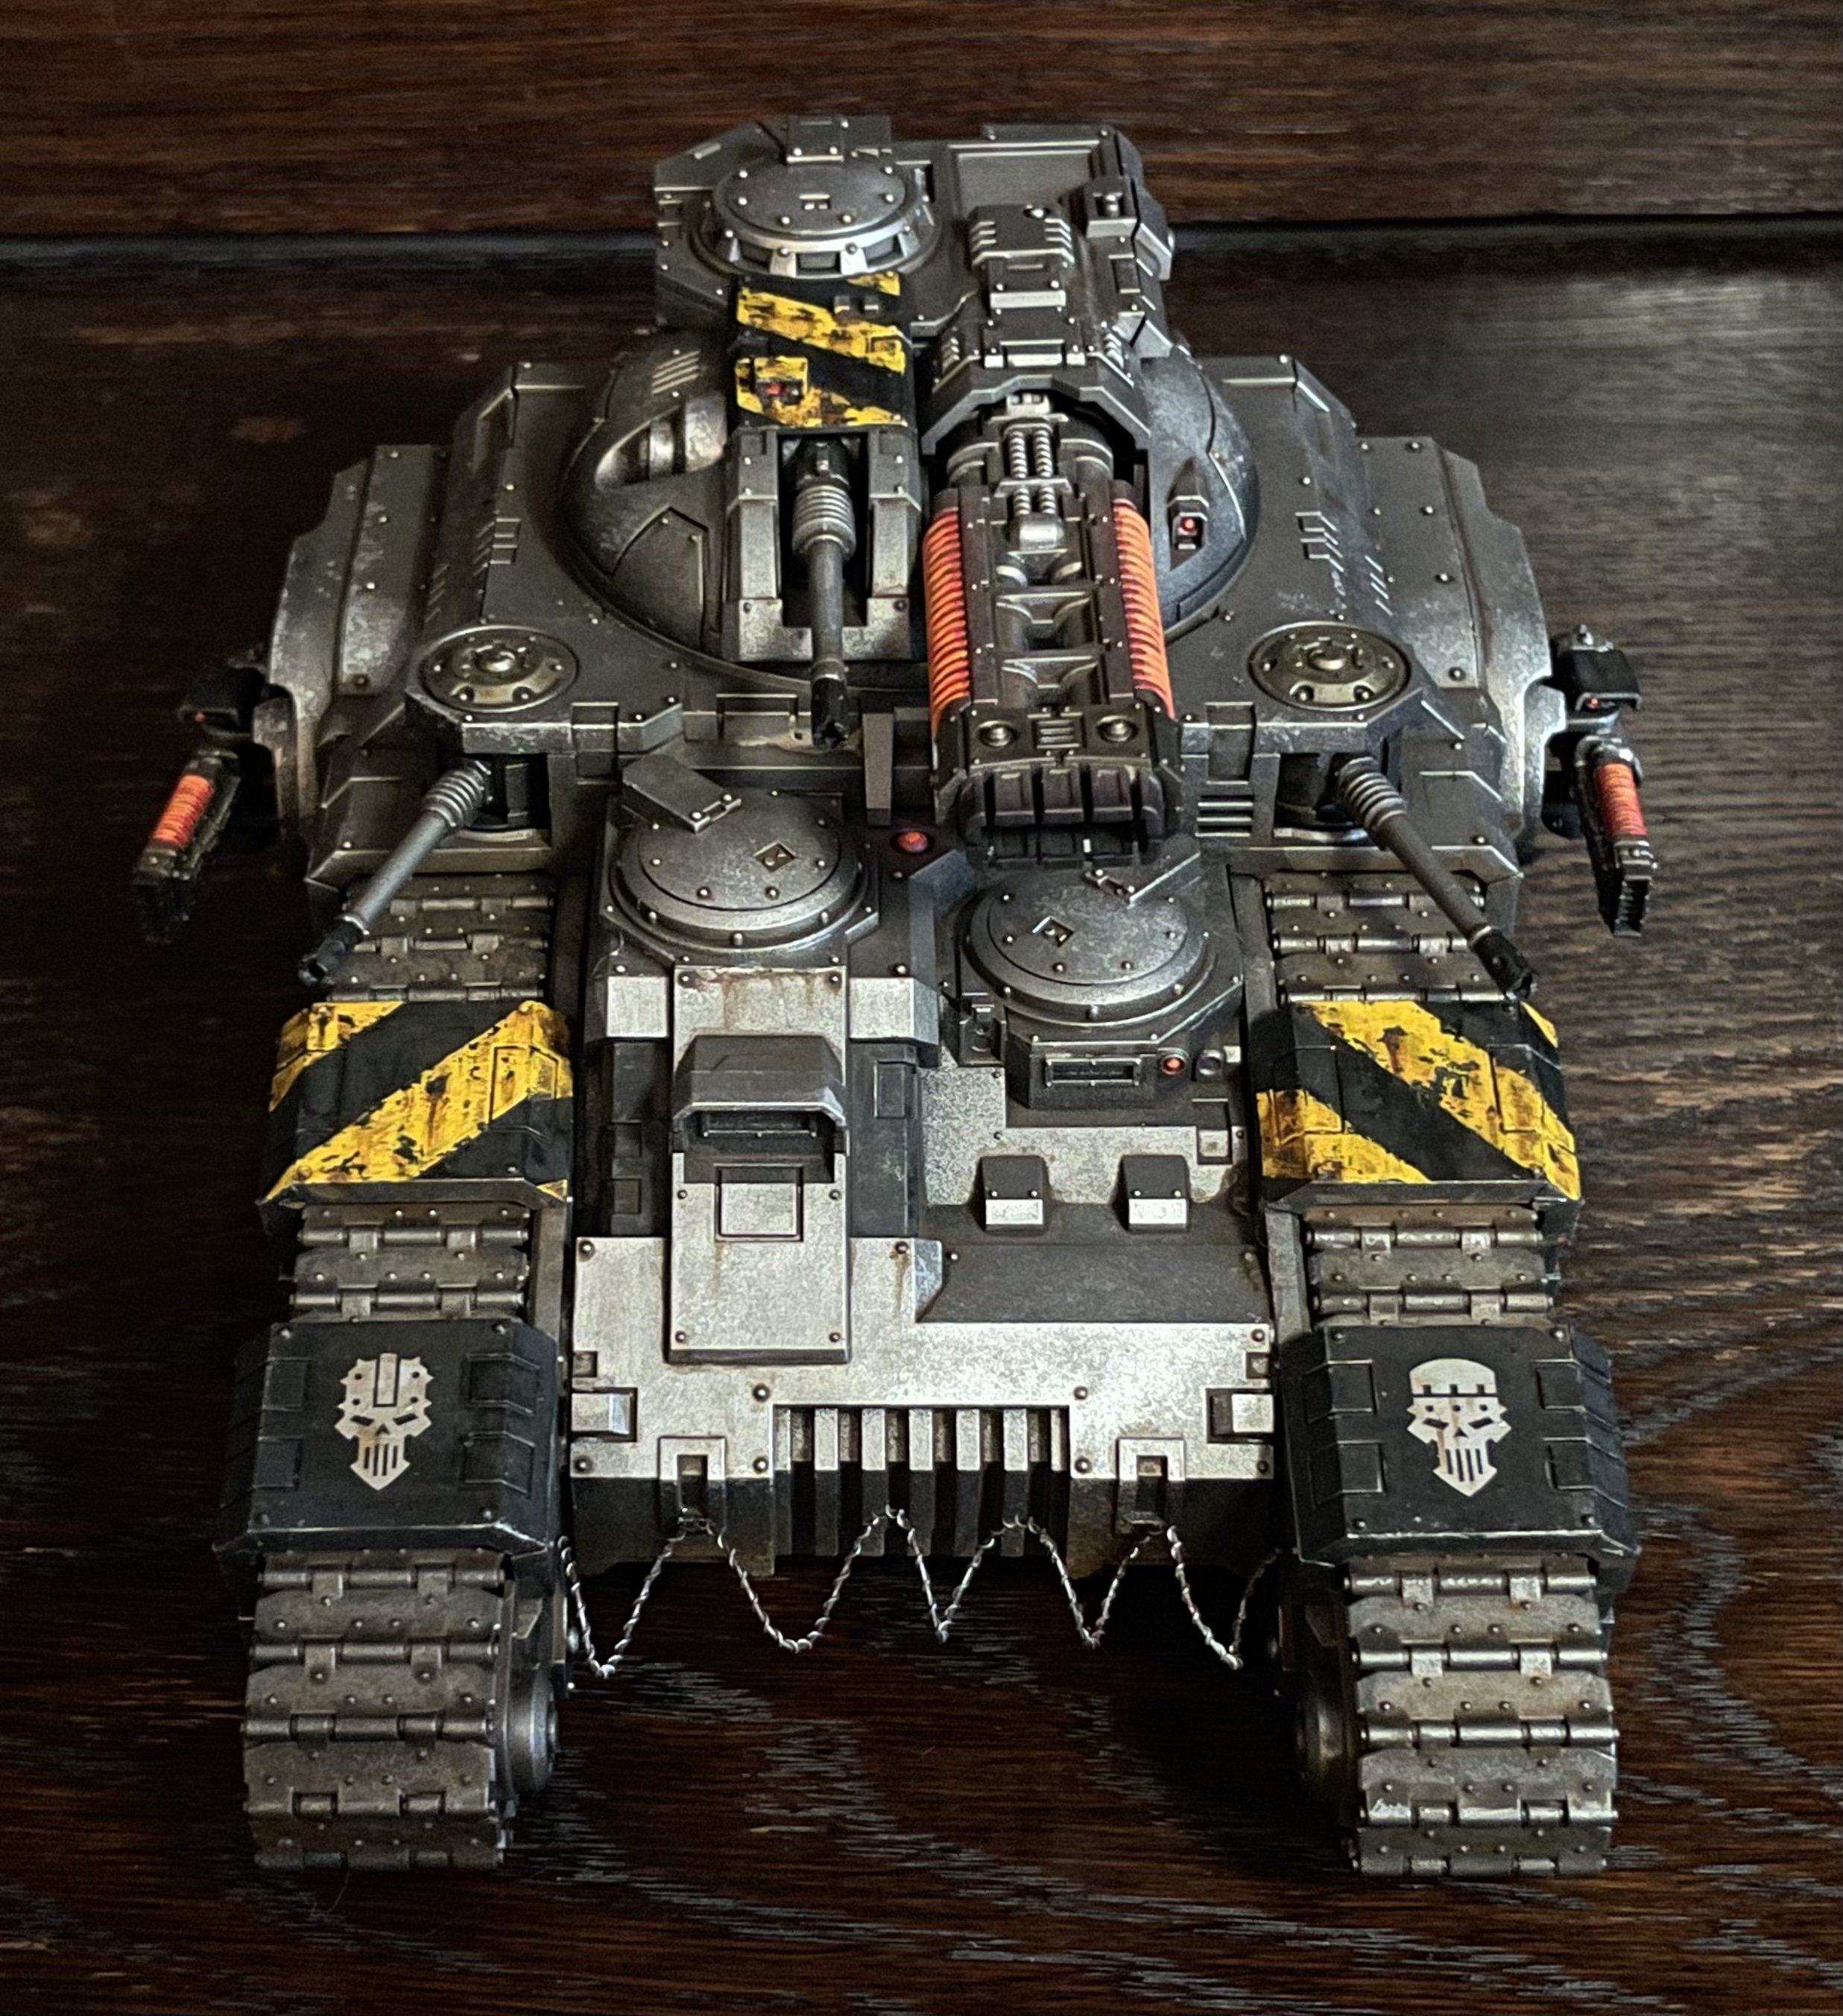
Next I add scratches and battle damage to the hazard stripes with a hobby knife.

After this I mix a thin oil wash of black, burnt Umber and orange and mineral spirits. Just like I did for the tracks, but now it is all mixed to a thin and even consistency. I pin wash between all panels and in all crevices. This is super simple and easy. If I get and wash where I don’t want it, I simply use a cue tip or a paper towel to clean it up.

When the wash have dried I use oil paint to add rust streaks on the battle damage on the hazard stripes and on some other selected areas.

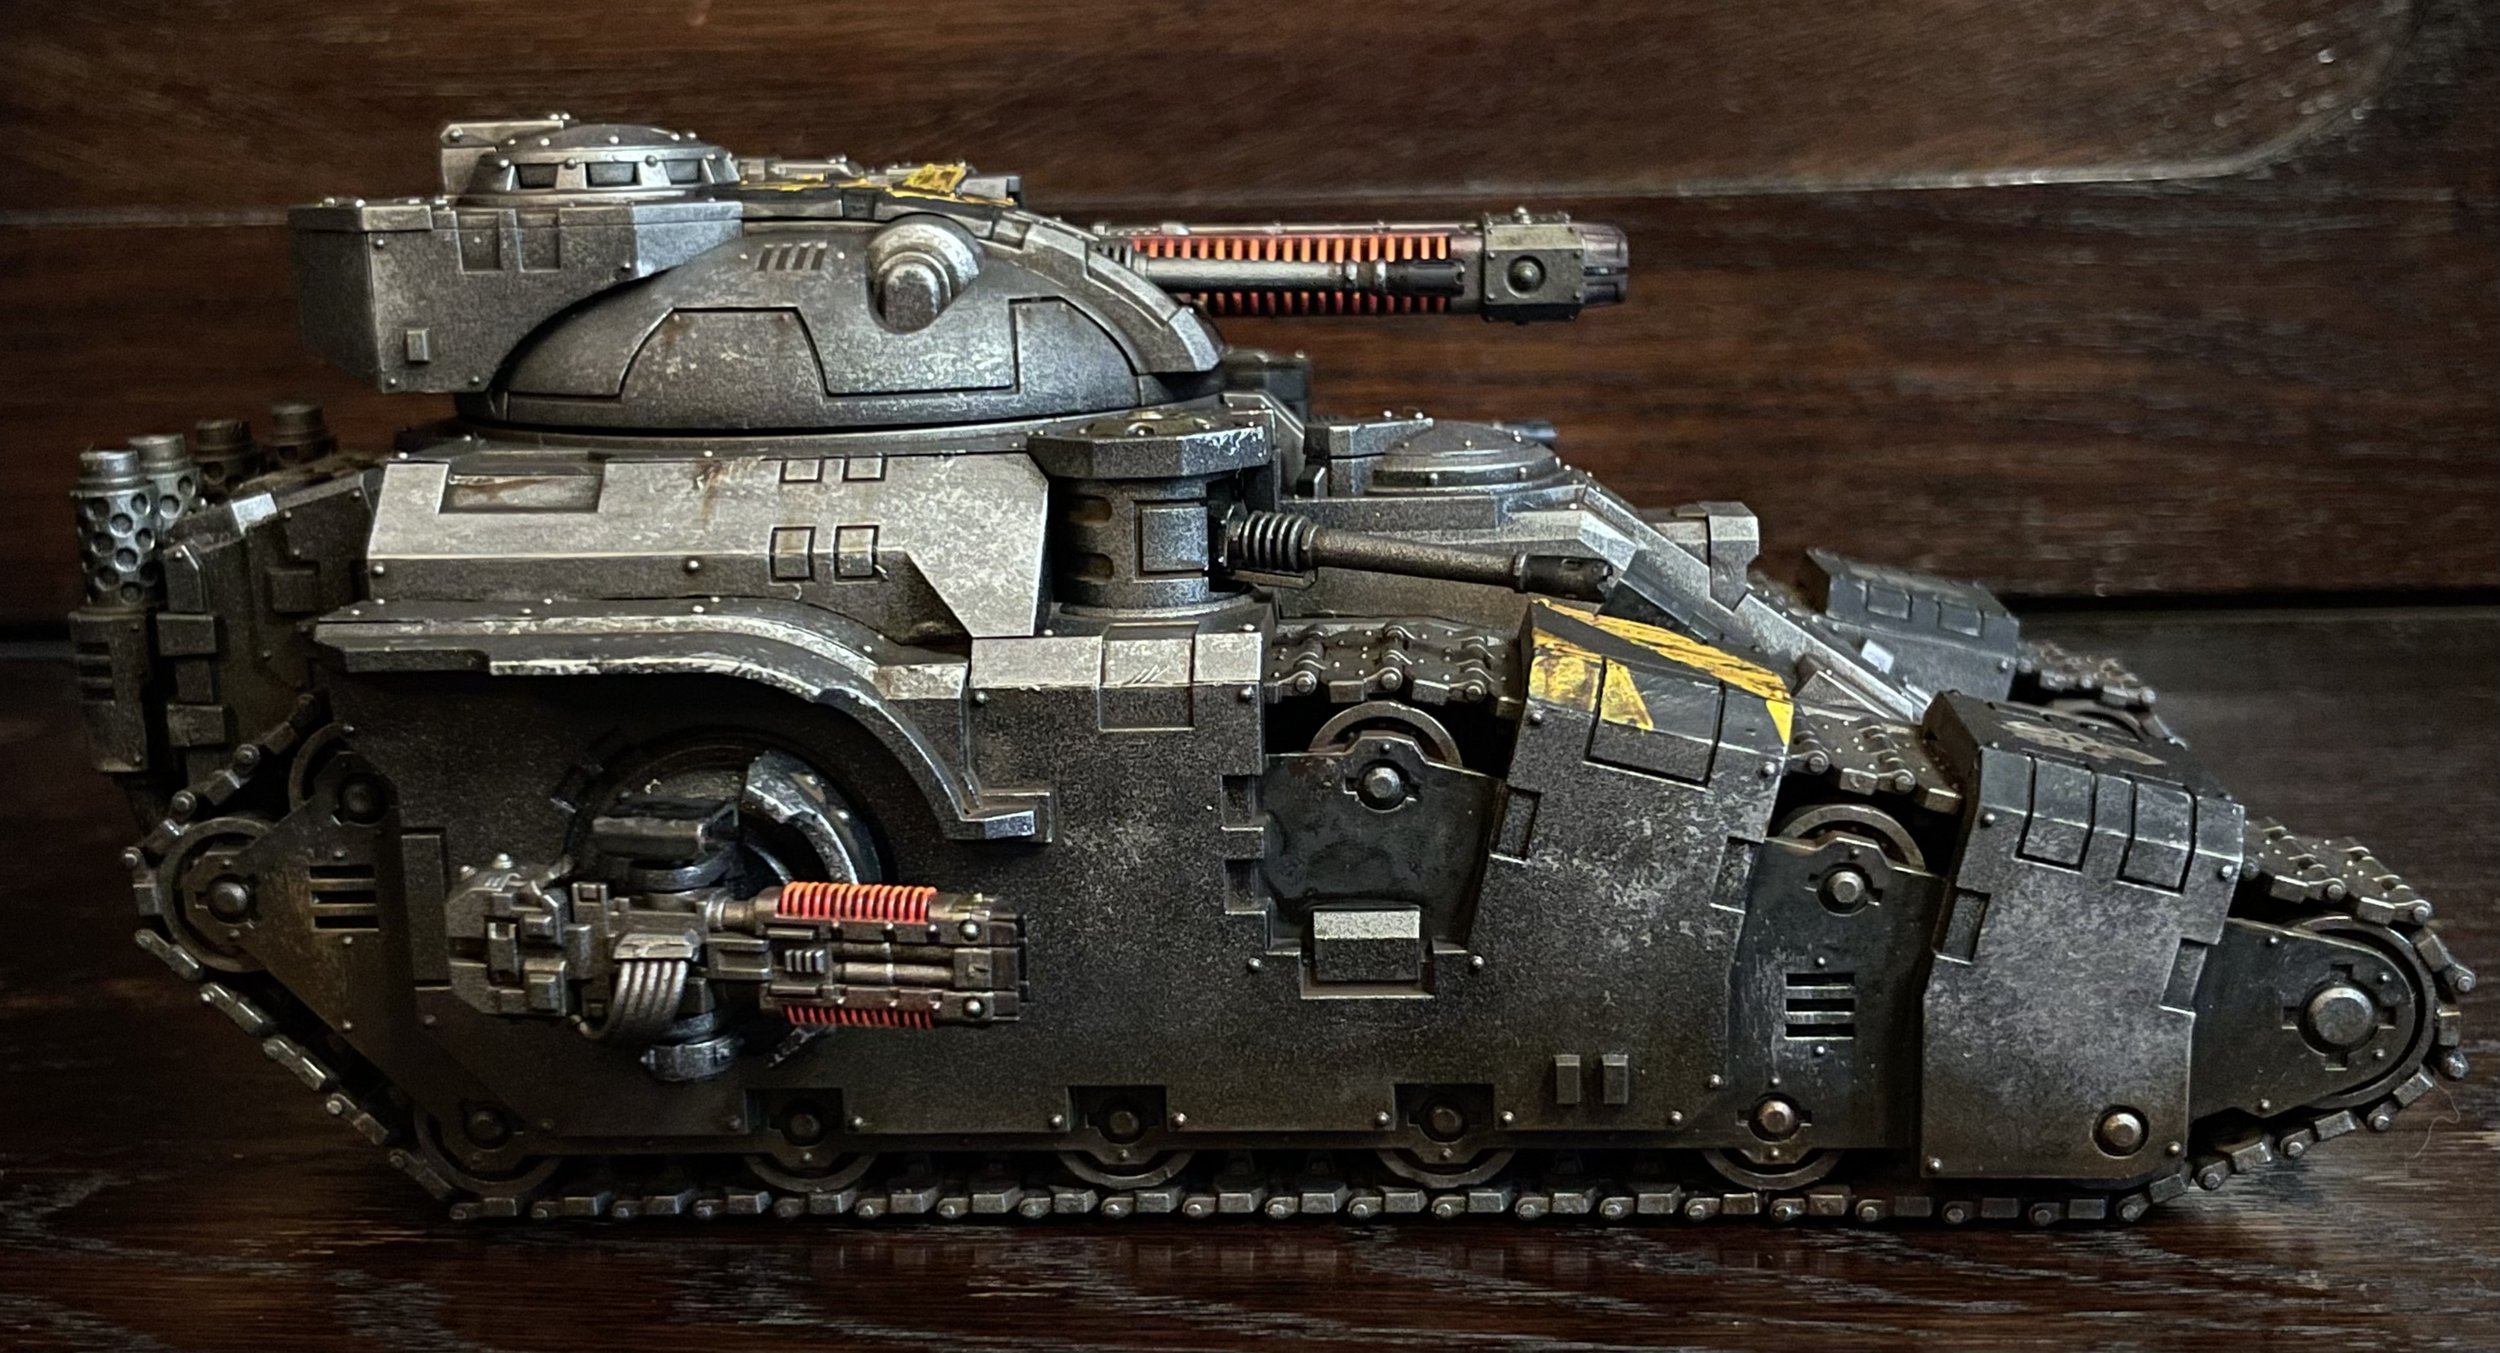
After this I start to add some of the glow effects from the volkite weapons. Because all of the guns can be changed, I don’t want to do OSL on the tank it self. But I do it for the lights.

I use oil paint for this. It is very easy to apply the paint, spread it out to where you want it and to remove if you added to much or in the wrong places. This process is soooo easy with oils, I can underscore this to many times. You have full control with zero risk of messing up.

Weathering the bottom of the tank is also done with oils. Simply mix your paint to the color you want. Without thinning them, paint the bottom of the tank on the color. Like this:

Take a bigger (dry) flat brush. Dab the paint upward the tank side. At the end brush the final edge of the paint upwards.

When all oils have dried I paint a brighter acrylic orange on the coils of the volkite weapons and add some heat colorization on the end of the gun nozzle.

None of the methods or tools have been hard or advance so far. If you haven’t used oils before, you might want to try them on a test model before you go crazy. But trust me, it is so easy and simple. And you will start adding more and more to your existing schemes and methods.

Iron Warriors. Horus Heresy. Kratos. Part1.

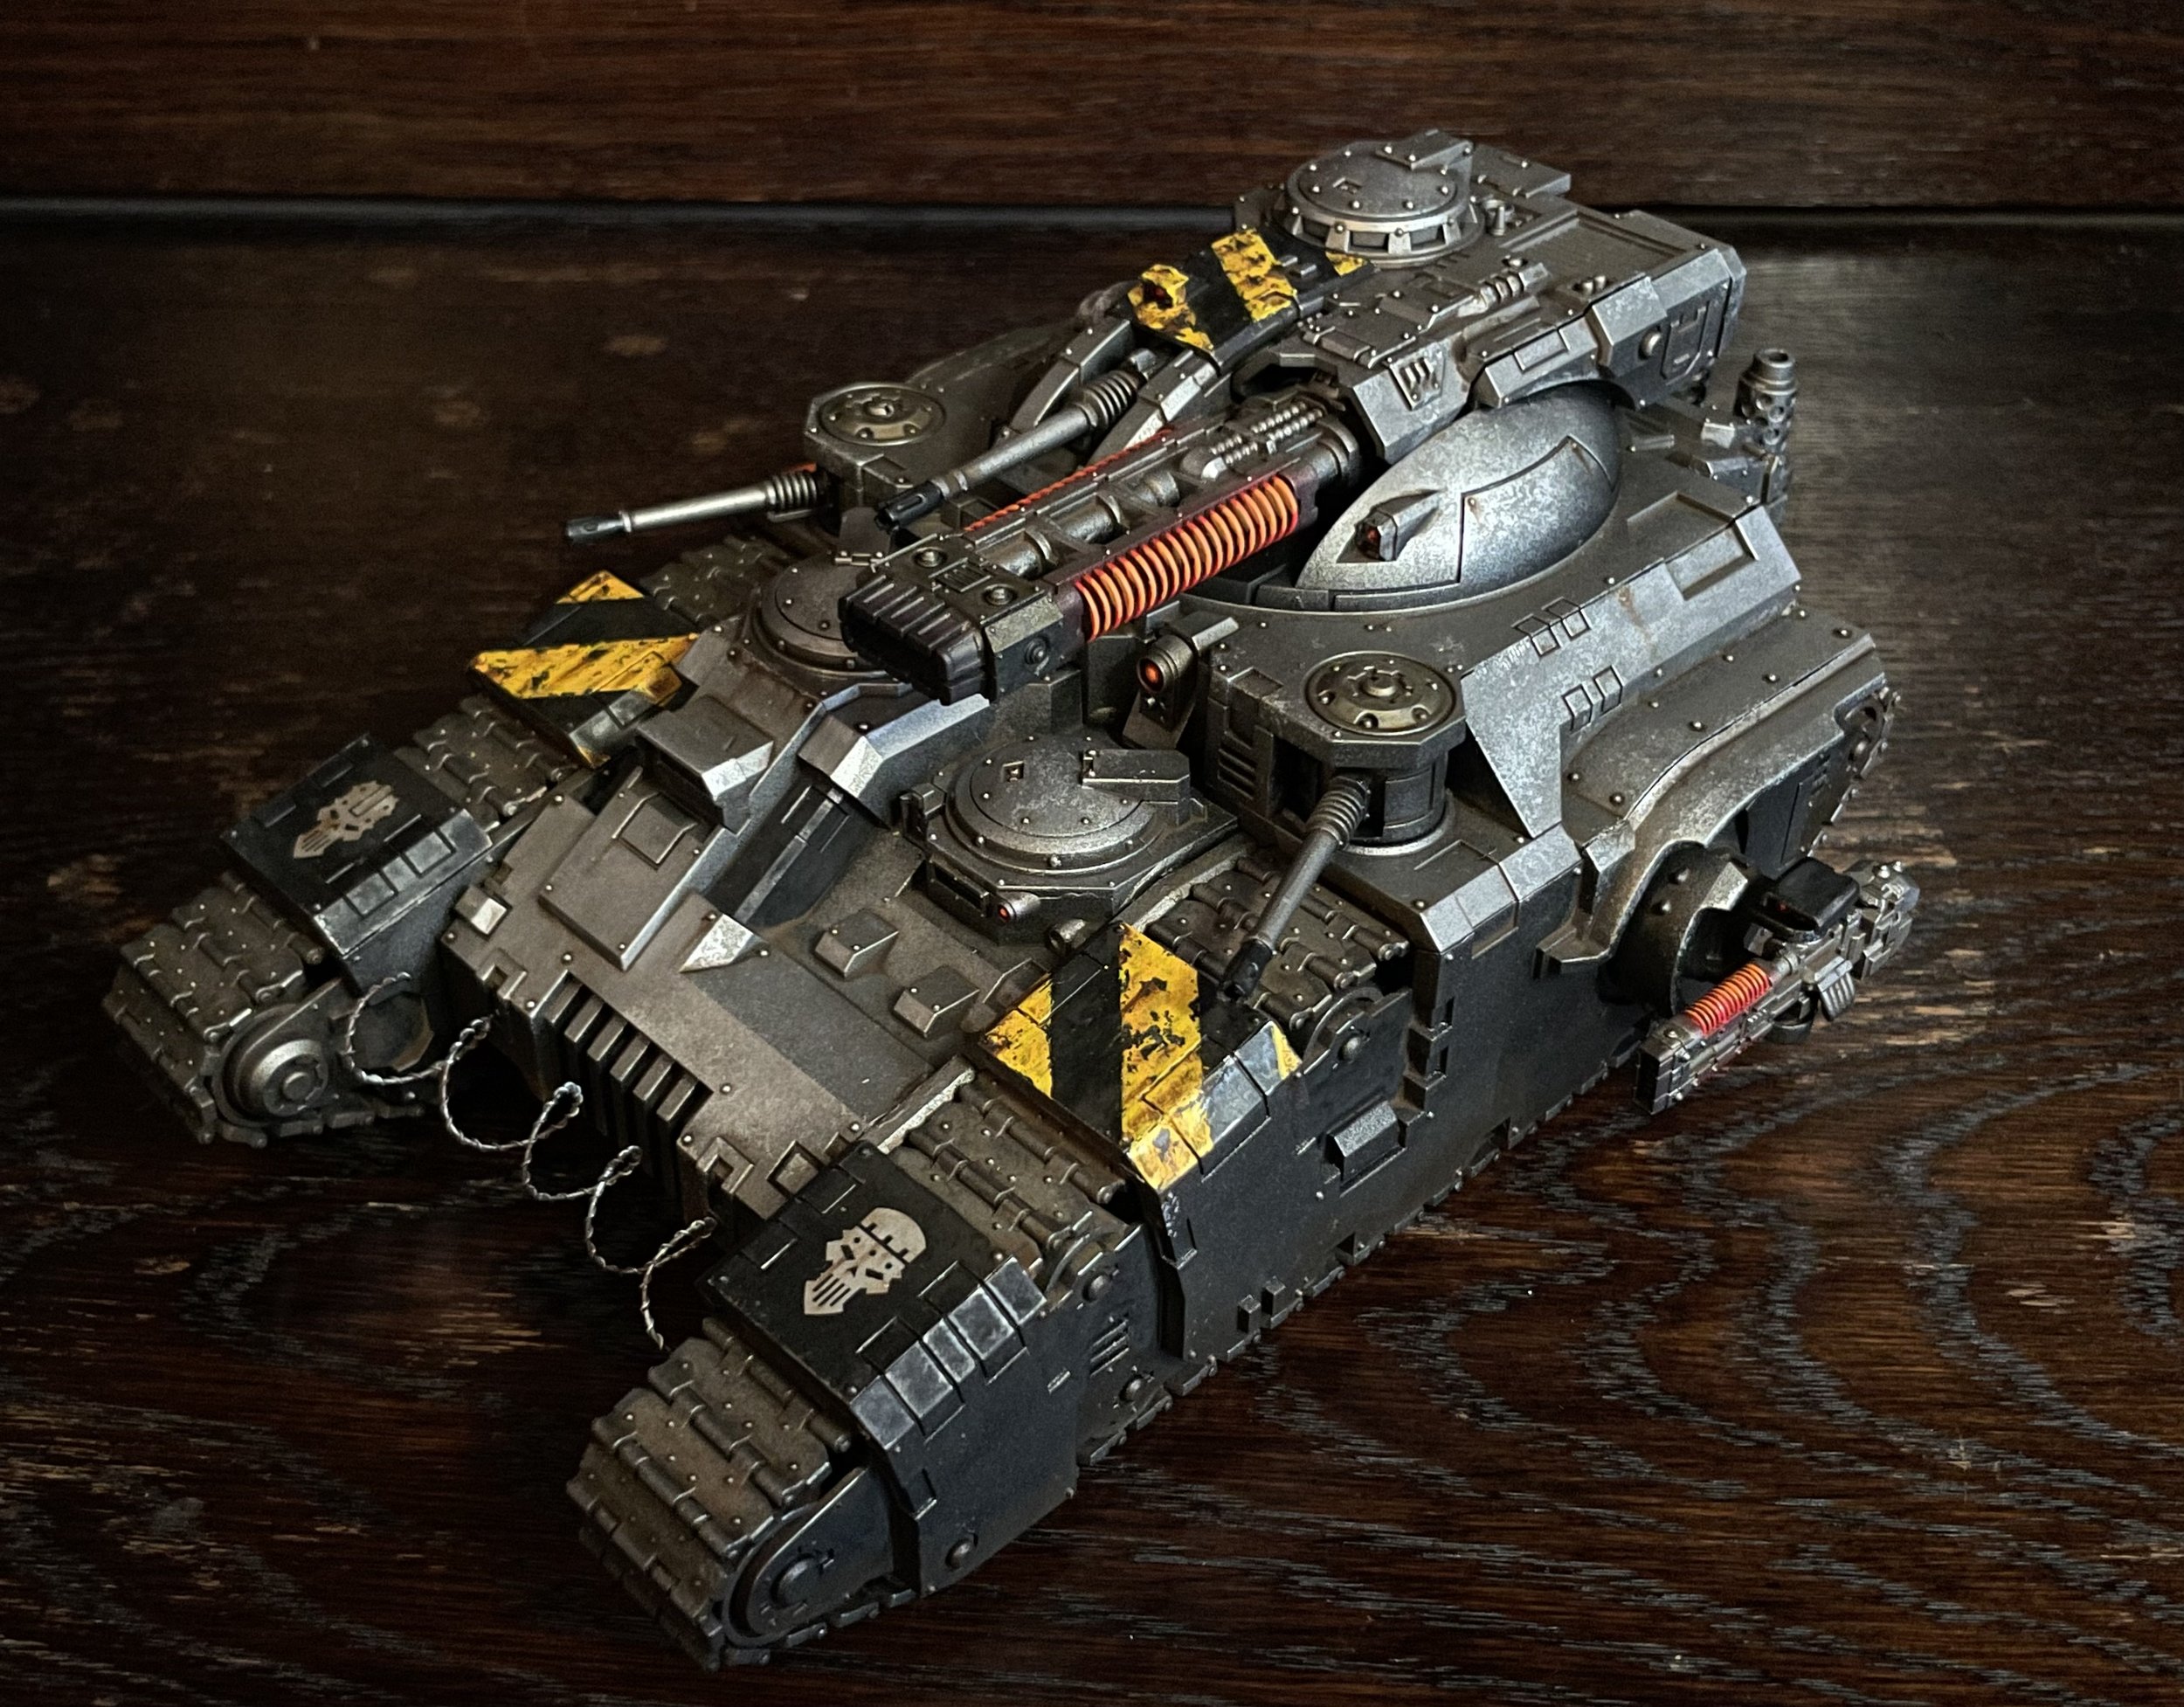
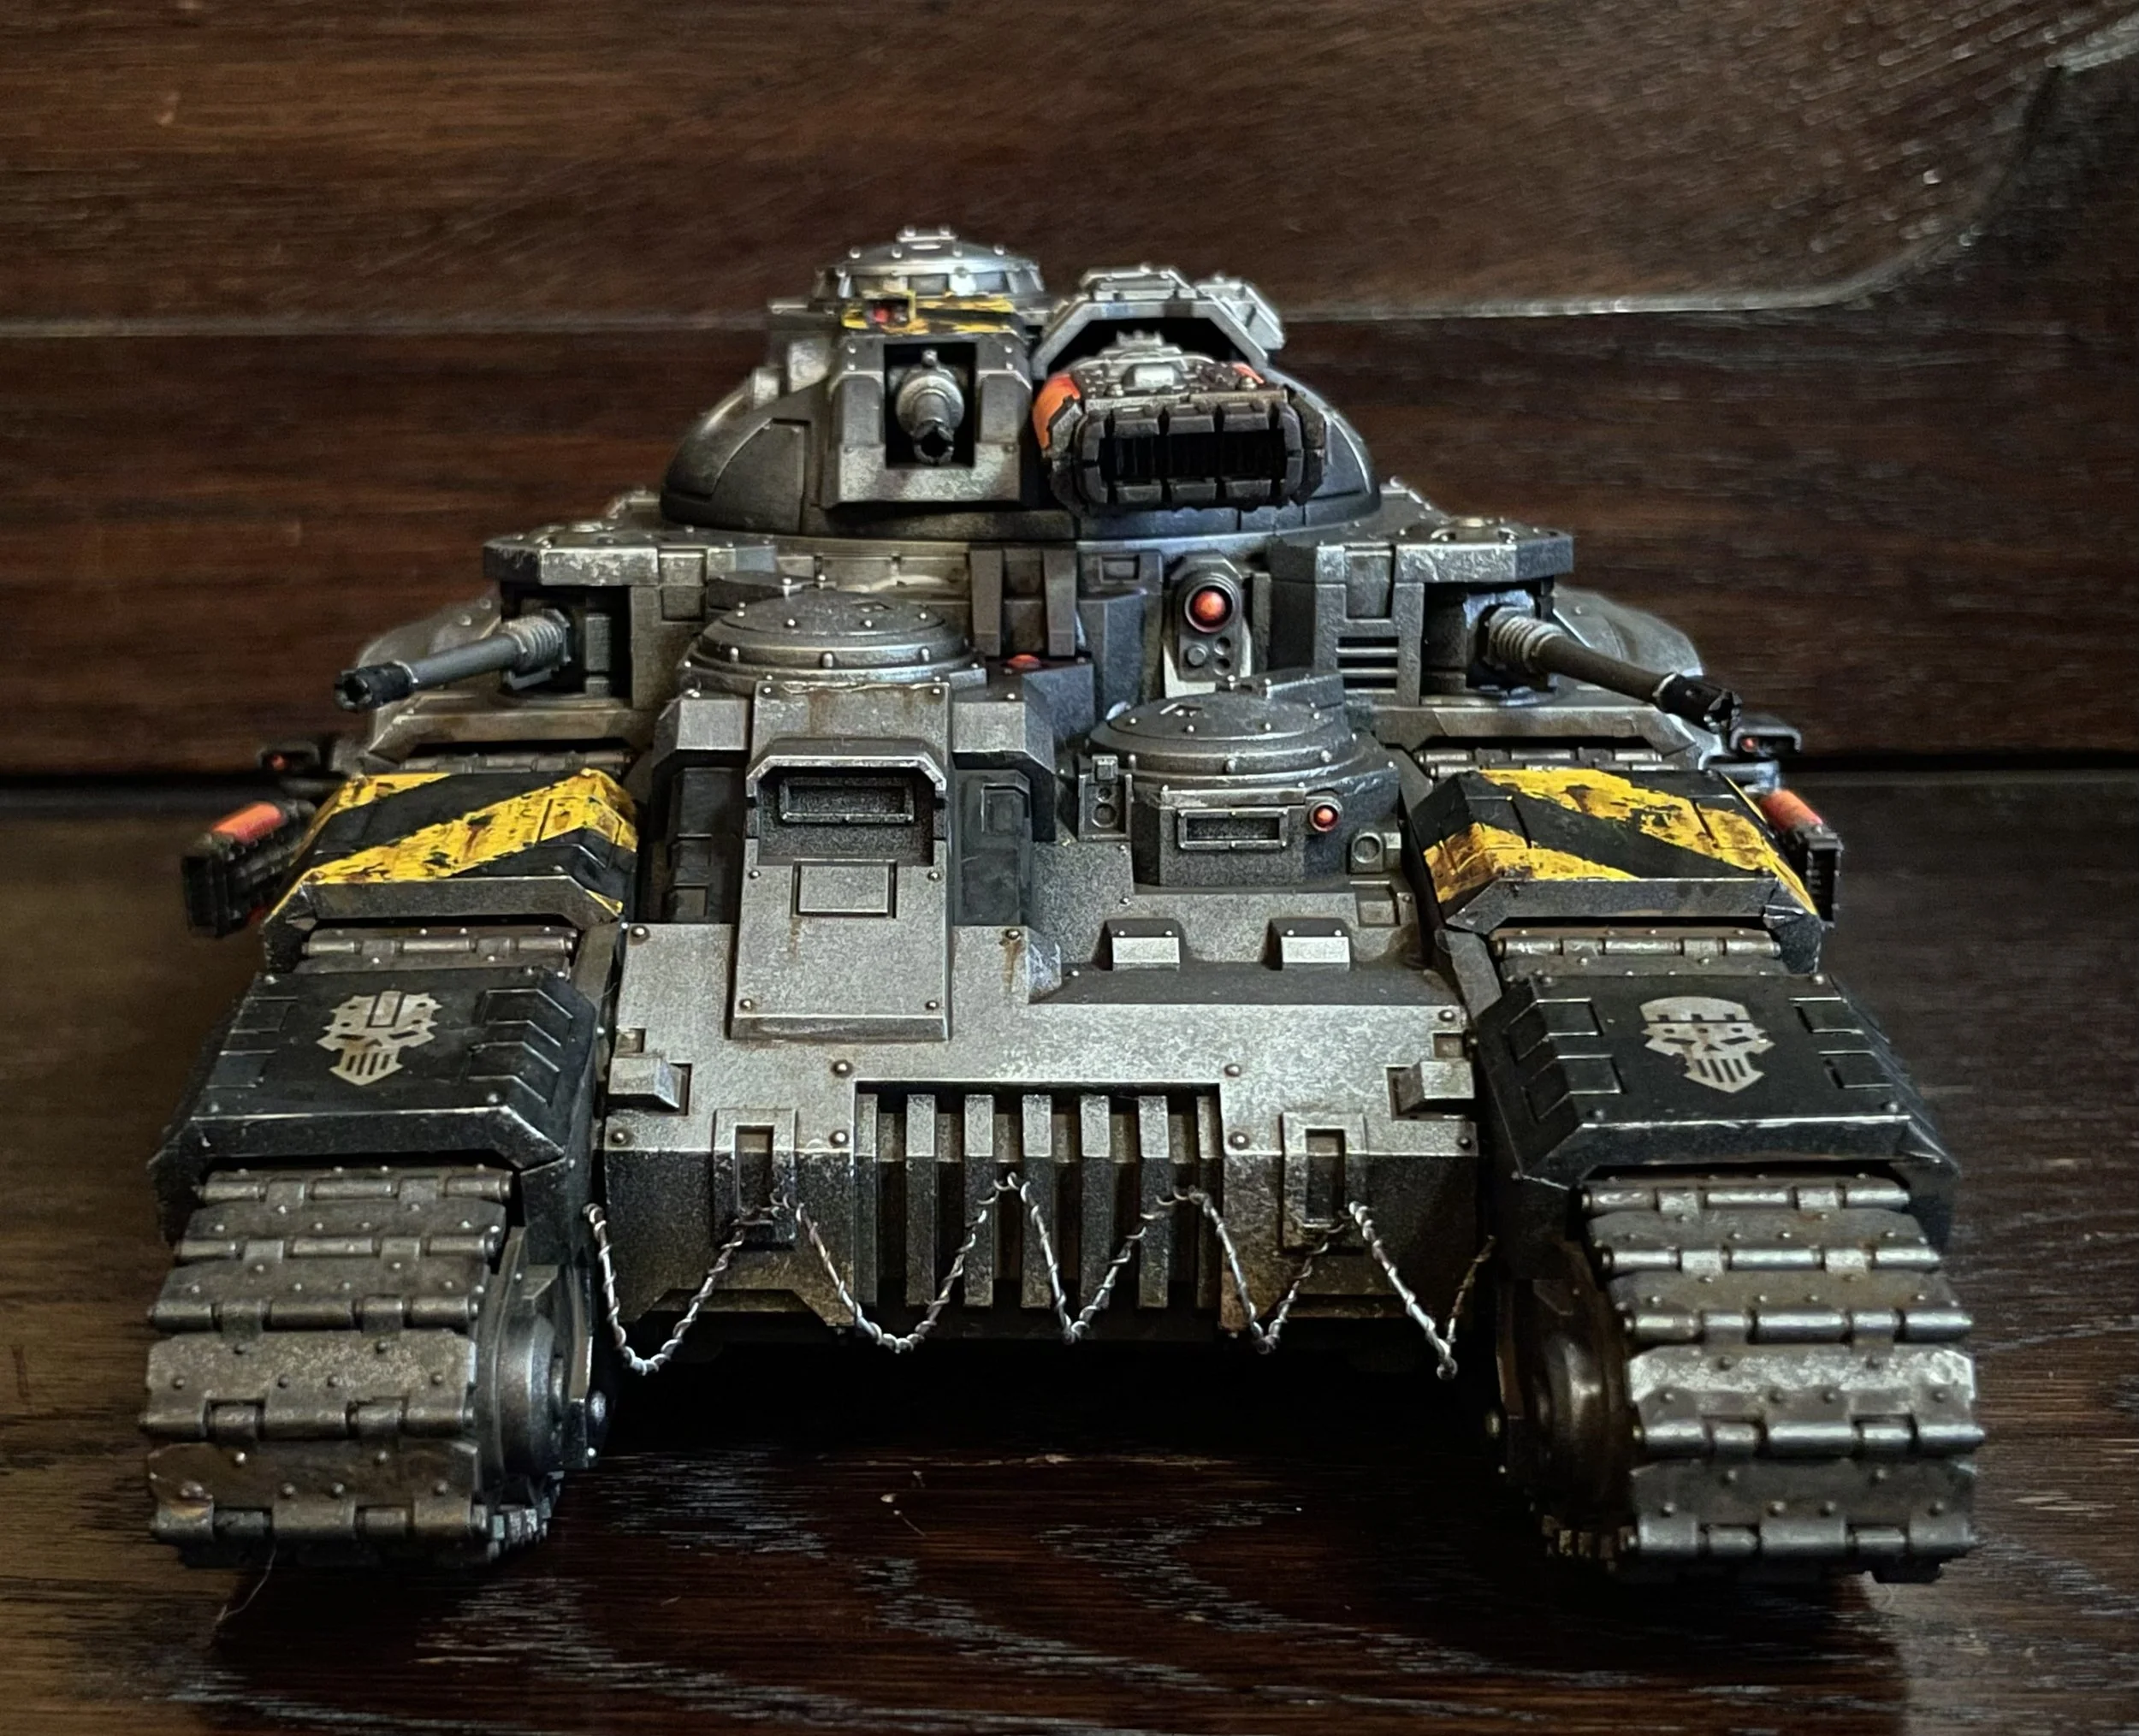
So I got a Kratos in the big Horus Heresy release. And I just now got the time to start working on all the new shiny kits. First up is the Kratos assault tank.

Over the years my Iron Warriors paint scheme have become more and more elaborate. What was once something quick and easy to paint up have slowly become a long process.

With this new edition my intention is to get back into a easier process. Hopefully adopting the best of my explorations.

After building the model I primed it black. Then I Zenithal sprayed Leadbelcher from above.

Once dried I take a very light silver and sponge in the surface highlights. The reason for this is that it gives good control and you can introduce some textures on the otherwise flat and empty surfaces.

After this I paint the areas where I want hazard stripes in black and add a matte wash. The reason for this comes later.

The tracks is painted with a mix of black, burnt umber and orange oil paint. This is mixed with a lot of mineral spirits. The consistency is almost as a wash but a little heavier. I dabb paper tissue to remove the exes paint.

Once dried I draw in the highlights with a graphite pencil.

After this I paint the hazard stripes and add decals.

The reason for painting yellow hazard stripes on top a black surface is this. In order to get good coverage I have to do several coats of paint. This is good because I will use a hobby knife to introduce scratches and battle damage. This means that I have a top layer to remove, reveling the black underlaying black. It looks more realistic and is much faster.

Oh I have not put a single layer of varnish on the model, even if I have started to work with oils and mineral spirits.

First off, the silver spray coat already contains more varnish than other acrylics so you already have a protective layer.

Second, just applying mineral spirits and oils will not remove any paint. It is rubbing and punching it around. So apply it, quickly do adjustments and then let it be until it fully dries.

Up to this point, everything have been quick and easy, the longest time is drying times and assemblie.

Mhara gal tainted dreadnought. Word Bearers. Part1.

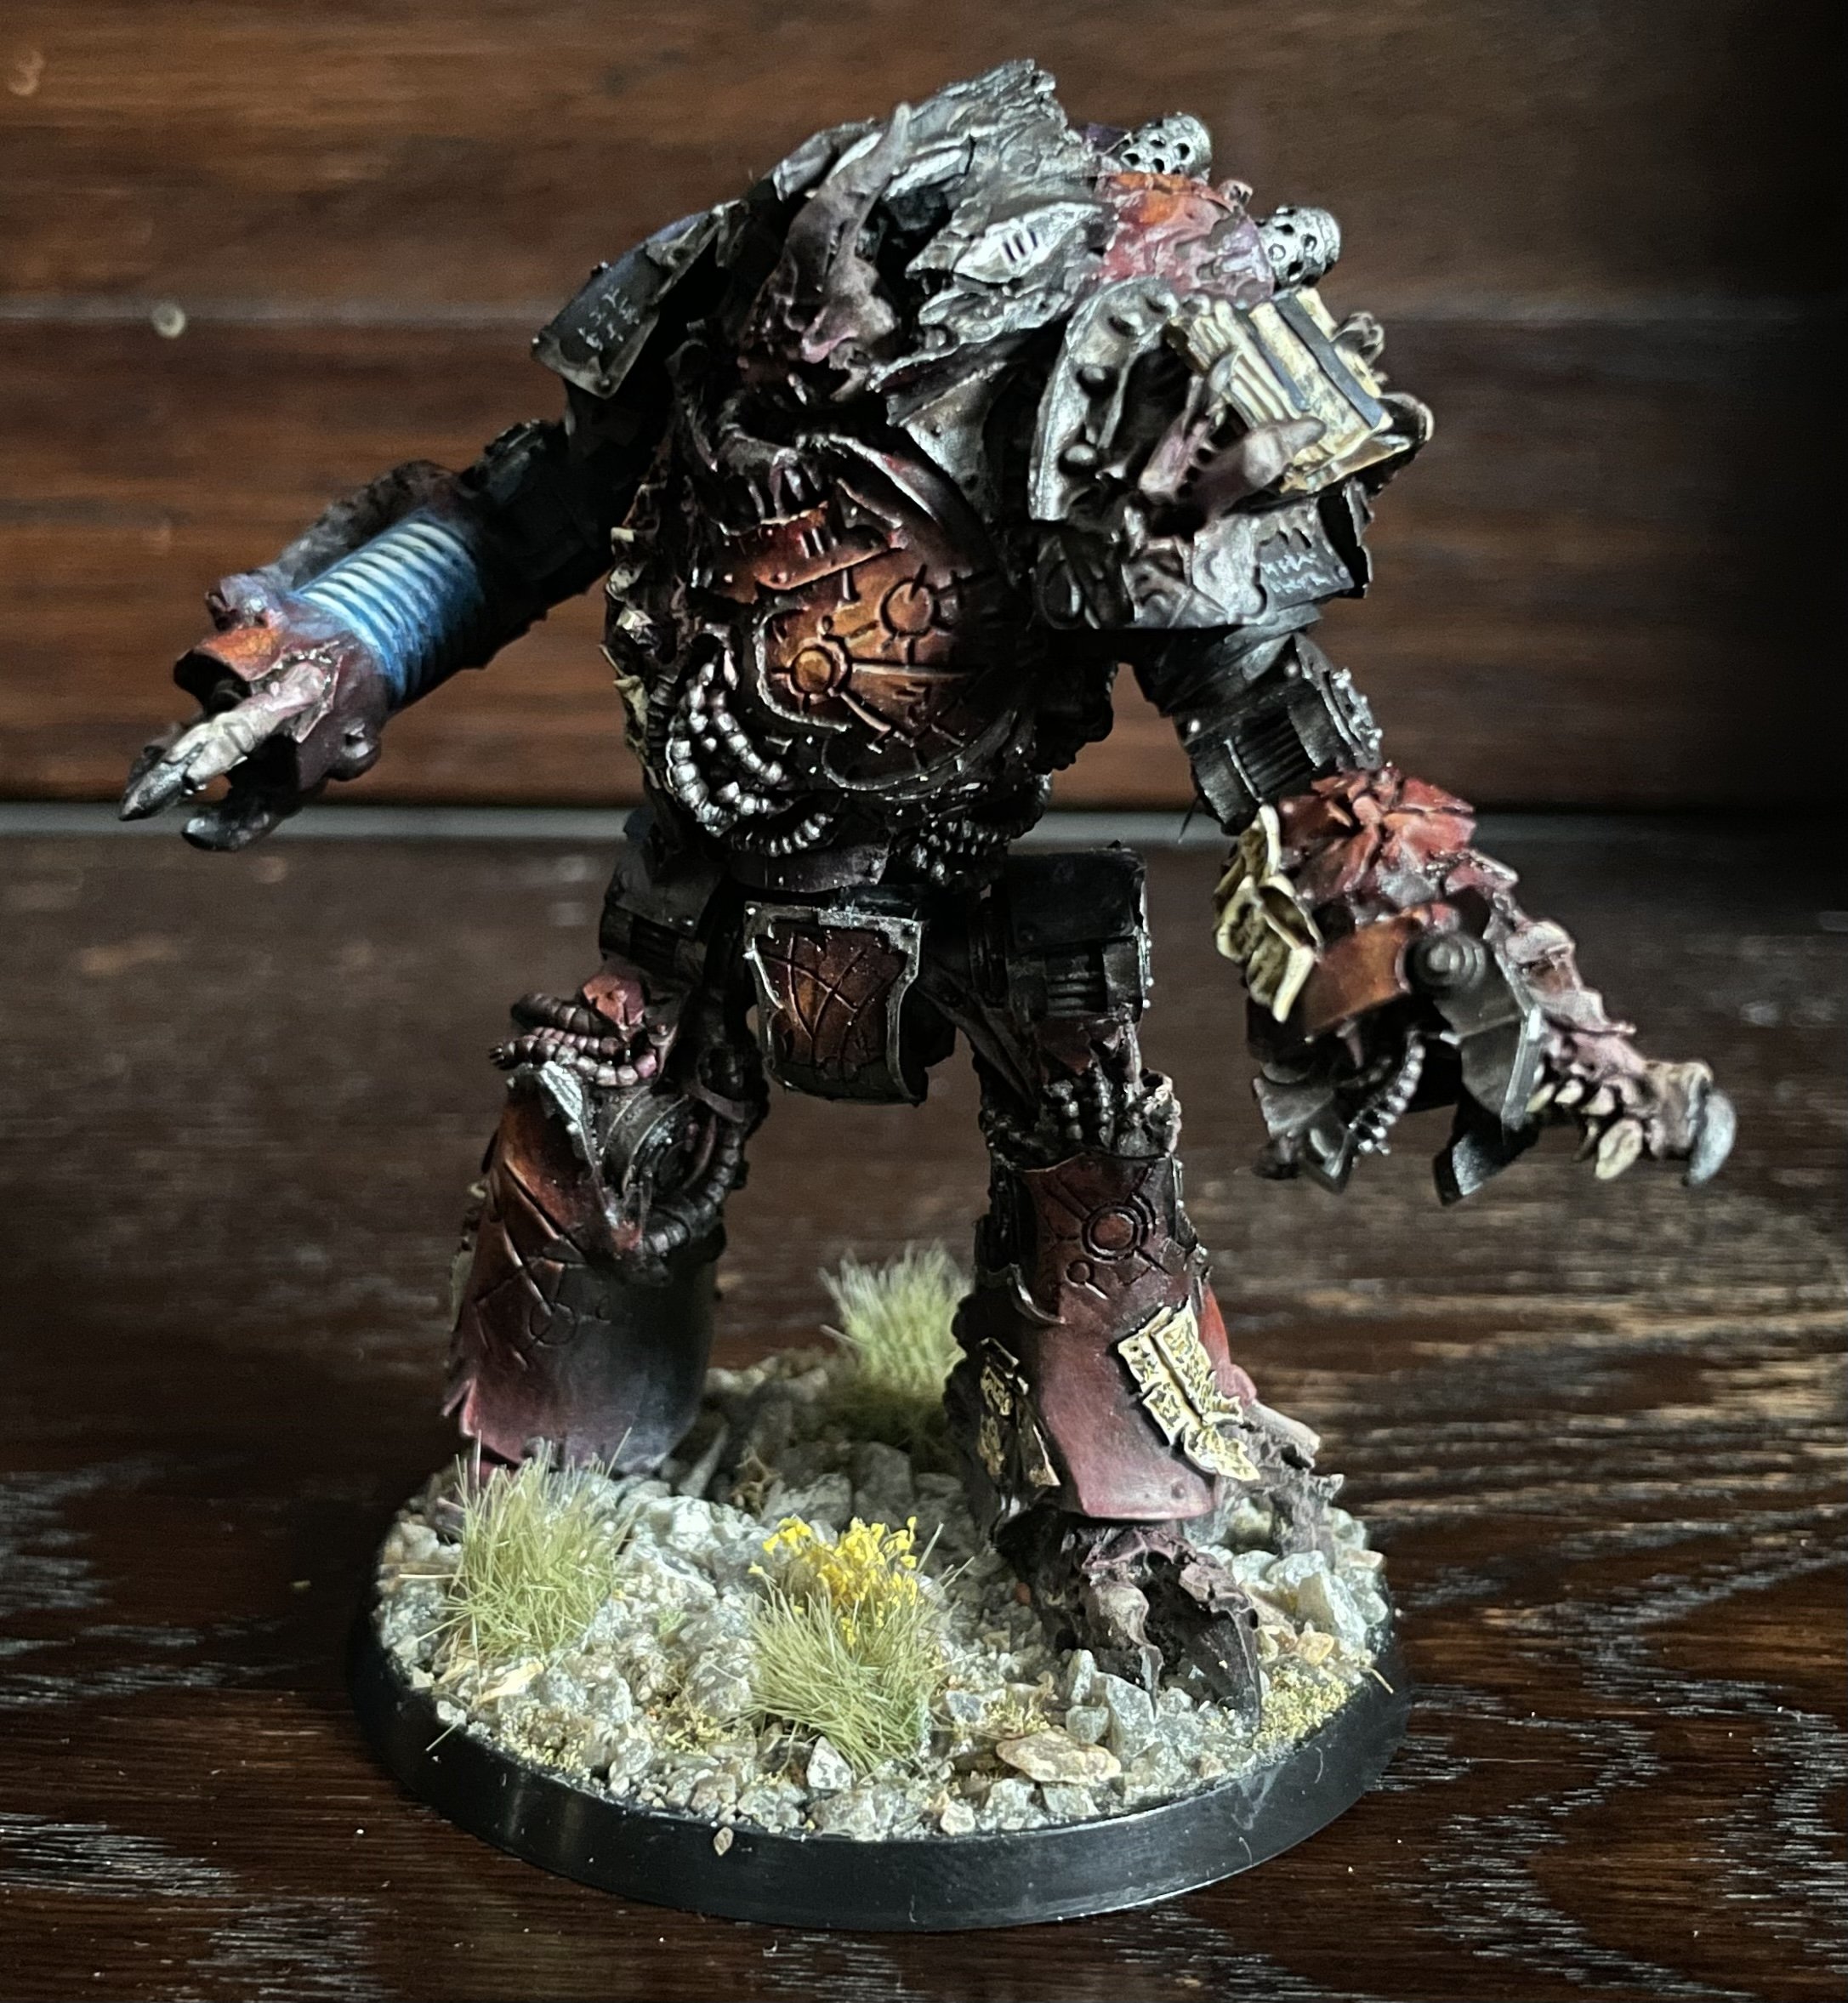
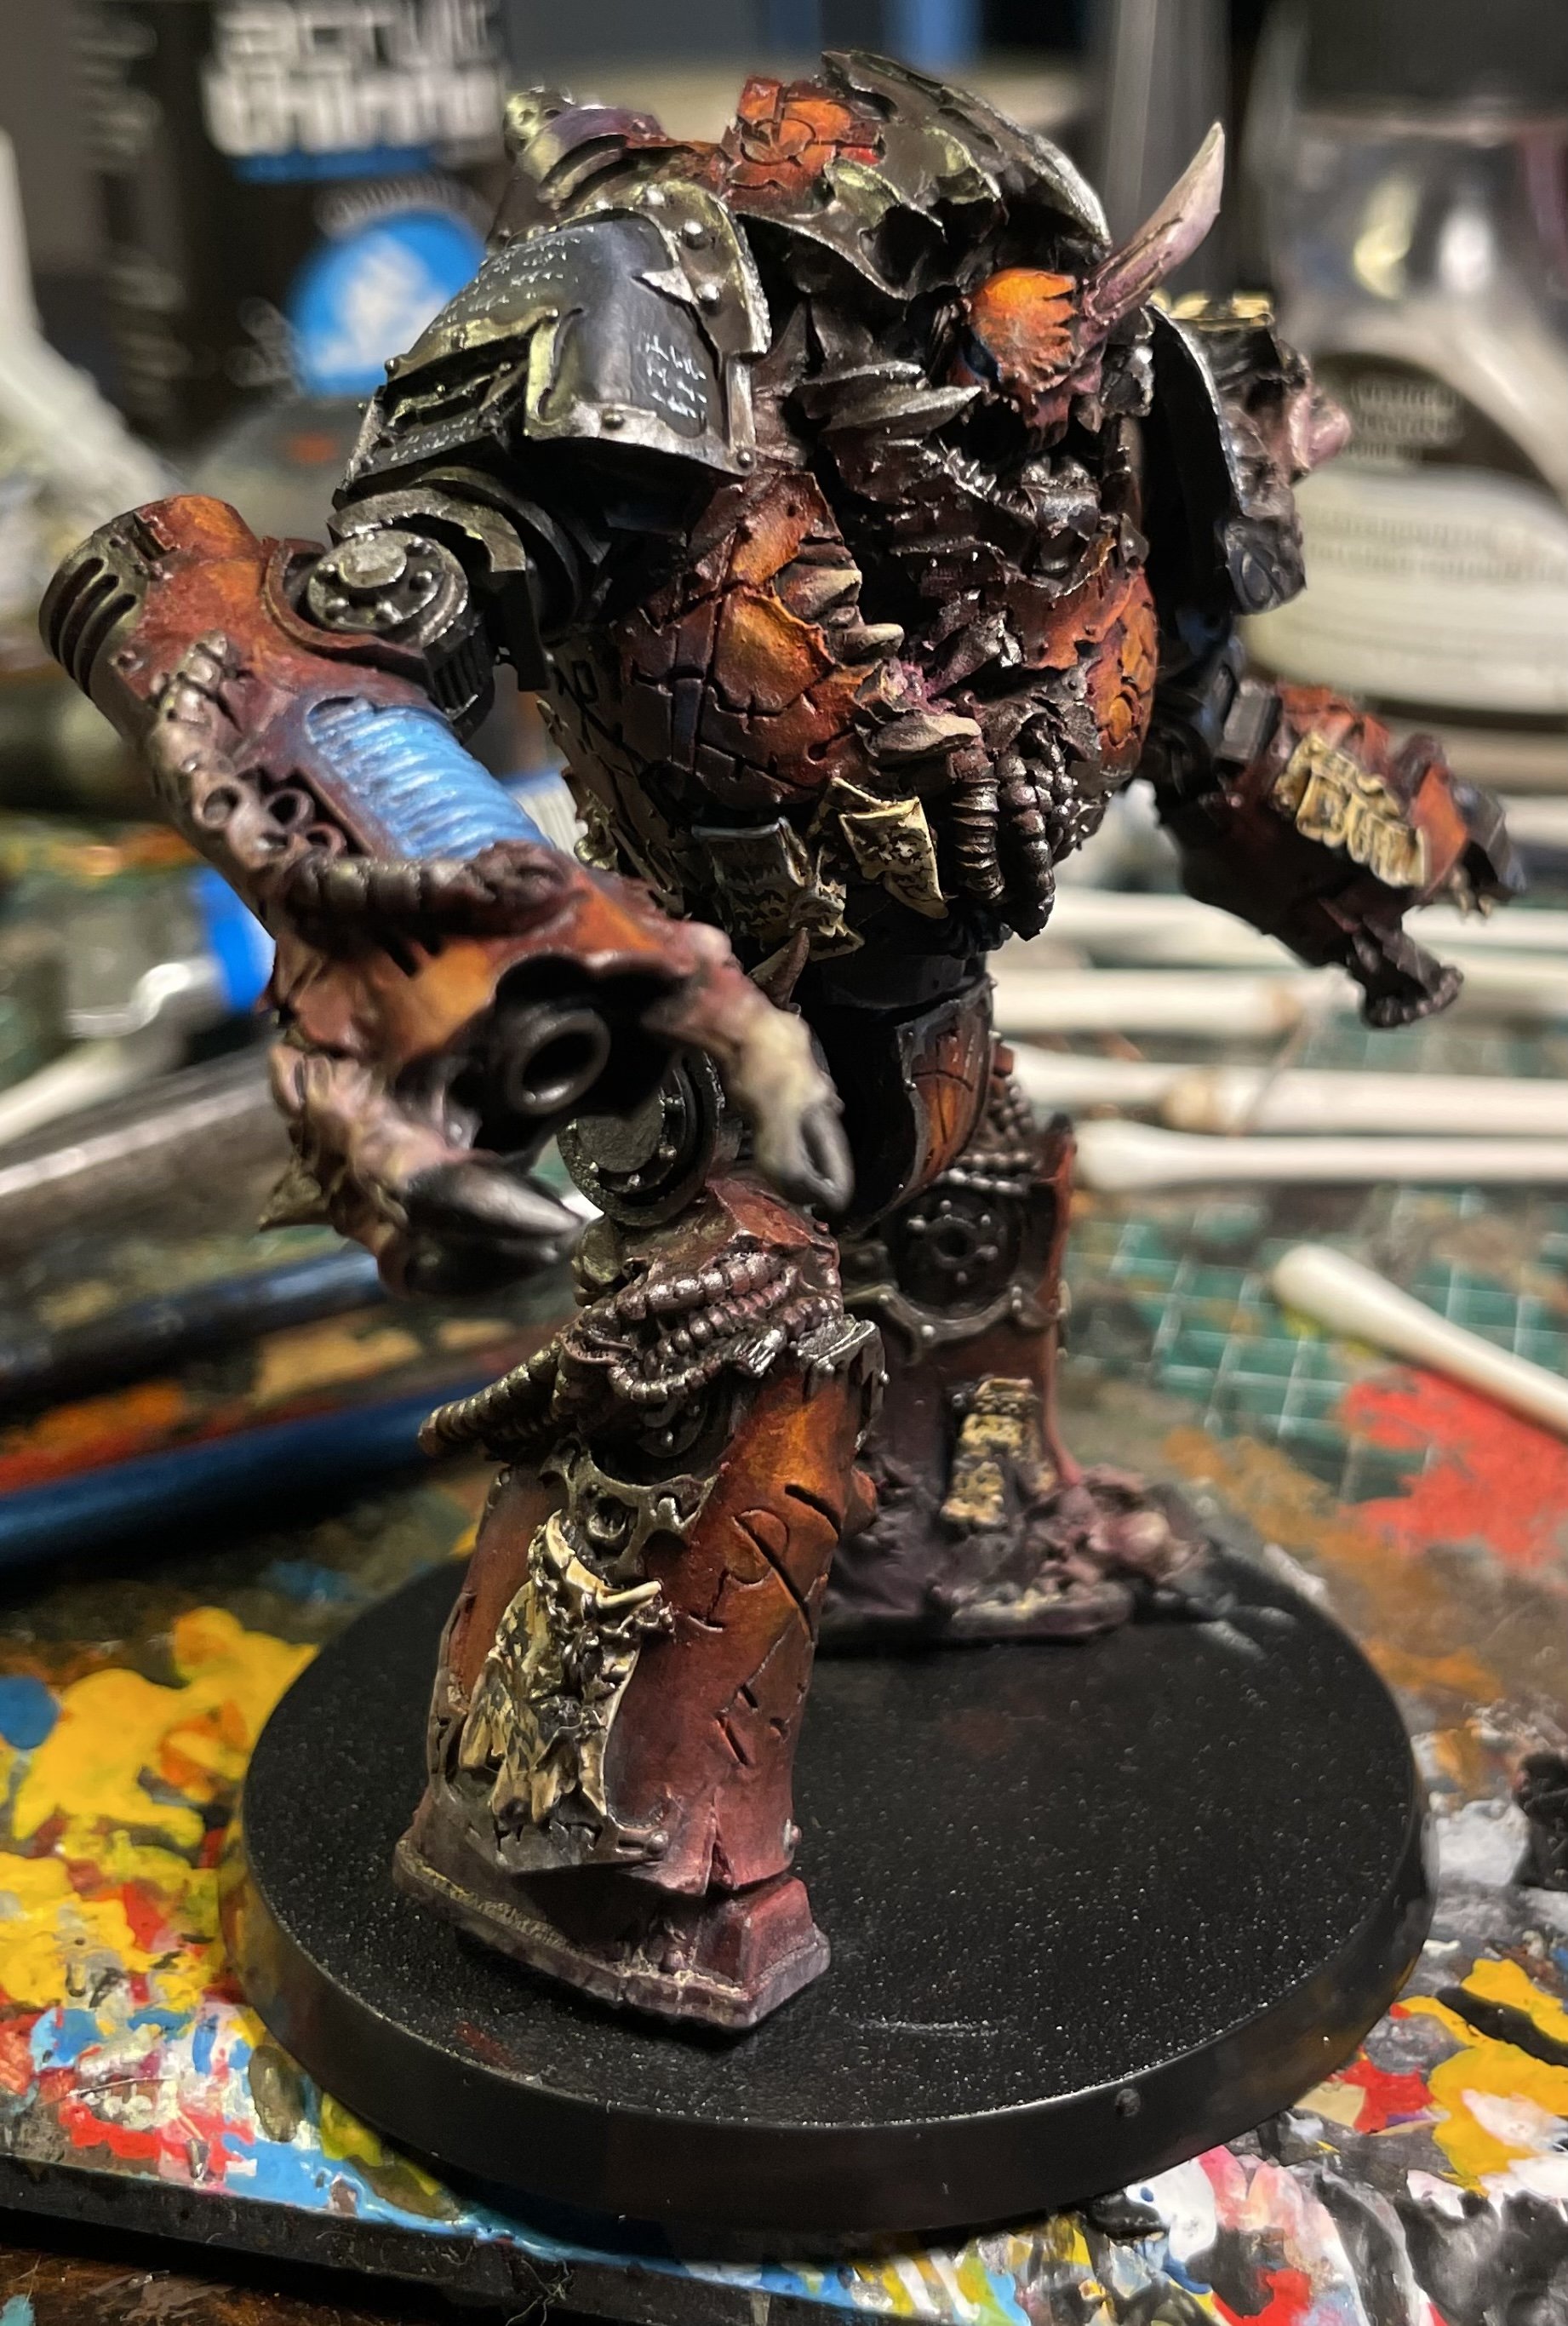
Next up on the painting table is this lovely model. The mhara gal tainted dreadnought is one of the reasons I started to collect word bearers to begin with.

So far this model have only been painted with oil paints, not counting primer and silver details. I have used oil paint for washing and surface highlights before. But I never tried to paint an entire model from base coat to finish before.

I really like it. It takes a little time, because you need to wait for each layer to dry before continue. But so far it only takes 8-12h which is fine because I only have time to paint on the evenings.

It is very intuitive when you get the hang of it. I can recommend you to try it.

Turnip28. Stump Gun. Part1.

I have had my hands full over the last week. But finally things start to ease up.

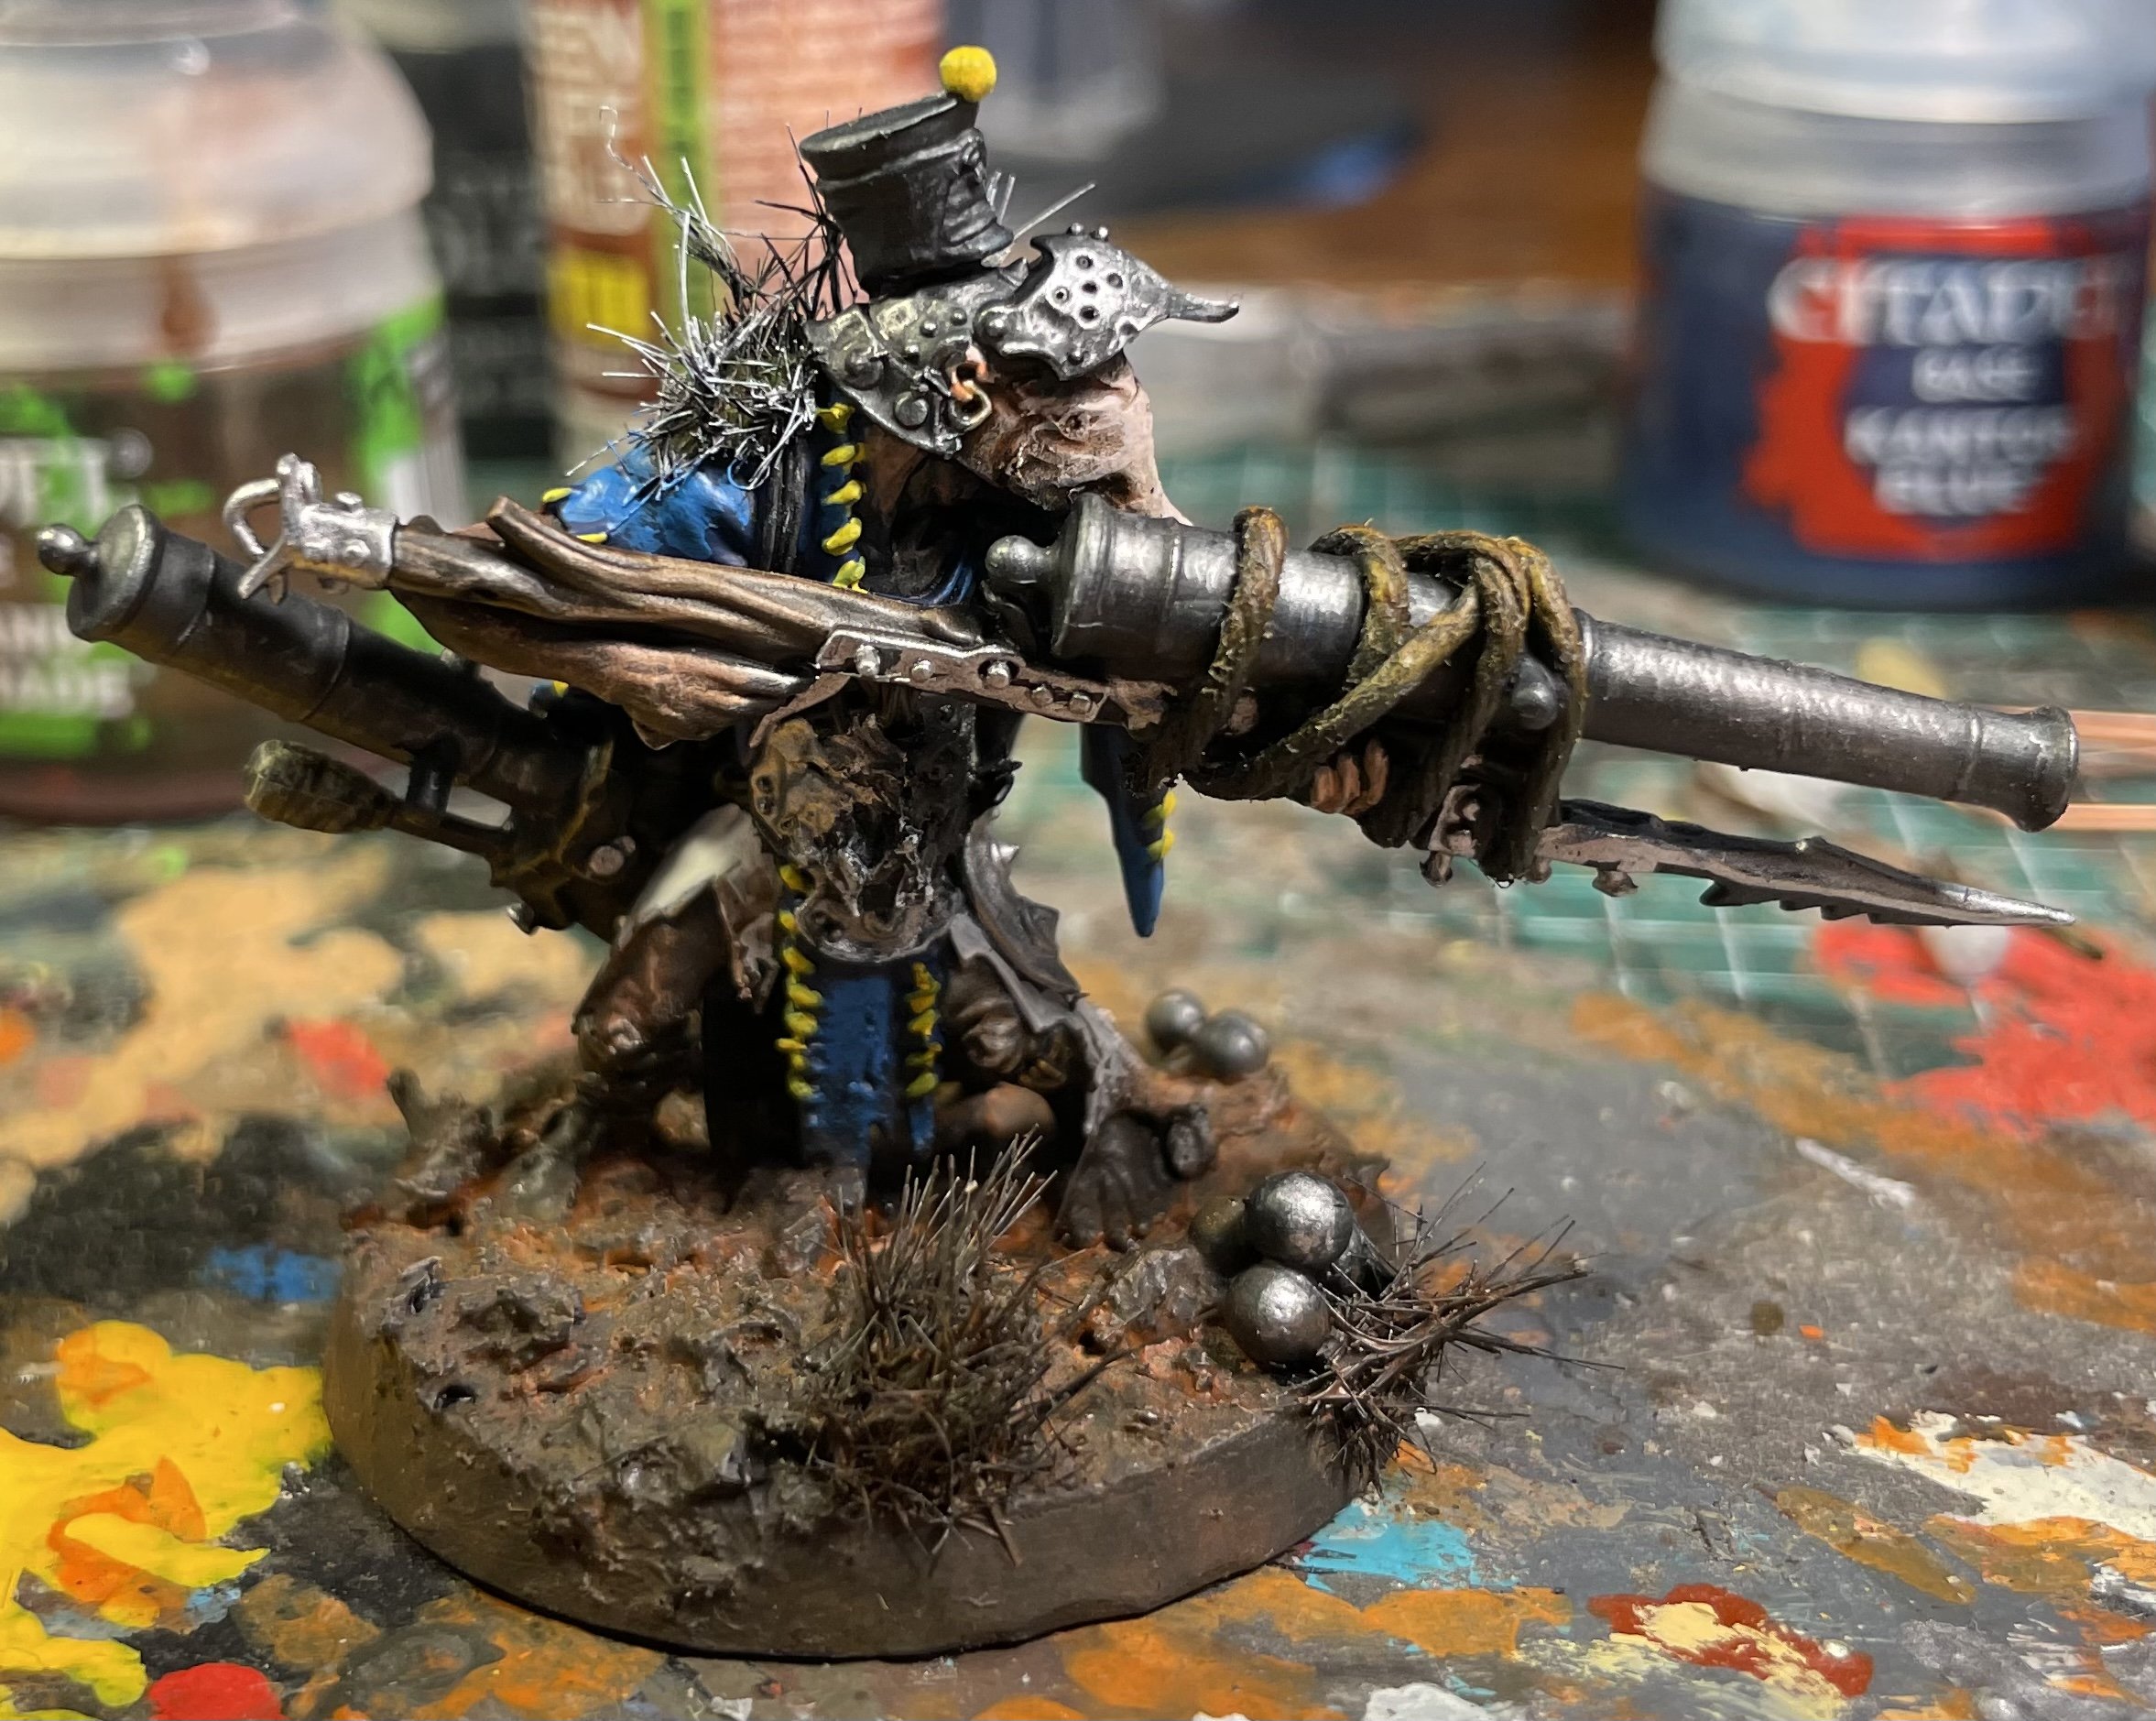
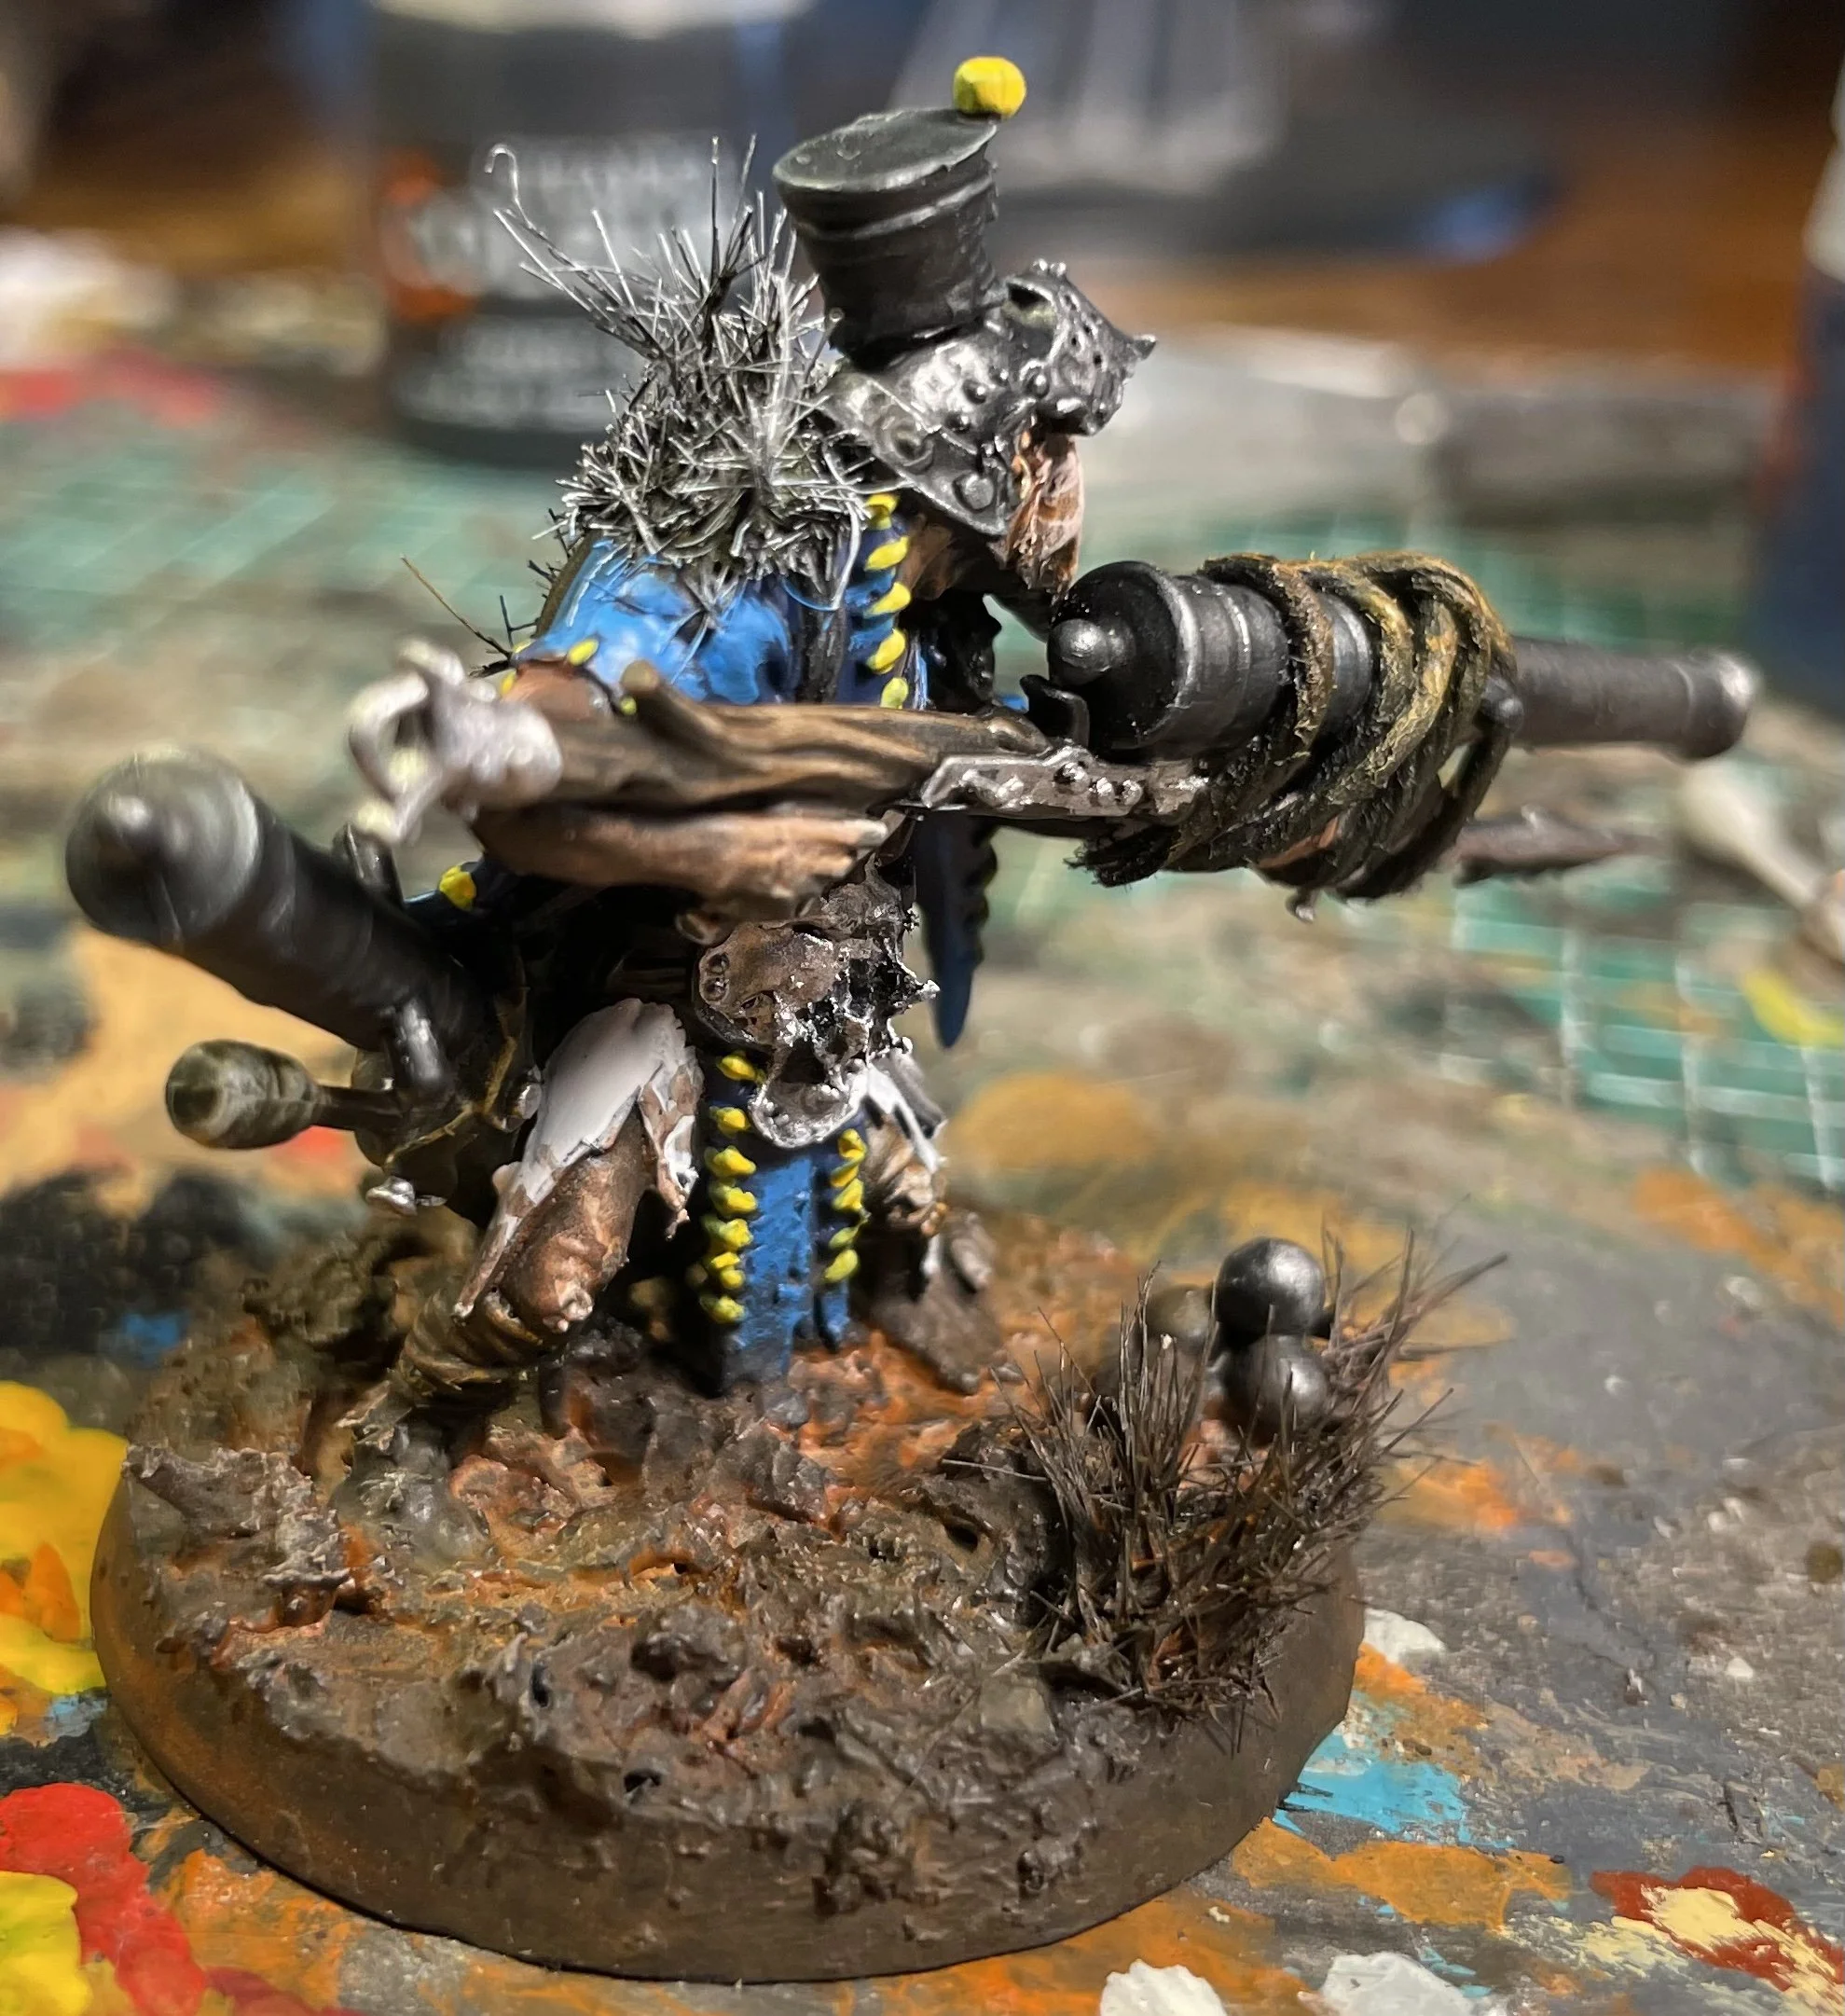
I realized that I could have 4 followers units with my 3 commanders in Turnip28. So I felt I had to add one more unit to my force.

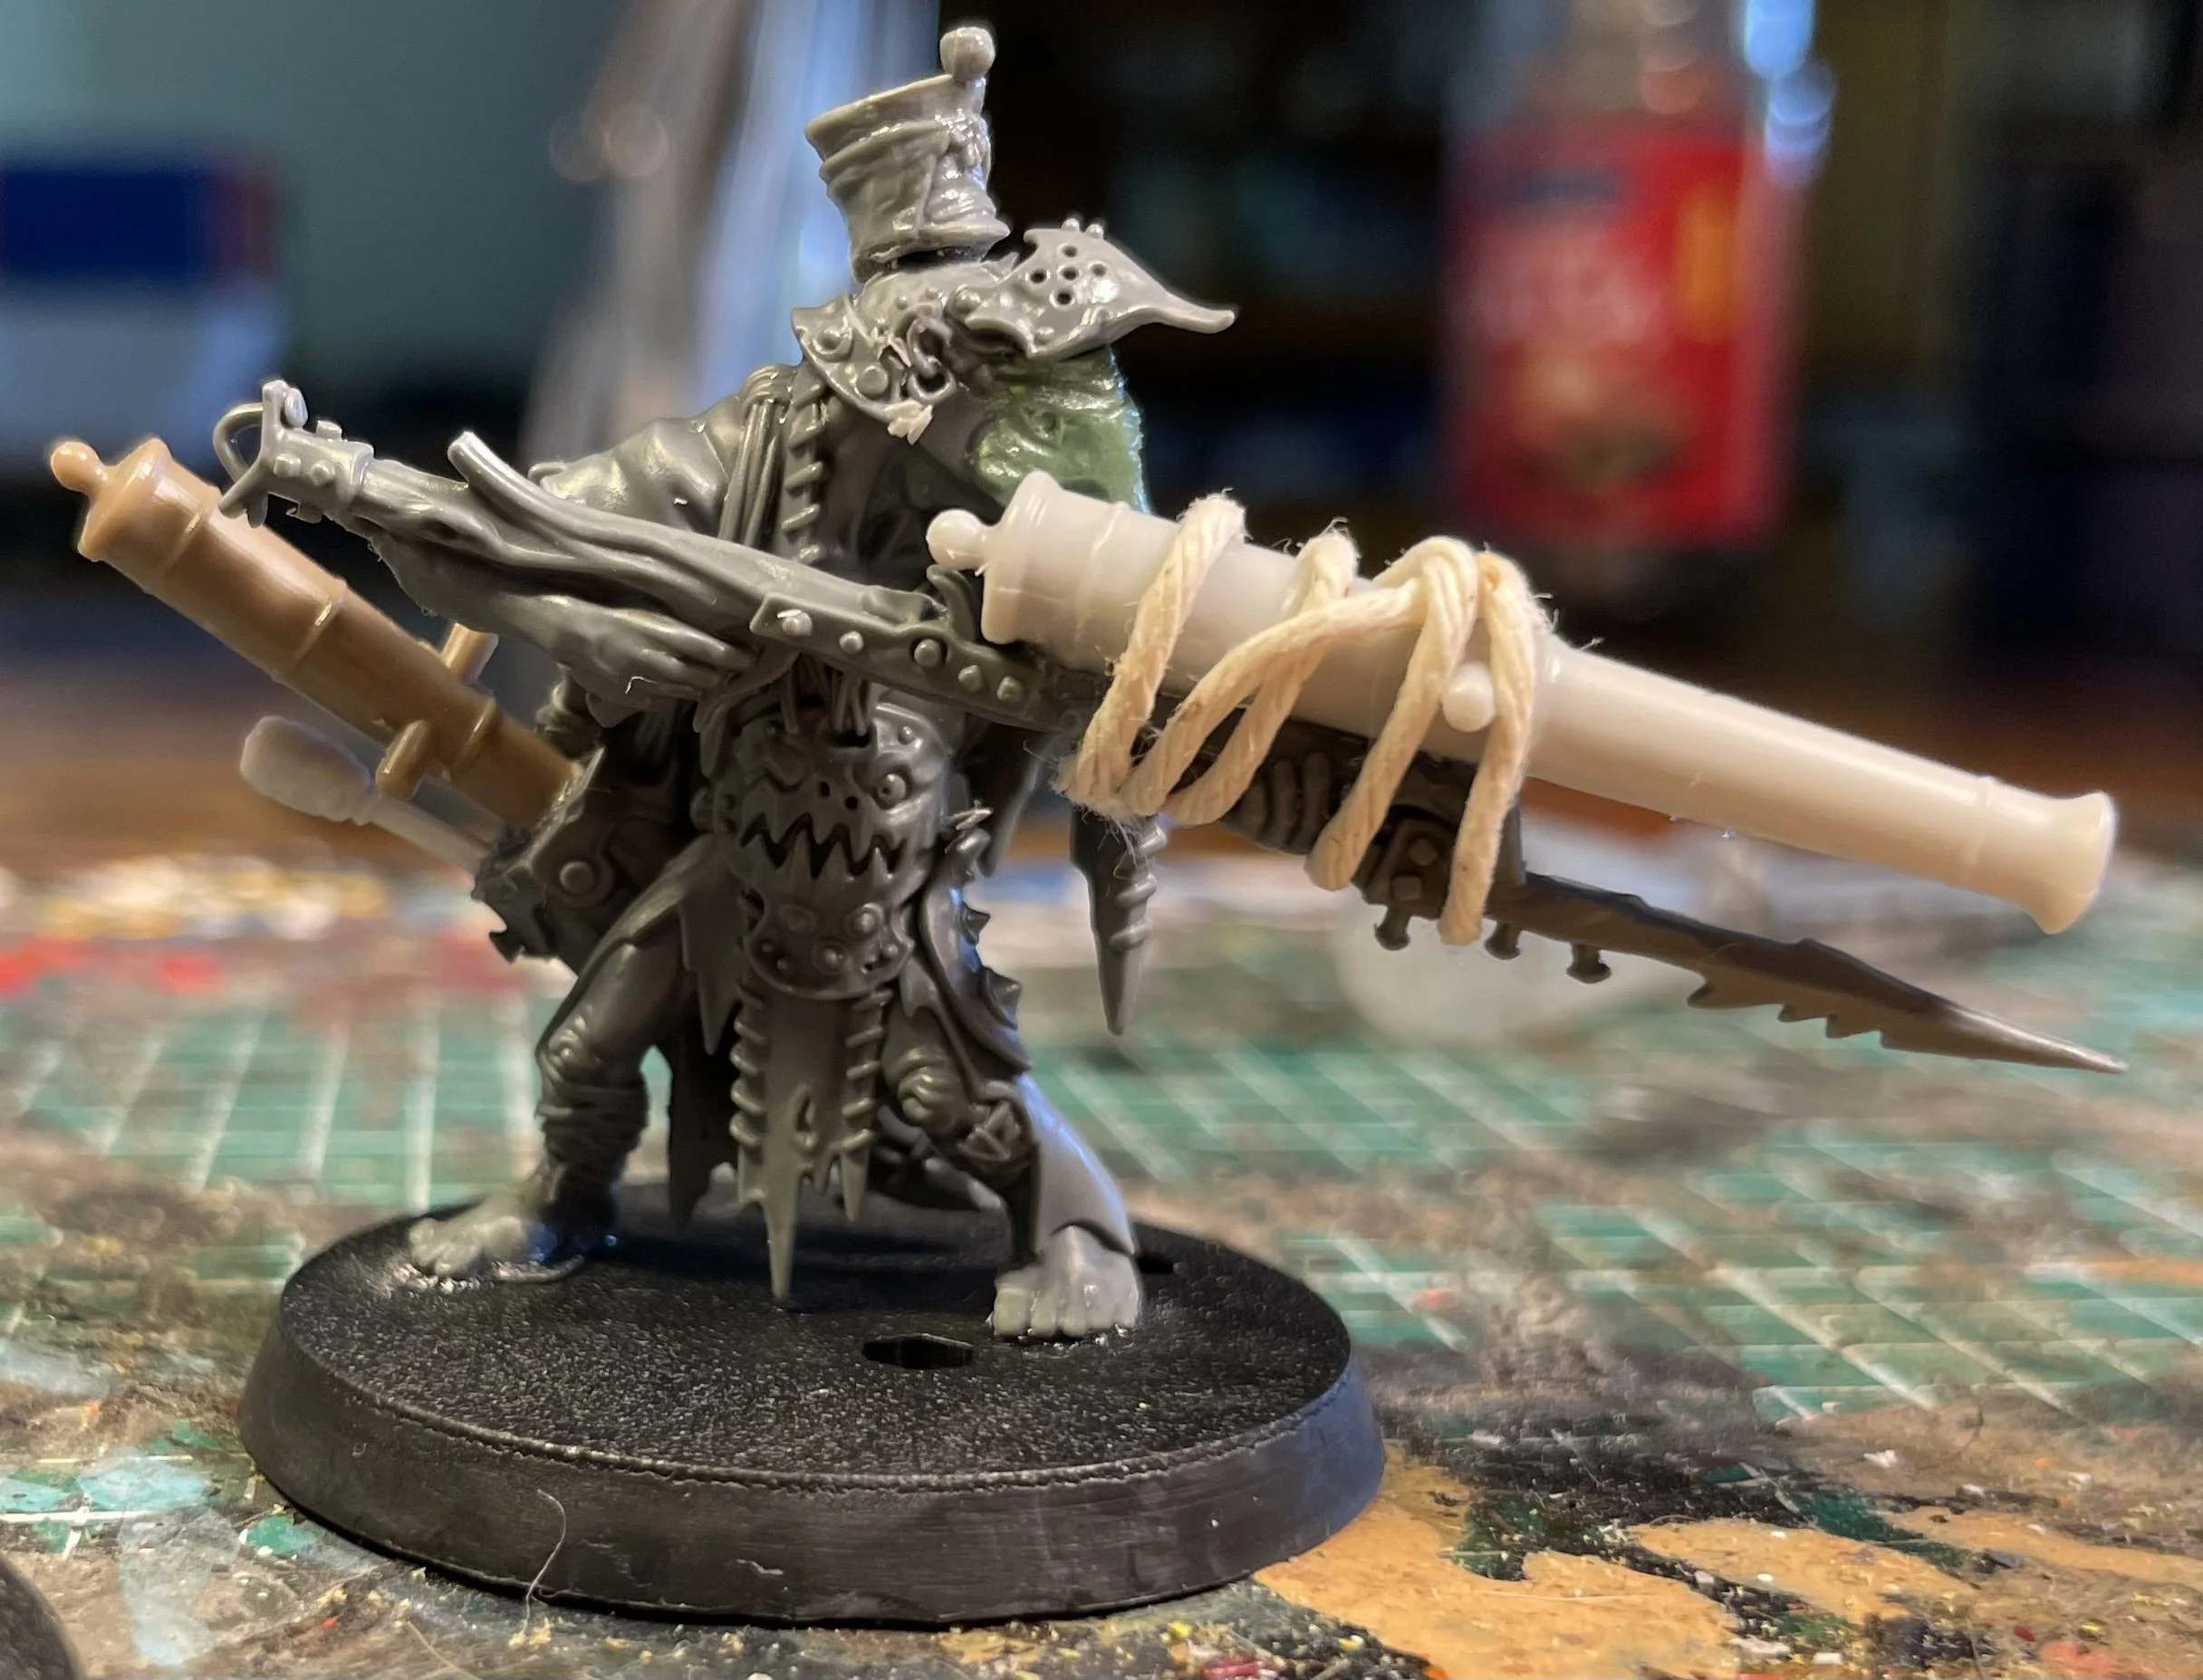
I came up with an idea for a Stump Gun and I just had to realize it.

I loosely base the model on a story of a Swedish soldier called Sven Duva that became famous during the battle for Virta bridge 1809.

It is fun to flavor wired fiction with some hints of reality 😁.