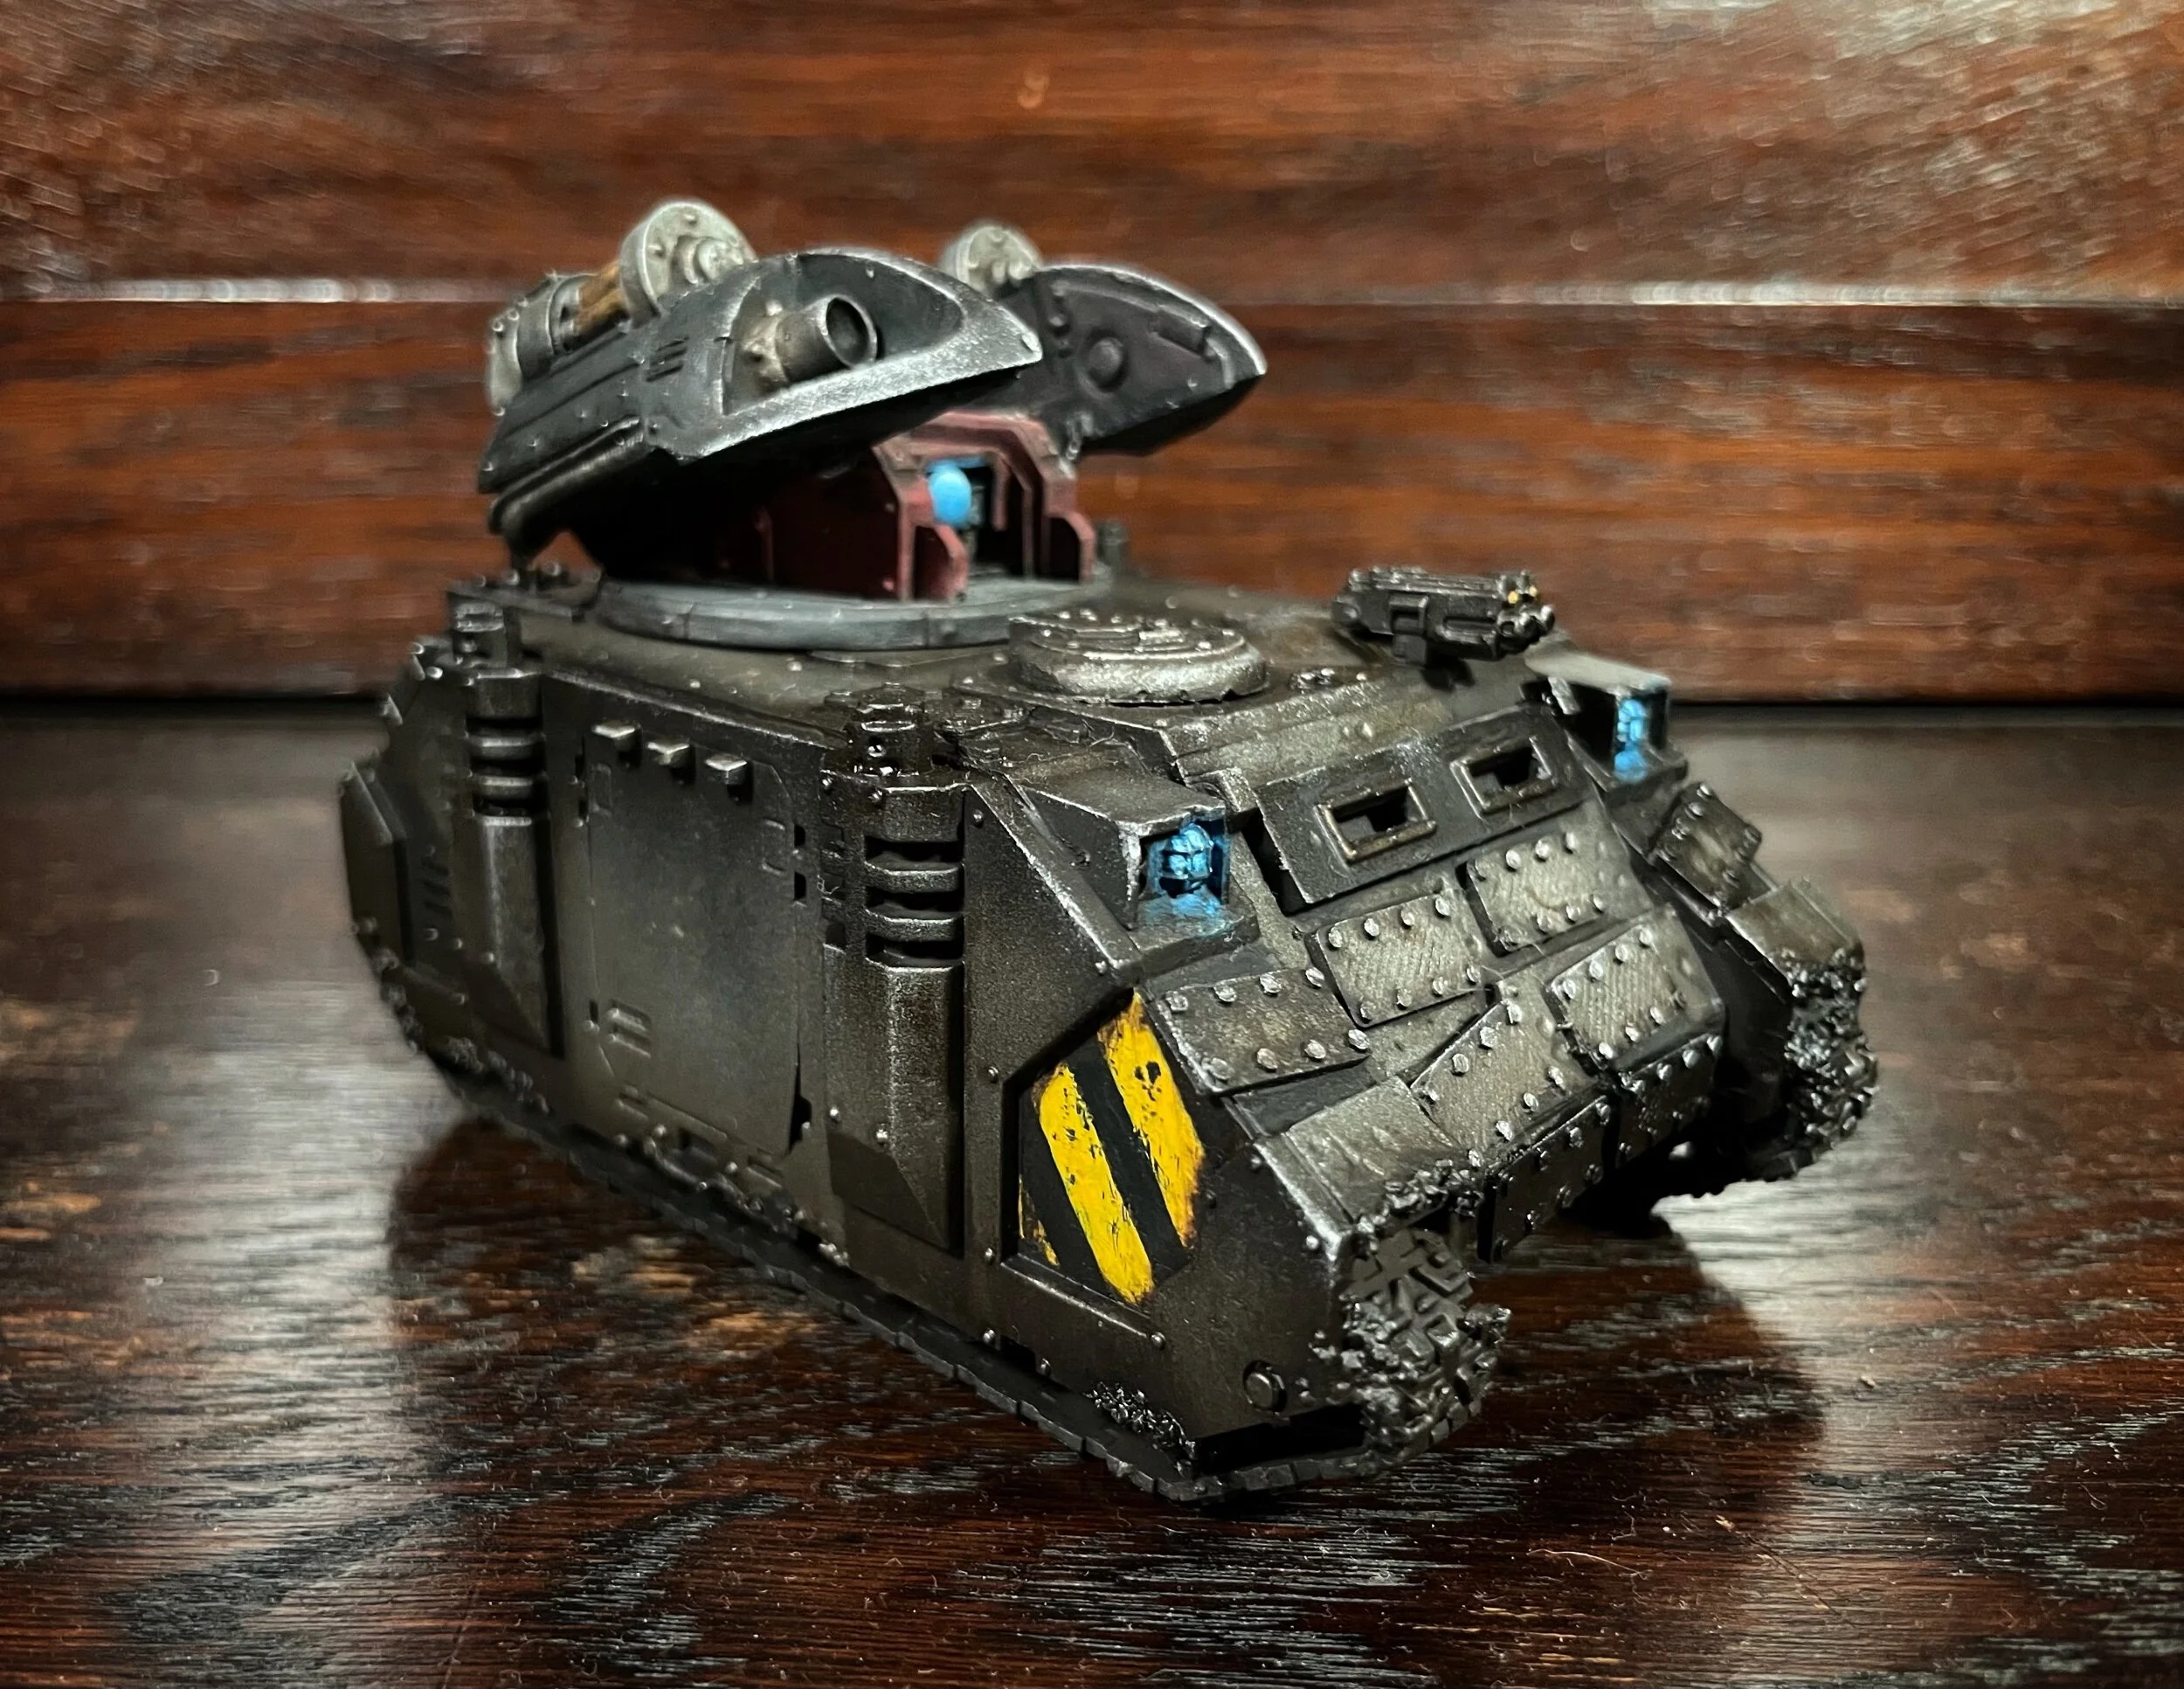
Iron Warriors. Medusa Camo net

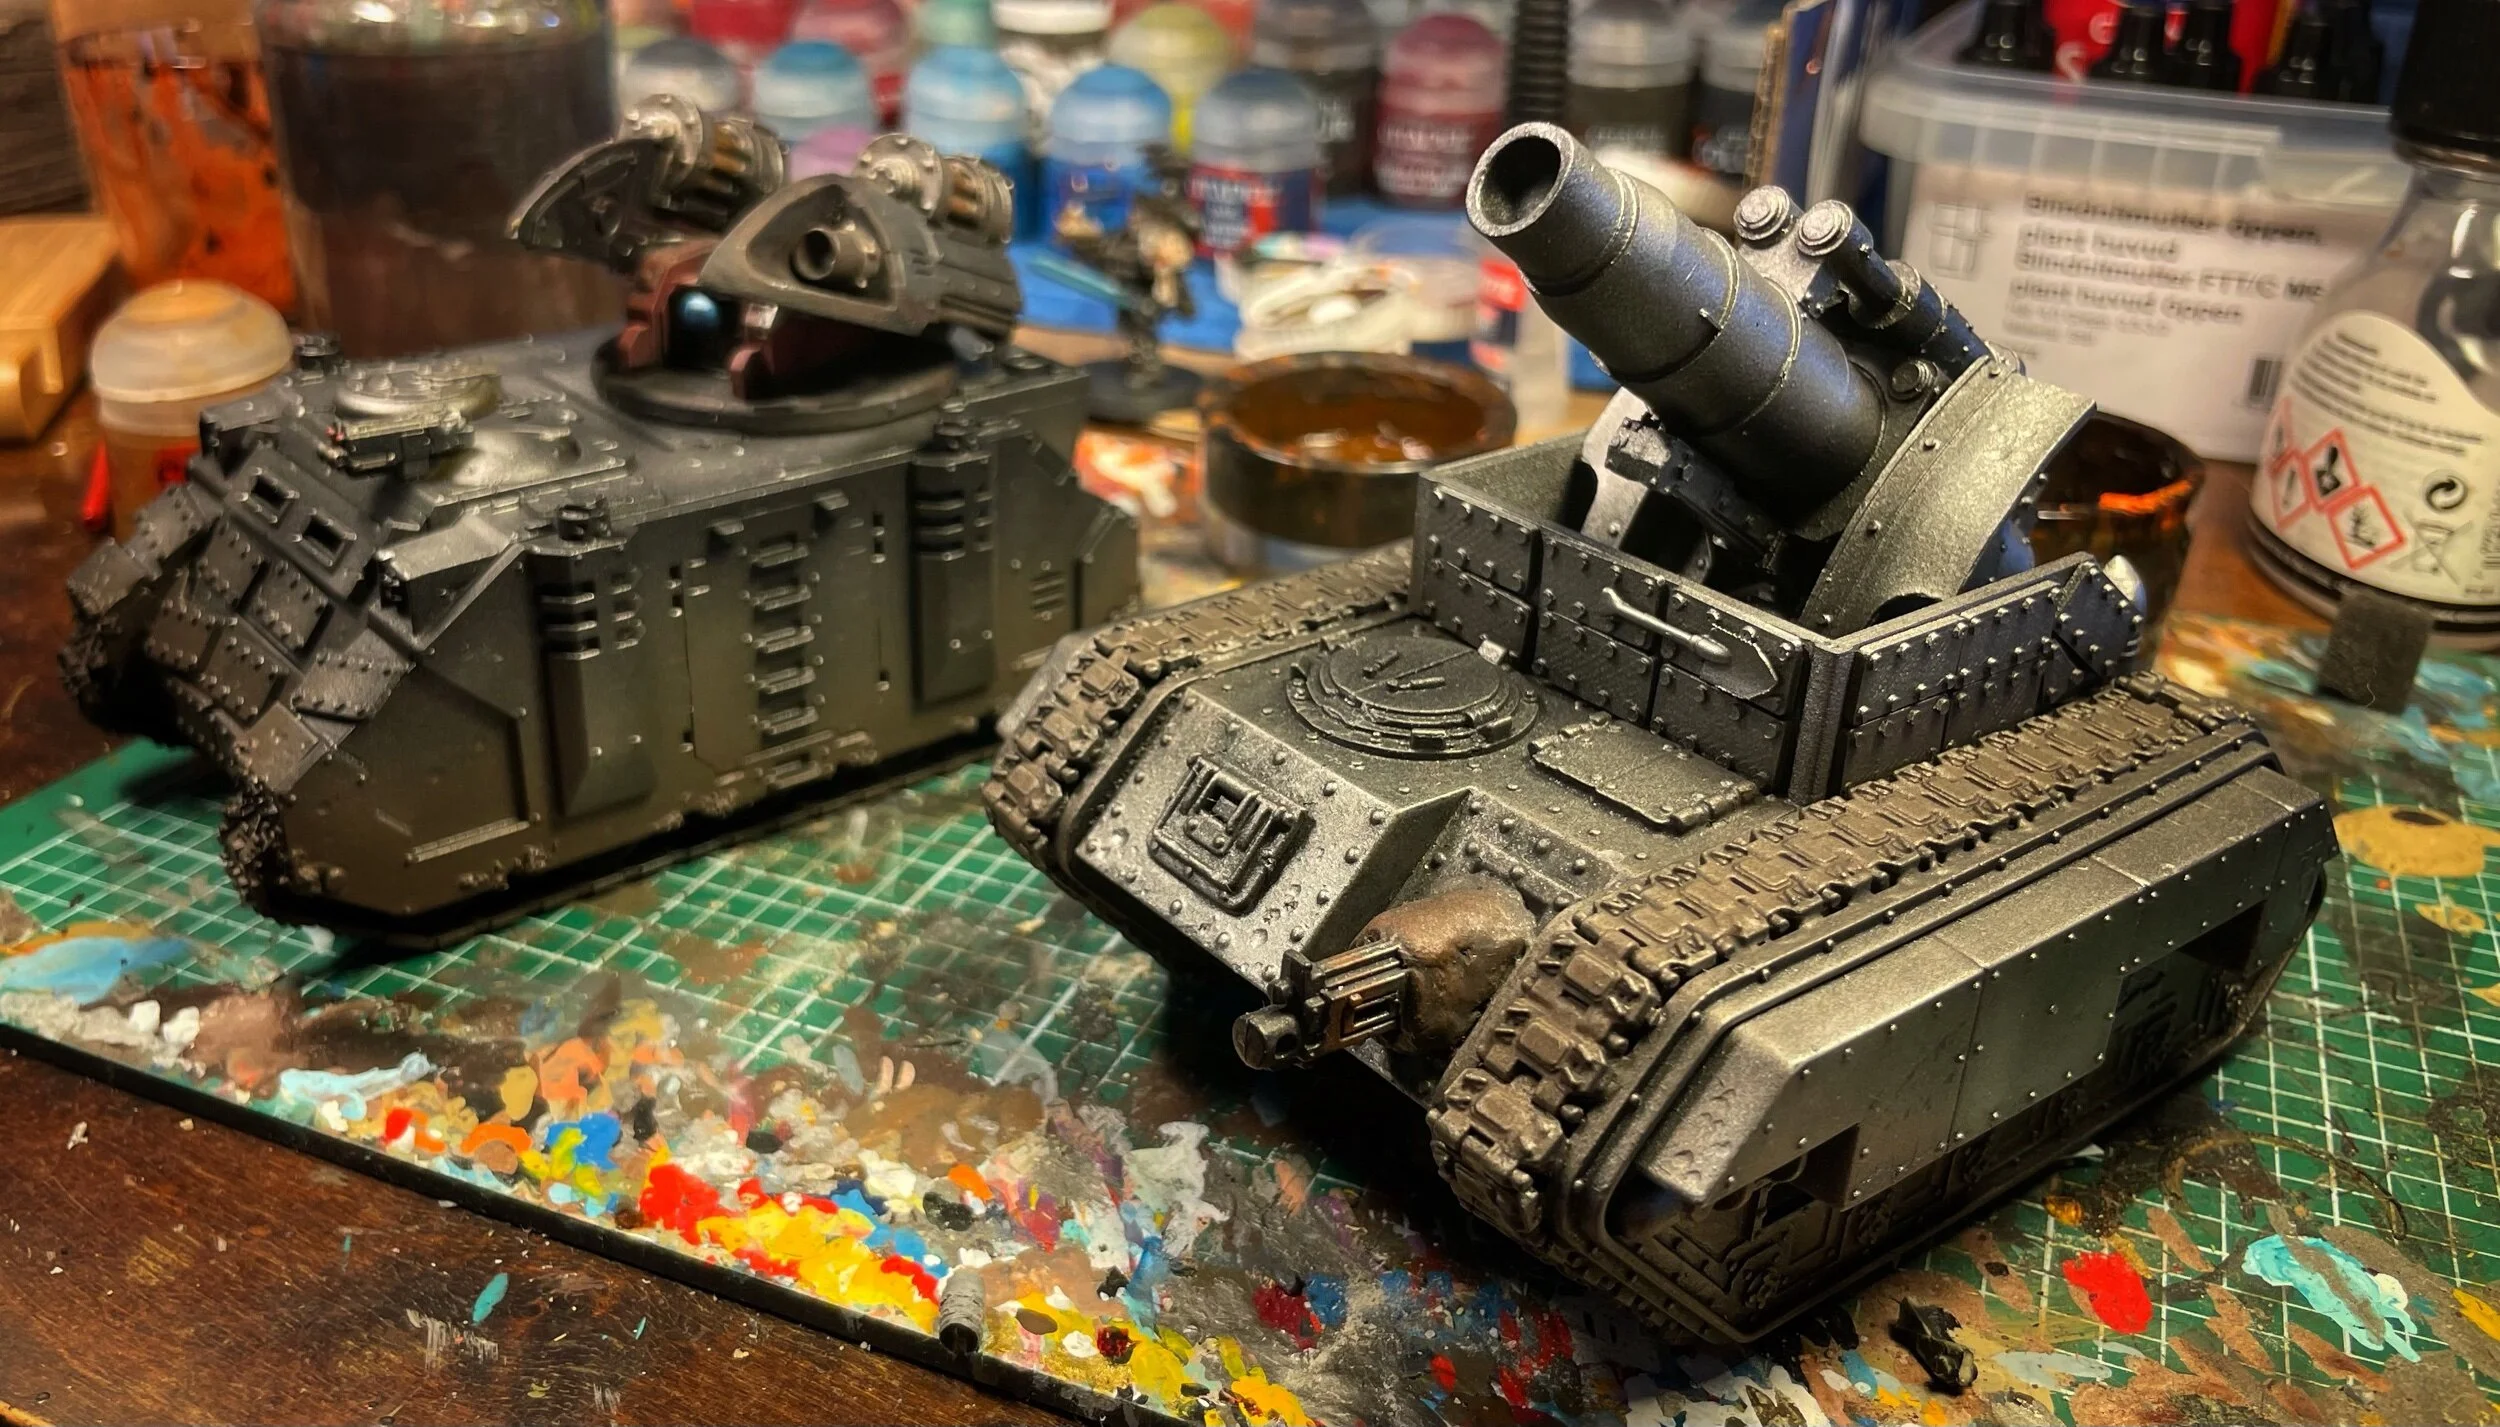
I decided to add some camouflage to my Iron Warriors Medusa. I did like the conversation as it was, but compared to the legion Medusa I already have it felt a little small.

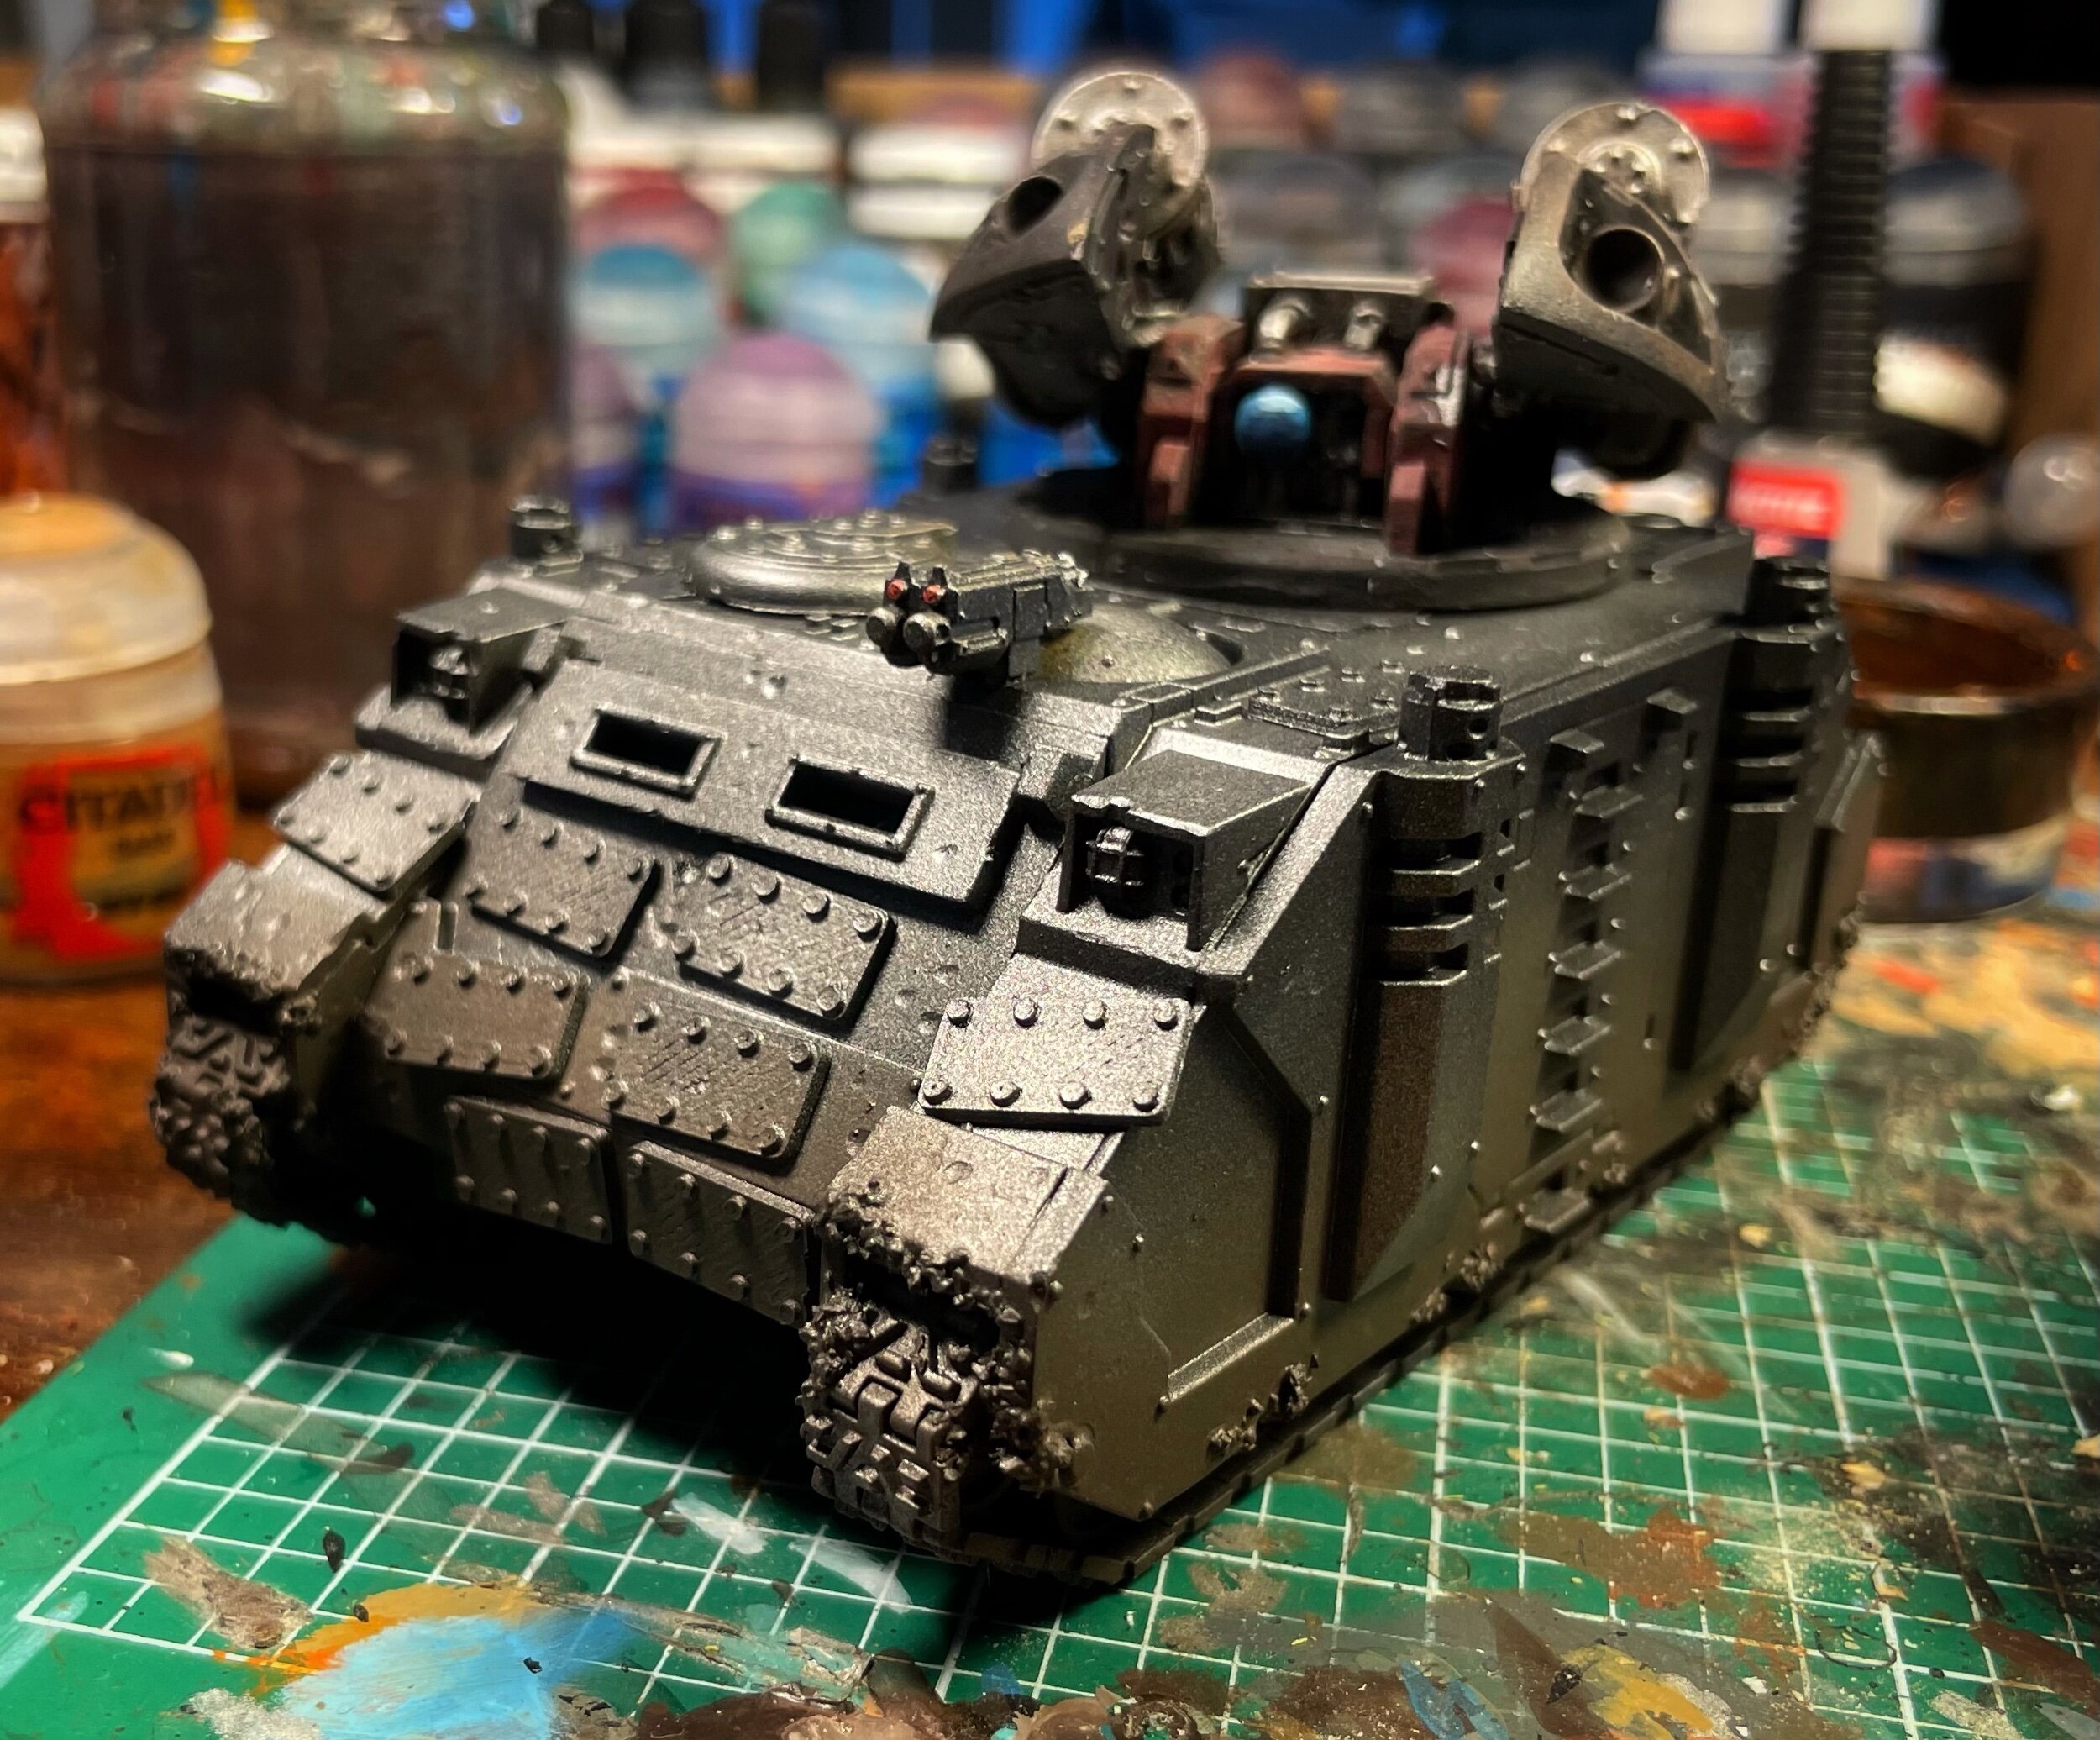
So I added some camo to bulk the tank out some.

I really like how this turned out. Thinking on adding camouflage to some more tanks. We will see where this leads :) .

Iron Warriors. Reinforcements. Part 3.

A Toast to the Guns
By them we live,
For them we would die.
Whatever the Mission,
We’ll give it a try.

We’ll serve them with Honor
For they are the ones;
That make us Artillerymen,
So here’s to the Guns:
TO THE GUNS!!

HOBBY LOG

There we go, two artillery tanks done and ready for the battlefield. As I mentioned in my previous post, I have used a lot of oils for this particular project not just to wash the models but also painting. It is a very enjoyable process and incredibly easy. The only downside is that it takes some extra time to dry. But it is also the drying time that is the big advantage. You can change, add, remove and add to your paint scheme without worrying about if what you are doing will work or not. There is plenty of time to explore and experiment before you settle for a final result.

If you haven’t tried it I highly recommend you do. I am sure I will use it more often from now on.

Iron Warriors. Reinforcements. Part 2.

HOBBY LOG

Getting there, some details have been added and all models have been washed with a mix of black and brown oil washes. I actually painted some details with only oils. Like the targeting lights and headlights on the scorpius. This was surprisingly easy.

Now, I will let all models dry completely before I continue with more details and highlights.

Iron Warriors. Reinforcements.

HOBBY LOG

Time to add some reinforcements to my first love. I enjoy painting all sorts of colors but it is nice to return to something that runs smoothly and is quite straightforward.

Painting Iron Warriors is relatively easy. I am sure you can complicate things even with them but generally you don’t have to in order to get a nice result.

Prime black, dark silver base coat and lighter silver as surface highlight.

Just blocking in some colors, add transfers, seal and then wipe out the oils. Highlights and details and done.

Simple, easy and it looks good…at least that’s what I think :) .

Now, these models will set until tomorrow and then I will continue with blocking in colors so maybe one third done.